crwdns2933423:0crwdne2933423:0

BlackBerry Curve 8530 Trackpad Replacement

crwdns2942213:0crwdne2942213:0

  1. BlackBerry Curve 8530 Trackpad Replacement, Battery: crwdns2935265:01crwdnd2935265:01crwdnd2935265:02crwdne2935265:0 BlackBerry Curve 8530 Trackpad Replacement, Battery: crwdns2935265:01crwdnd2935265:02crwdnd2935265:02crwdne2935265:0
    • Place the phone on a flat surface with the screen facing down.

    • Remove the plastic backplate by pulling up on the bottom of the cover.

  2. BlackBerry Curve 8530 Trackpad Replacement: crwdns2935265:02crwdnd2935265:01crwdnd2935265:01crwdne2935265:0
    • Remove the battery by pulling up from the top of the battery.

  3. BlackBerry Curve 8530 Trackpad Replacement, Keypad: crwdns2935265:03crwdnd2935265:01crwdnd2935265:02crwdne2935265:0 BlackBerry Curve 8530 Trackpad Replacement, Keypad: crwdns2935265:03crwdnd2935265:02crwdnd2935265:02crwdne2935265:0
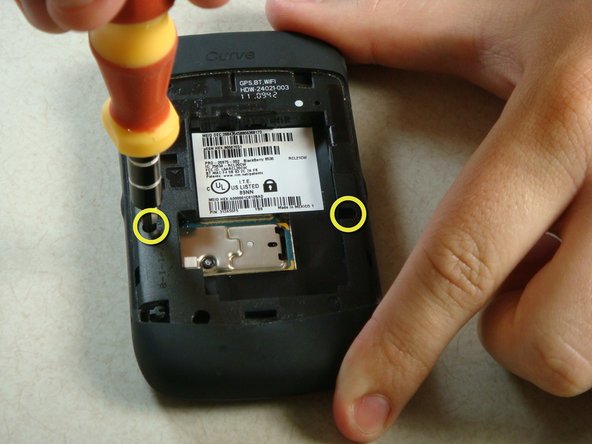
    • Remove the two screws midway up the phone on the left and right sides using a T6 Torx Screwdriver.

    • Warning: One screw will have warranty tape covering the screw. Removing this screw will likely void the phones warranty.

  4. BlackBerry Curve 8530 Trackpad Replacement: crwdns2935265:04crwdnd2935265:01crwdnd2935265:02crwdne2935265:0 BlackBerry Curve 8530 Trackpad Replacement: crwdns2935265:04crwdnd2935265:02crwdnd2935265:02crwdne2935265:0
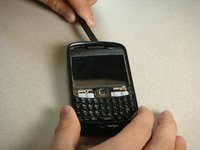
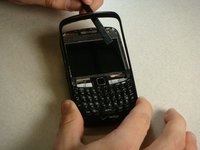
    • Flip the phone over so the keyboard faces up.

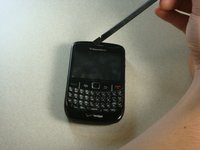
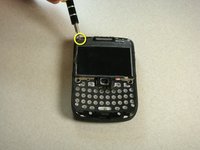
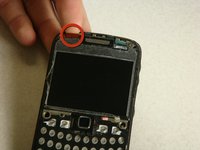
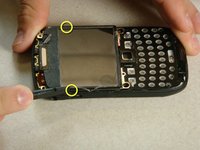
    • Insert a plastic spudger into the screen where speaker resides.

    • I recommend going from the side. There are two layers to the cover. You need to make sure you get underneath the bottom layer if you plan on reusing this cover.

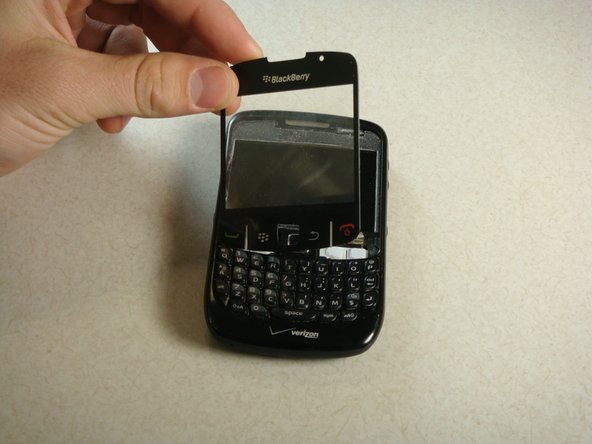
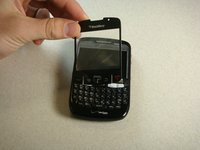
    • Gently lift up plastic screen cover until screen cover separates from screen.

    • Continue until screen cover is completely removed.

  5. BlackBerry Curve 8530 Trackpad Replacement: crwdns2935265:05crwdnd2935265:01crwdnd2935265:03crwdne2935265:0 BlackBerry Curve 8530 Trackpad Replacement: crwdns2935265:05crwdnd2935265:02crwdnd2935265:03crwdne2935265:0 BlackBerry Curve 8530 Trackpad Replacement: crwdns2935265:05crwdnd2935265:03crwdnd2935265:03crwdne2935265:0
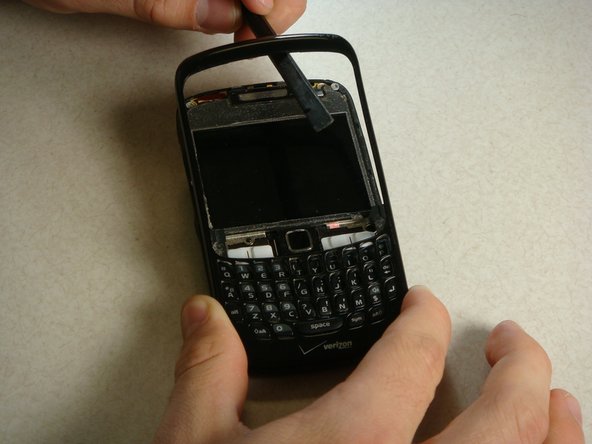
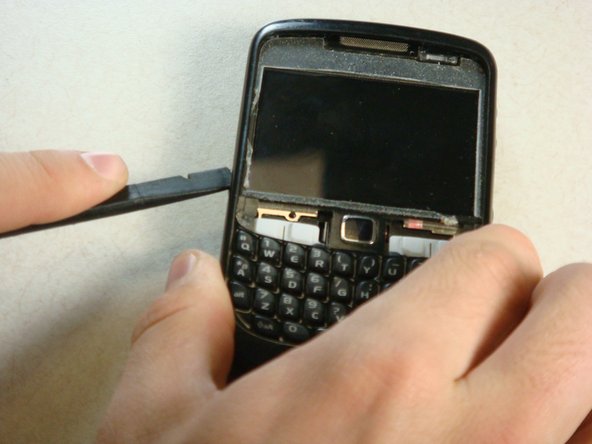
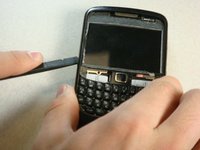
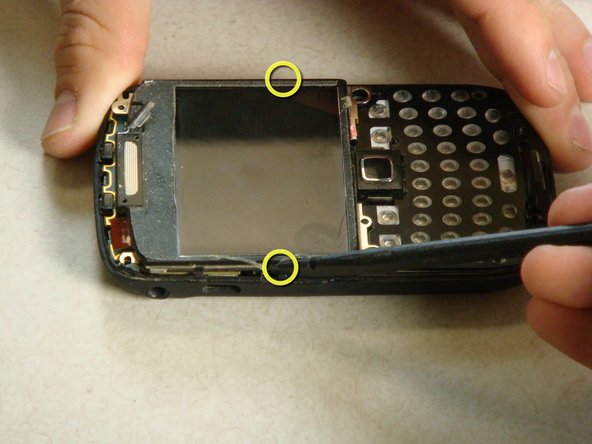
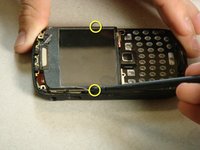
    • Insert the spudger into the top of the plastic siding on the front of the phone and lift up until the siding lifts up.

    • Slide the tool around the entire perimeter of the phone until the plastic siding is completely removed.

  6. BlackBerry Curve 8530 Trackpad Replacement: crwdns2935265:06crwdnd2935265:01crwdnd2935265:02crwdne2935265:0 BlackBerry Curve 8530 Trackpad Replacement: crwdns2935265:06crwdnd2935265:02crwdnd2935265:02crwdne2935265:0
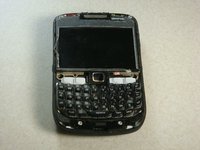
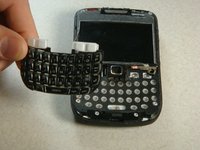
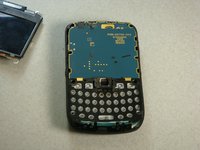
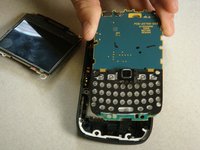
    • The keyboard should slide off of the phone now that the plastic siding has been removed.

  7. BlackBerry Curve 8530 Trackpad Replacement, Screen: crwdns2935265:07crwdnd2935265:01crwdnd2935265:03crwdne2935265:0 BlackBerry Curve 8530 Trackpad Replacement, Screen: crwdns2935265:07crwdnd2935265:02crwdnd2935265:03crwdne2935265:0 BlackBerry Curve 8530 Trackpad Replacement, Screen: crwdns2935265:07crwdnd2935265:03crwdnd2935265:03crwdne2935265:0
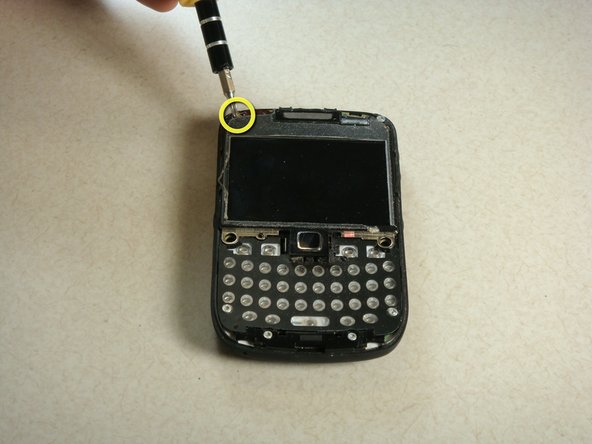
    • To detach the screen, there are two screws at the top of the phone to be removed. Use the T6 Torx Screwdriver to remove the screws.

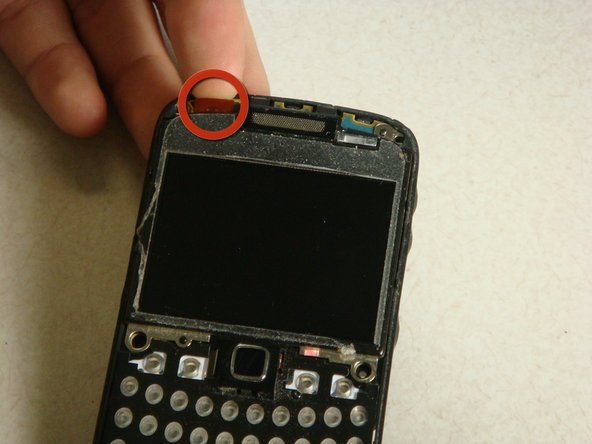
    • There is a gold ribbon on the top left of the phone. Lift up this ribbon gently until it is detached from the phone.

    • Note: When reassembling, the ribbon should be reattached before replacing the top screws.

  8. BlackBerry Curve 8530 Trackpad Replacement: crwdns2935265:08crwdnd2935265:01crwdnd2935265:03crwdne2935265:0 BlackBerry Curve 8530 Trackpad Replacement: crwdns2935265:08crwdnd2935265:02crwdnd2935265:03crwdne2935265:0 BlackBerry Curve 8530 Trackpad Replacement: crwdns2935265:08crwdnd2935265:03crwdnd2935265:03crwdne2935265:0
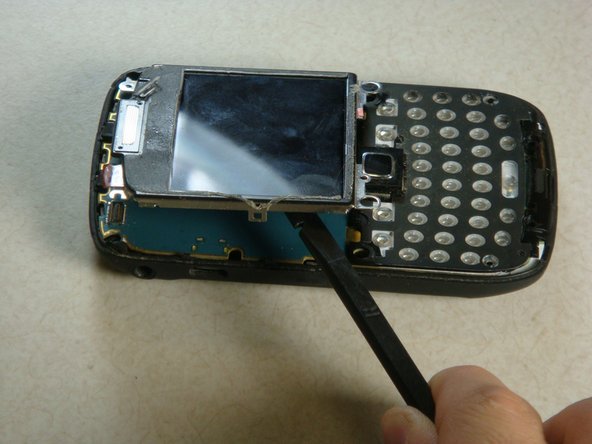
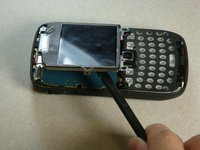
    • There are two clips on each side of the phone. Insert a plastic spudger between the clips and the screen.

    • Use pressure to unlatch the screen from the clips.

    • Now that these clips have been undone, the screen should lift up easily.

  9. BlackBerry Curve 8530 Trackpad Replacement, Motherboard: crwdns2935265:09crwdnd2935265:01crwdnd2935265:02crwdne2935265:0 BlackBerry Curve 8530 Trackpad Replacement, Motherboard: crwdns2935265:09crwdnd2935265:02crwdnd2935265:02crwdne2935265:0
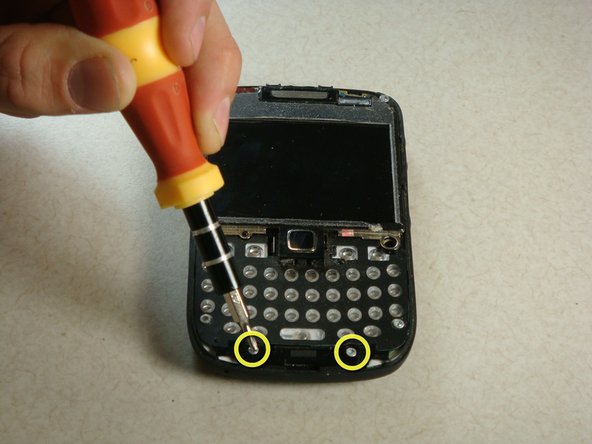
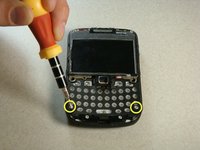
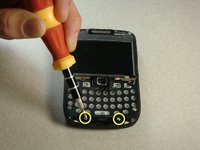
    • Now there are four screws that need to be removed. They are located at the bottom of the phone and can also be removed using a T6 Torx Screwdriver.

  10. BlackBerry Curve 8530 Trackpad Replacement: crwdns2935265:010crwdnd2935265:01crwdnd2935265:03crwdne2935265:0 BlackBerry Curve 8530 Trackpad Replacement: crwdns2935265:010crwdnd2935265:02crwdnd2935265:03crwdne2935265:0 BlackBerry Curve 8530 Trackpad Replacement: crwdns2935265:010crwdnd2935265:03crwdnd2935265:03crwdne2935265:0
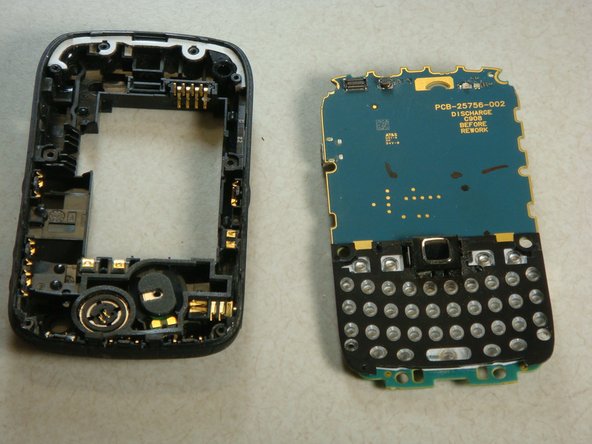
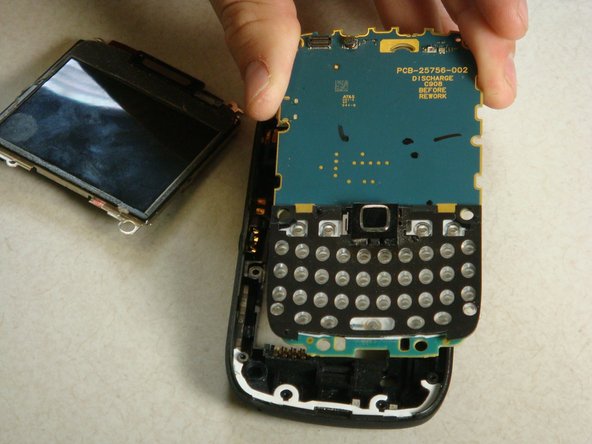
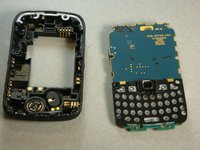
    • Now the motherboard will lift up out of the plastic backing of the phone.

  11. BlackBerry Curve 8530 Trackpad Replacement, Trackpad: crwdns2935265:011crwdnd2935265:01crwdnd2935265:03crwdne2935265:0 BlackBerry Curve 8530 Trackpad Replacement, Trackpad: crwdns2935265:011crwdnd2935265:02crwdnd2935265:03crwdne2935265:0 BlackBerry Curve 8530 Trackpad Replacement, Trackpad: crwdns2935265:011crwdnd2935265:03crwdnd2935265:03crwdne2935265:0
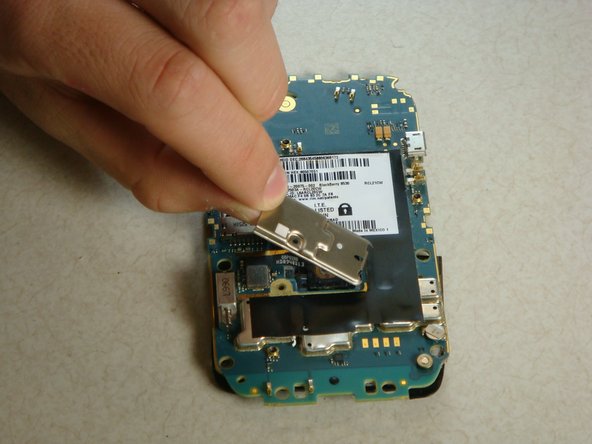
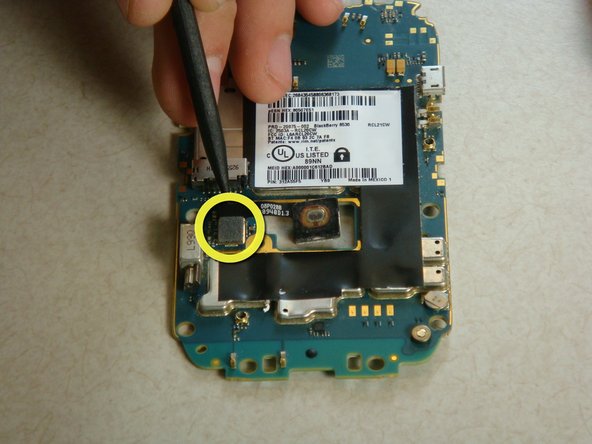
    • Flip over the motherboard.

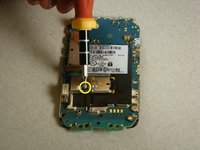
    • There is another torx screw near the middle of the motherboard on the left side.

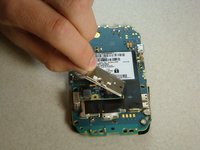
    • Using the T5 Torx Screwdriver, remove the screw and the metal casing.

    • Note: Distinguish this screw from the others for reassembly purposes.

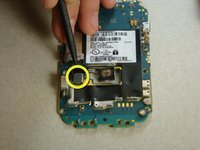
    • Detach the clip holding the track pad in.

  12. BlackBerry Curve 8530 Trackpad Replacement: crwdns2935265:012crwdnd2935265:01crwdnd2935265:01crwdne2935265:0
    • Remove the trackpad from the motherboard.

    • Now you are ready to reassemble the phone

crwdns2935217:0crwdne2935217:0

crwdns2935229:06crwdne2935229:0

Chris

crwdns2935283:004/20/11crwdne2935283:0

227 crwdns2915208:0crwdne2915208:0

crwdns2935295:0crwdne2935295:0

crwdns2915084:0crwdne2915084:0

Cal Poly, Team 15-13, Regan Spring 2011 crwdns2935289:0Cal Poly, Team 15-13, Regan Spring 2011crwdne2935289:0

CPSU-REGAN-S11S15G13

crwdns2931471:03crwdne2931471:0

crwdns2935297:05crwdne2935297:0

crwdns2917034:0crwdne2917034:0

No need to full disassemble the phone. Just remove the back and the battery and unscrew the T5 screw, presto 20 minutes saved.

willdickerson - crwdns2934203:0crwdne2934203:0

crwdns2917038:0crwdne2917038:0

crwdns2936625:0crwdne2936625:0:

crwdns2936751:024crwdne2936751:0 0

crwdns2936753:07crwdne2936753:0 0

crwdns2936753:030crwdne2936753:0 15

crwdns2942667:0crwdne2942667:0 15,486