crwdns2933423:0crwdne2933423:0

Bissell CleanView Compact 3508 Lower Hose Replacement

crwdns2942213:0crwdne2942213:0

  1. Bissell CleanView Compact 3508 Lower Hose Replacement, Brush Roll Cover: crwdns2935265:01crwdnd2935265:01crwdnd2935265:03crwdne2935265:0 Bissell CleanView Compact 3508 Lower Hose Replacement, Brush Roll Cover: crwdns2935265:01crwdnd2935265:02crwdnd2935265:03crwdne2935265:0 Bissell CleanView Compact 3508 Lower Hose Replacement, Brush Roll Cover: crwdns2935265:01crwdnd2935265:03crwdnd2935265:03crwdne2935265:0
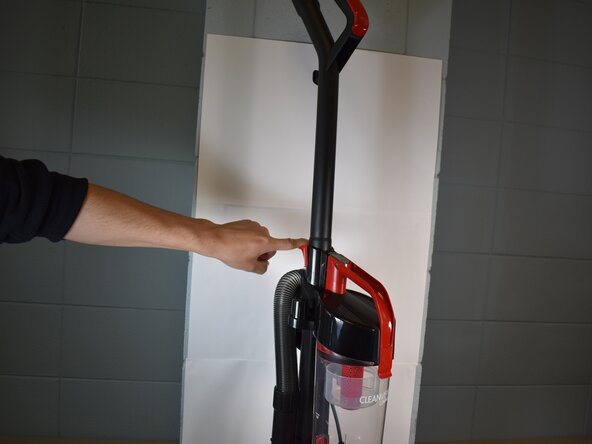
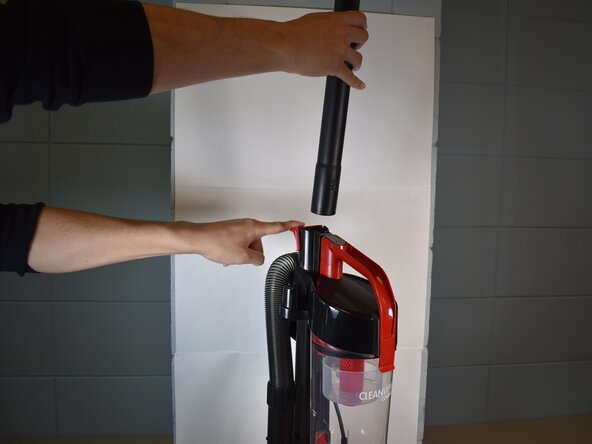
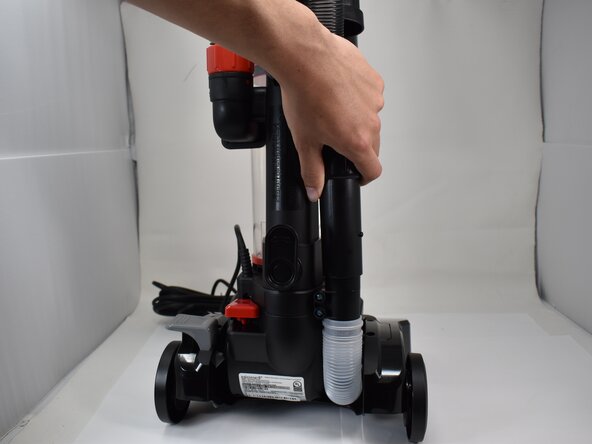
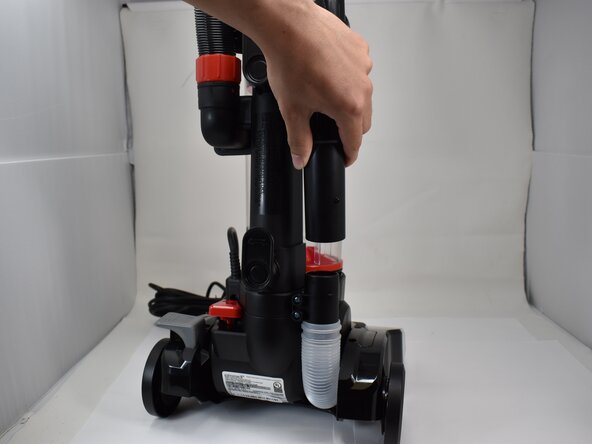
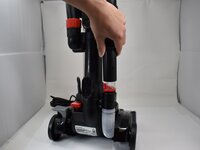
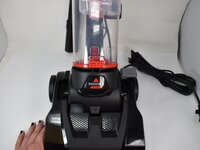
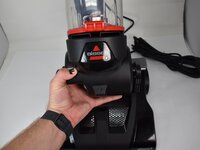
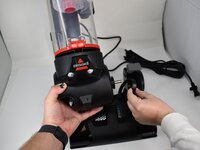
    • With the vacuum in an upright position, press the latch on the rear of the spine to remove the handle from the vacuum.

  2. Bissell CleanView Compact 3508 Lower Hose Replacement: crwdns2935265:02crwdnd2935265:01crwdnd2935265:02crwdne2935265:0 Bissell CleanView Compact 3508 Lower Hose Replacement: crwdns2935265:02crwdnd2935265:02crwdnd2935265:02crwdne2935265:0
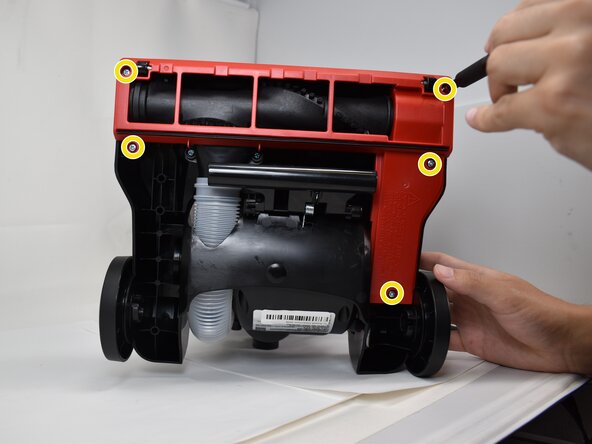
    • Use a Phillips #2 screwdriver to remove the five 20.7 mm screws on the underside of the brush roll cover.

  3. Bissell CleanView Compact 3508 Lower Hose Replacement: crwdns2935265:03crwdnd2935265:01crwdnd2935265:03crwdne2935265:0 Bissell CleanView Compact 3508 Lower Hose Replacement: crwdns2935265:03crwdnd2935265:02crwdnd2935265:03crwdne2935265:0 Bissell CleanView Compact 3508 Lower Hose Replacement: crwdns2935265:03crwdnd2935265:03crwdnd2935265:03crwdne2935265:0
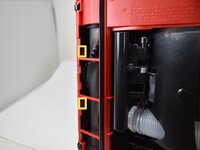
    • Use a pry tool or flathead screwdriver to disengage the two retaining clips securing the brush roll cover.

    • Remove the brush roll cover.

  4. Bissell CleanView Compact 3508 Lower Hose Replacement, Top/Bottom: crwdns2935265:04crwdnd2935265:01crwdnd2935265:03crwdne2935265:0 Bissell CleanView Compact 3508 Lower Hose Replacement, Top/Bottom: crwdns2935265:04crwdnd2935265:02crwdnd2935265:03crwdne2935265:0 Bissell CleanView Compact 3508 Lower Hose Replacement, Top/Bottom: crwdns2935265:04crwdnd2935265:03crwdnd2935265:03crwdne2935265:0
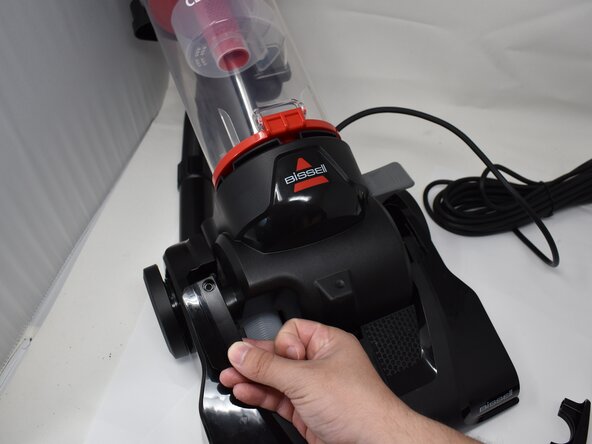
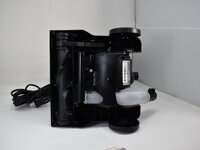
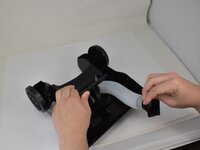
    • Disconnect the main black hose from its lower attachment point.

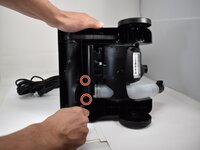
  5. Bissell CleanView Compact 3508 Lower Hose Replacement: crwdns2935265:05crwdnd2935265:01crwdnd2935265:01crwdne2935265:0
    • Use a Phillips #2 screwdriver to remove the two 20.7 mm screws from the lower hose attachment point.

  6. Bissell CleanView Compact 3508 Lower Hose Replacement: crwdns2935265:06crwdnd2935265:01crwdnd2935265:03crwdne2935265:0 Bissell CleanView Compact 3508 Lower Hose Replacement: crwdns2935265:06crwdnd2935265:02crwdnd2935265:03crwdne2935265:0 Bissell CleanView Compact 3508 Lower Hose Replacement: crwdns2935265:06crwdnd2935265:03crwdnd2935265:03crwdne2935265:0
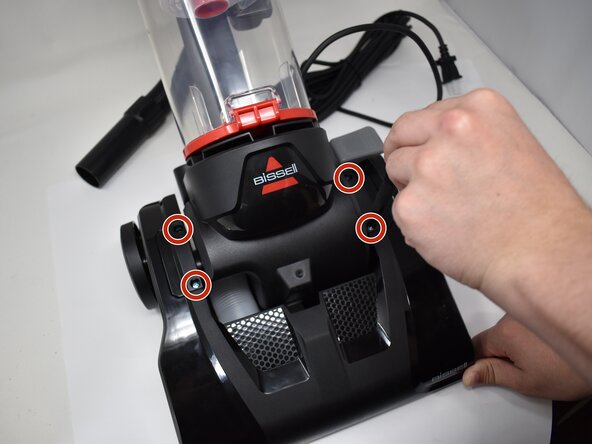
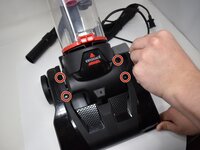
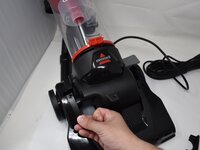
    • Use a Phillips #2 screwdriver to remove the four 20.7 mm screws on the upper cover plates.

    • Remove the two upper cover plates.

  7. Bissell CleanView Compact 3508 Lower Hose Replacement: crwdns2935265:07crwdnd2935265:01crwdnd2935265:03crwdne2935265:0 Bissell CleanView Compact 3508 Lower Hose Replacement: crwdns2935265:07crwdnd2935265:02crwdnd2935265:03crwdne2935265:0 Bissell CleanView Compact 3508 Lower Hose Replacement: crwdns2935265:07crwdnd2935265:03crwdnd2935265:03crwdne2935265:0
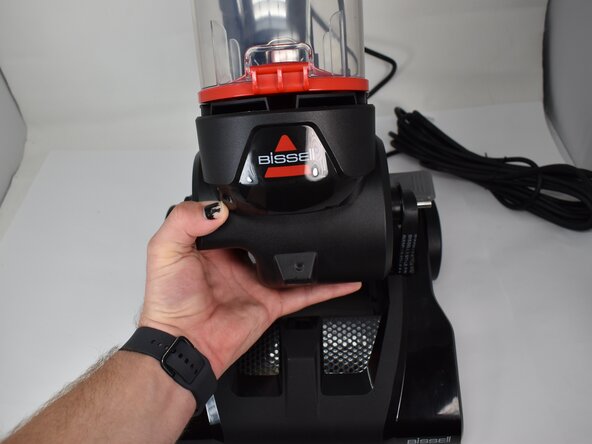
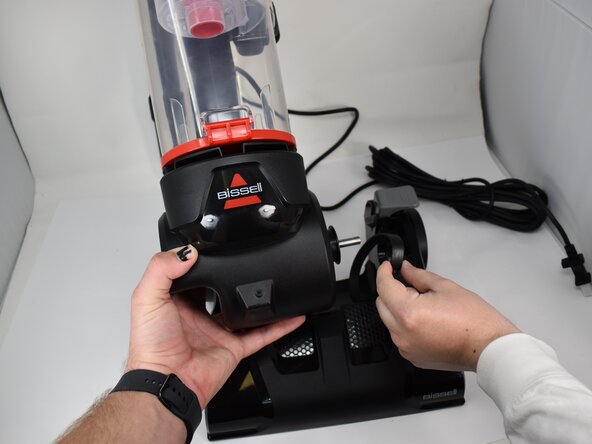
    • Gently pull the top half up and to the side away from the drive shaft to separate both halves.

    • Pull the belt through the socket, and remove the belt from the drive shaft.

  8. Bissell CleanView Compact 3508 Lower Hose Replacement, Lower Hose: crwdns2935265:08crwdnd2935265:01crwdnd2935265:02crwdne2935265:0 Bissell CleanView Compact 3508 Lower Hose Replacement, Lower Hose: crwdns2935265:08crwdnd2935265:02crwdnd2935265:02crwdne2935265:0
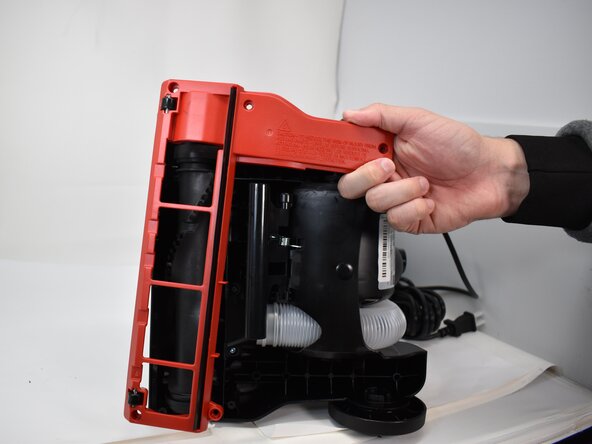
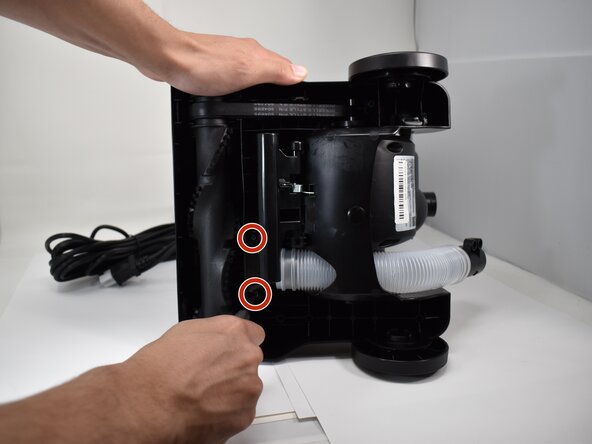
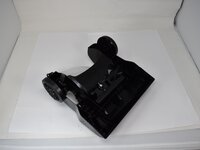
    • Flip the bottom upside to expose the bottom.

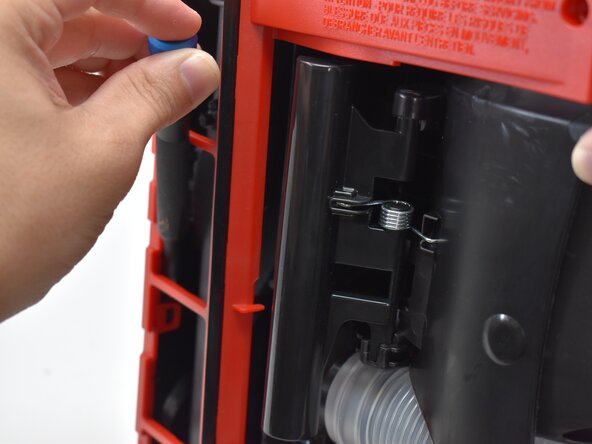
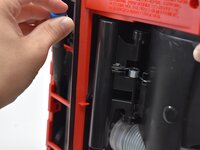
    • Pull back the lever back, and remove the two 20.7 mm screws from the hose.

  9. Bissell CleanView Compact 3508 Lower Hose Replacement: crwdns2935265:09crwdnd2935265:01crwdnd2935265:03crwdne2935265:0 Bissell CleanView Compact 3508 Lower Hose Replacement: crwdns2935265:09crwdnd2935265:02crwdnd2935265:03crwdne2935265:0 Bissell CleanView Compact 3508 Lower Hose Replacement: crwdns2935265:09crwdnd2935265:03crwdnd2935265:03crwdne2935265:0
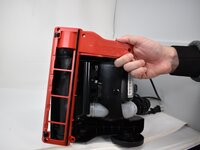
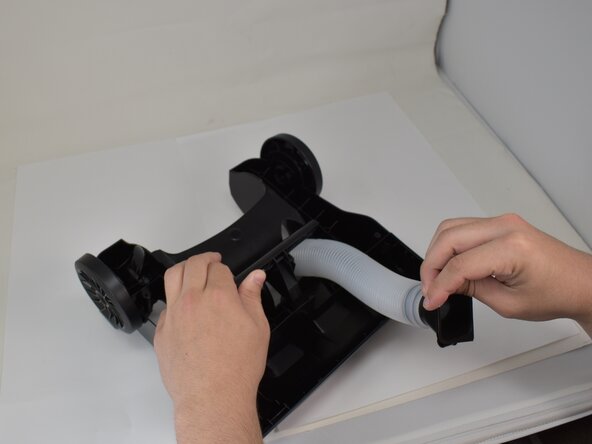
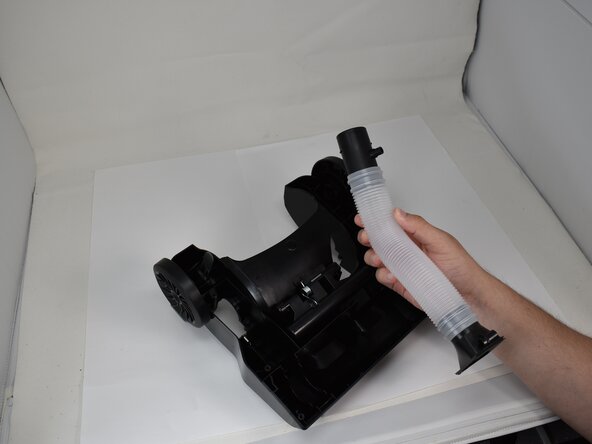
    • Flip the bottom upside to expose the bottom.

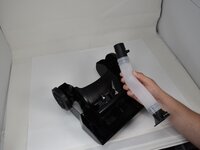
    • Continue to hold the lever back and pull the hose through, with the outside side of the hose being pulled through the base.

crwdns2915888:0crwdne2915888:0

To reassemble your device, follow these instructions in reverse order.

Everett Harrison

crwdns2935283:002/19/25crwdne2935283:0

873 crwdns2915208:0crwdne2915208:0

crwdns2935297:07crwdne2935297:0

crwdns2915084:0crwdne2915084:0

University of Memphis, Team 1-4, Sneed Spring 2025 crwdns2935289:0University of Memphis, Team 1-4, Sneed Spring 2025crwdne2935289:0

UM-SNEED-S25S1G4

crwdns2931471:04crwdne2931471:0

crwdns2935297:07crwdne2935297:0

crwdns2947412:00crwdne2947412:0

crwdns2917038:0crwdne2917038:0

crwdns2936625:0crwdne2936625:0:

crwdns2936751:024crwdne2936751:0 0

crwdns2936753:07crwdne2936753:0 10

crwdns2936753:030crwdne2936753:0 16

crwdns2942667:0crwdne2942667:0 38