crwdns2915892:0crwdne2915892:0
This guide will help you take apart the handheld vacuum using the most appropriate tools to replace the battery.
crwdns2942213:0crwdne2942213:0
-
-
Push the silver button to disconnect the dirt dish from the handheld vacuum.
-
-
-
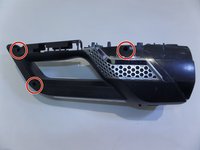
Remove the four 4 .4cm screws using your P0 screwdriver head and screwdriver.
-
Remove the Bissell sign to remove the two 4.4cm screws, using your P0 screwdriver head and screwdriver.
-
-
-
-
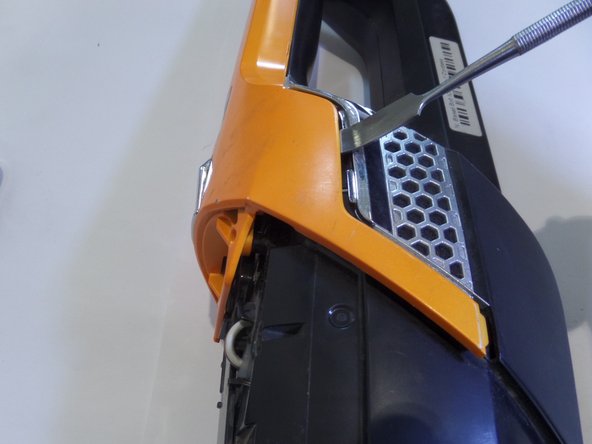
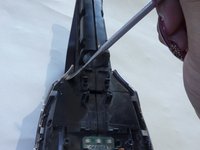
Using the metal spudger, insert and lift up to remove the frame from the body.
-
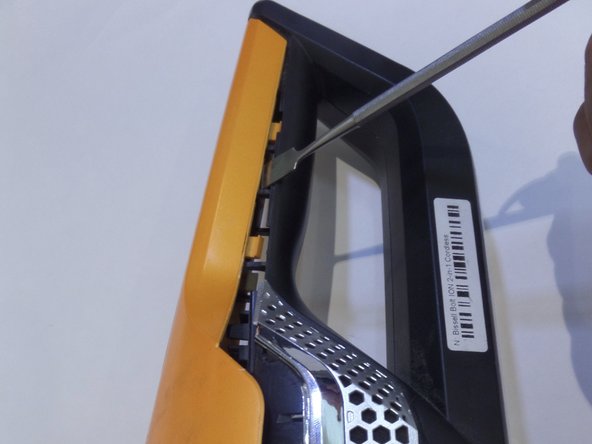
Move along the line and repeat on the other side.
-
-
-
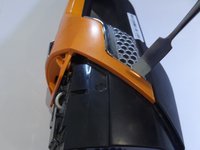
Remove the orange frame
-
Remove the 3 screws on the right side of the vacuum.
-
-
-
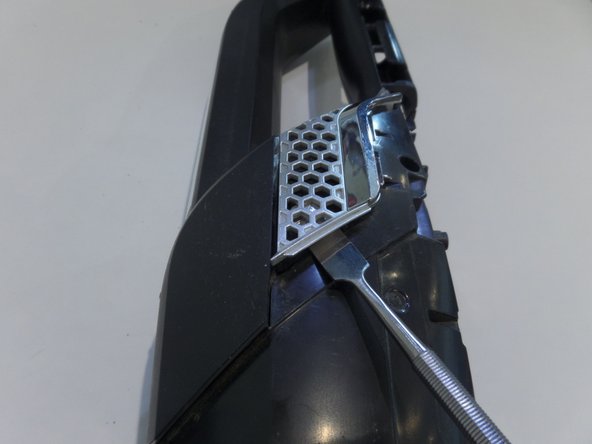
With metal spudger remove the metal clip on both sides.
-
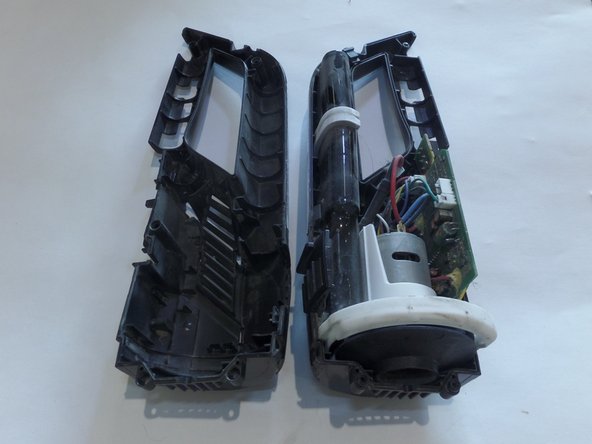
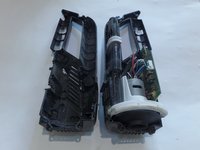
Pull device apart using great force
-


To reassemble your device, follow these instructions in reverse order.
To reassemble your device, follow these instructions in reverse order.
crwdns2935221:0crwdne2935221:0
crwdns2935229:013crwdne2935229:0
crwdns2915084:0crwdne2915084:0

CSU Fullerton, Team S1-G3, Bruce Fall 2017 crwdns2935289:0CSU Fullerton, Team S1-G3, Bruce Fall 2017crwdne2935289:0
CSUF-BRUCE-F17S1G3
crwdns2931471:03crwdne2931471:0
crwdns2935297:05crwdne2935297:0
crwdns2947412:024crwdne2947412:0
Do you have the specs for the replacement battery? Model number? Any suggested sources?
There is no replacement battery. The vacuum does have a two year warranty. If you call Bissell, they will replace the vacuum.
They will replace it with a refurbished one. In 6 months the same thing will happen and they don't warranty the replacement.
elarvick -
So why show how to take it apart if I can't replace the battery??
Dang, nice tutorial for a rather obscure dissection. Thank you.