crwdns2915892:0crwdne2915892:0
Actions speak louder than words especially when your speaker's broken. Speak up and follow this guide.
crwdns2942213:0crwdne2942213:0
-
-
Peel the rubber cover back from the corner of the speaker to reveal the screw.
-
Repeat for the three remaining corners.
-
-
-
Use the J1 bit attached to the screwdriver to remove the four 10mm screws from the bottom of the speaker.
-
-
crwdns2935267:0crwdne2935267:0Tweezers$4.99
-
Lift the bottom cover away from the rest of the speaker.
-
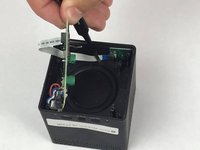
Using the tweezers, pull the wires from the speaker's internal chip.
-
-
-
Using a plastic opening tool, gently pry the battery from the metal base.
-
-
-
-
Using tweezers, pull the wires from the metal base connection.
-
-
-
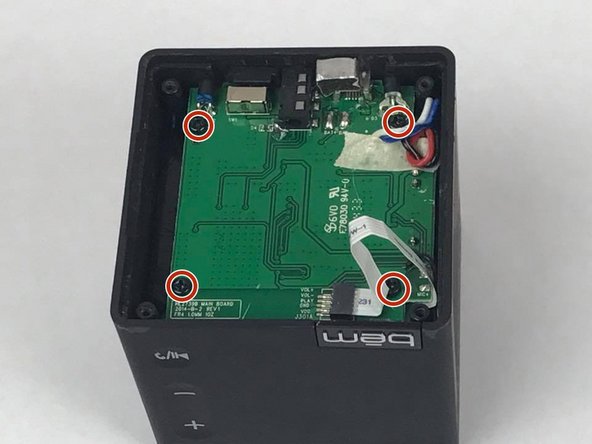
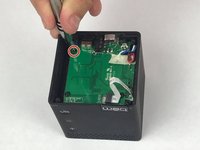
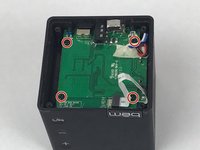
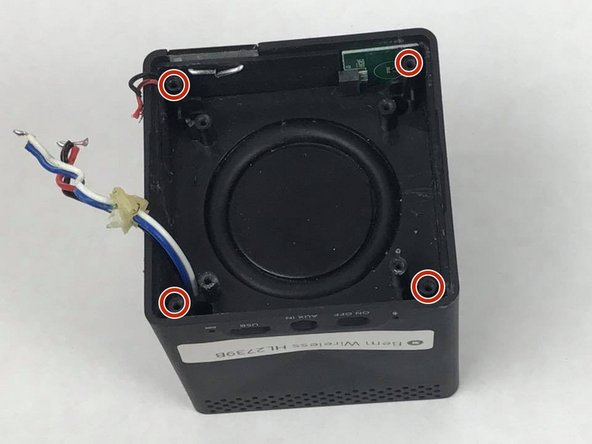
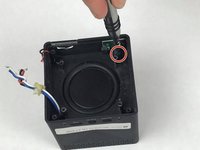
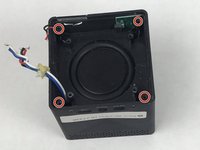
Unscrew the four 10mm screws from the motherboard.
-
-
crwdns2935267:0crwdne2935267:0Tweezers$4.99
-
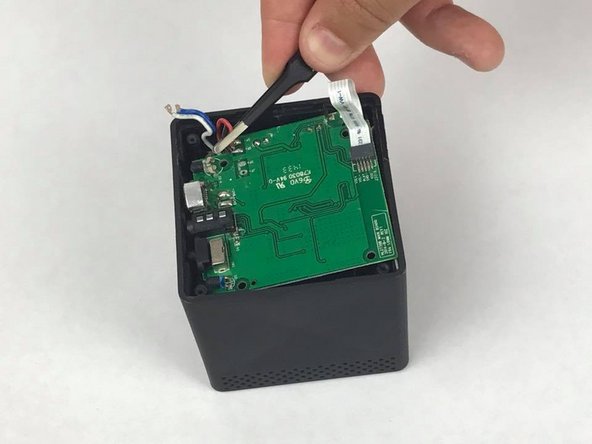
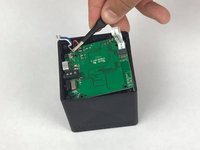
Using tweezers, remove the blue/white and red/black wires from motherboard.
-
-
-
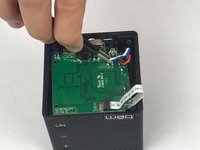
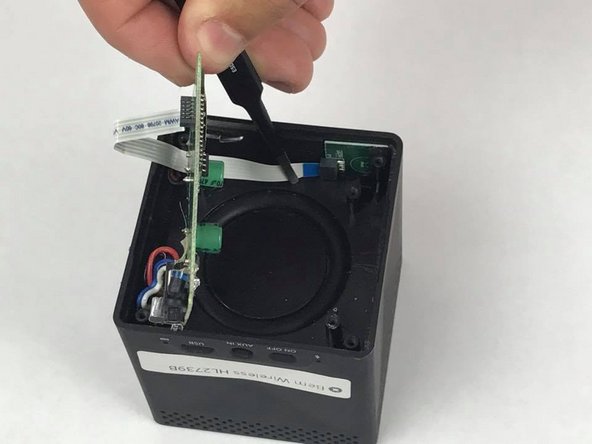
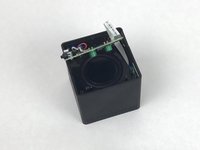
Remove bus wire from the speaker and lift out the motherboard.
-
-
crwdns2935267:0crwdne2935267:0Tweezers$4.99
-
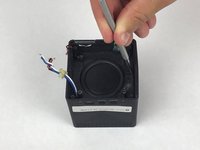
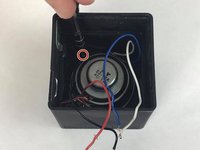
Using tweezers remove excess glue that may be covering the screw holes of the speaker's driver.
-
-
-
Remove the four 10mm screws from speaker's base.
-
-
-
Using the metal spudger, pry up on the speaker's base.
-
Pull the wire from the speaker's driver's base from the hole it was in.
-
-
-
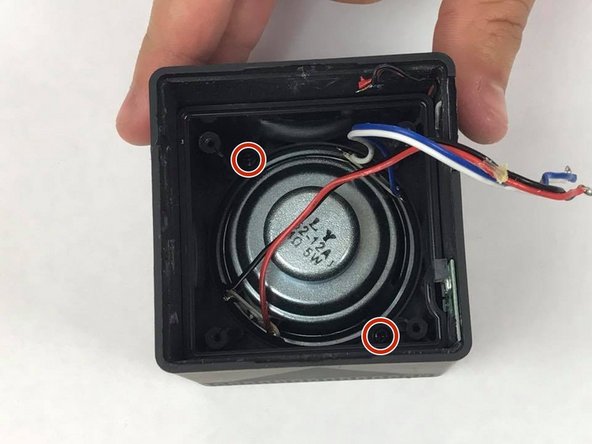
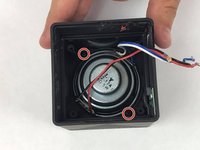
Remove the two 5mm screws from the speaker.
-
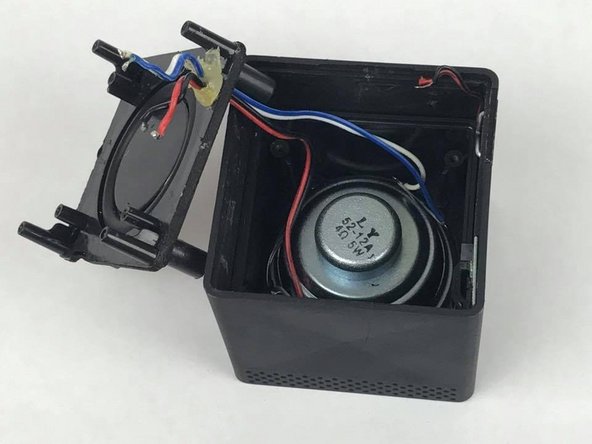
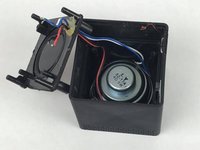
Lift the driver from the speaker.
-
To reassemble your device, follow these instructions in reverse order.
To reassemble your device, follow these instructions in reverse order.


