crwdns2915892:0crwdne2915892:0
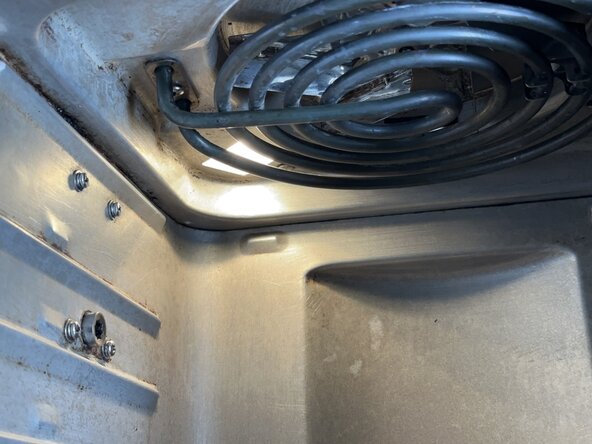
Use this guide to replace the lightbulb inside of a Bella Pro 90246 12.6-qt. Digital Air Fryer Oven.
The lightbulb inside the air fryer is used to check the cooking status of your food. Without this working, you face the risk of cooking too long and burning your food. Following this guide will help you disassemble the air fryer to locate the light bulb, complete the replacement, and extend the use of your air fryer.
Before you start the lightbulb replacement, it is important to gather all the necessary tools listed in the “What you need” section of the guide. You will need to purchase a new Halogen GY6.35 light bulb that is an exact fit for the circuit. Before you begin disassembly, make sure your air fryer is unplugged, and then you're ready to begin.
crwdns2942213:0crwdne2942213:0
-
-
Gather your materials to begin disassembly.
-
-
-
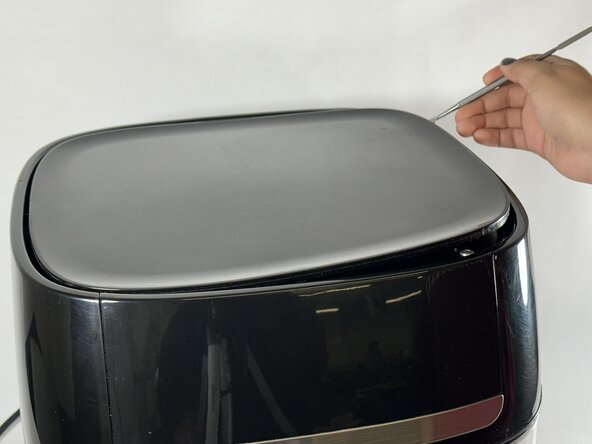
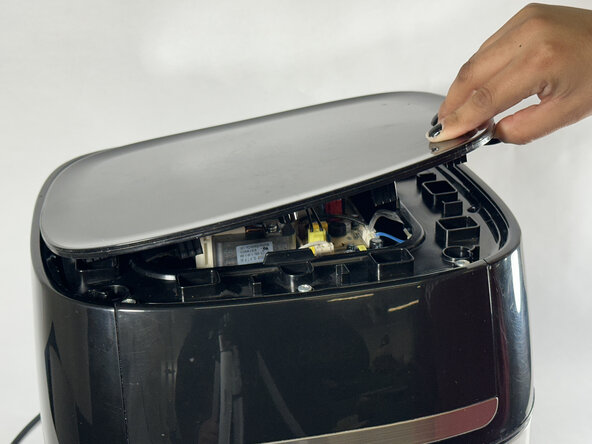
Use the metal spudger to pry off the protective lid on all four sides.
-
-
-
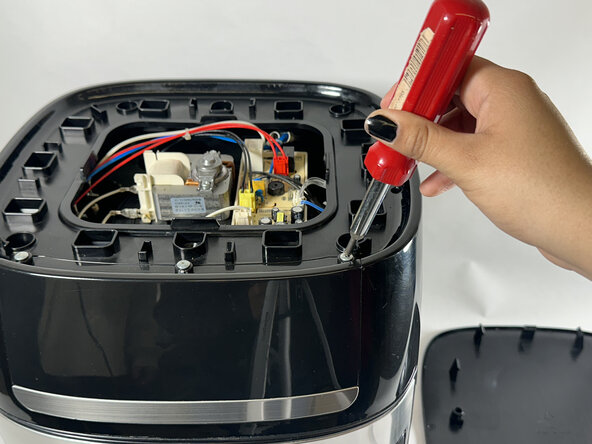
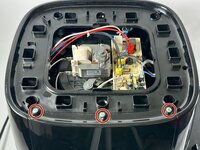
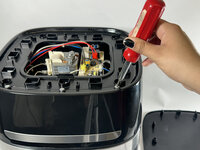
Remove the three 9.5 mm screws on the top of the air fryer that hold the plastic cover in place using a Phillips #1 screwdriver.
-
-
-
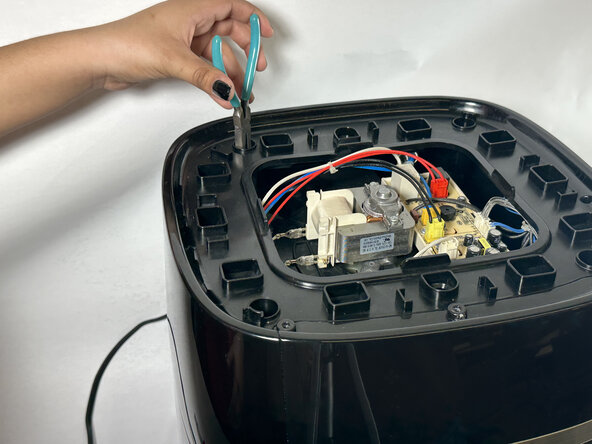
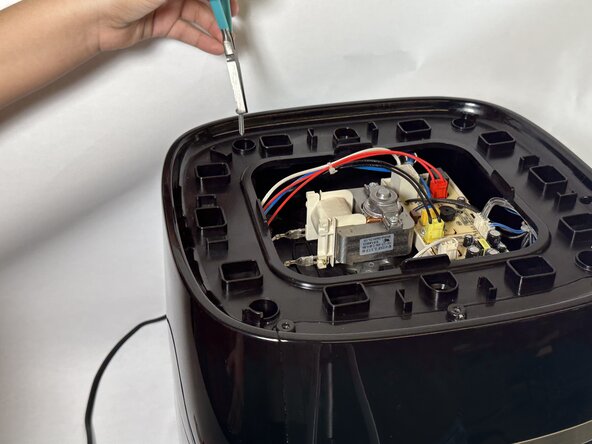
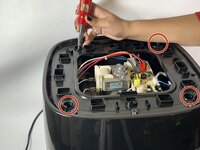
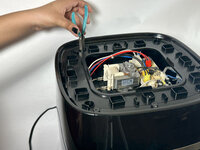
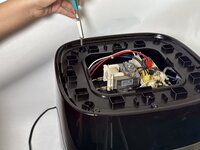
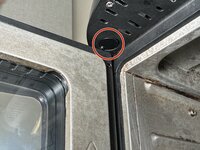
Use the Phillips #1 screwdriver to remove the four 34.9 mm screws that are located inside the round holes on the corners of the plastic cover.
-
-
-
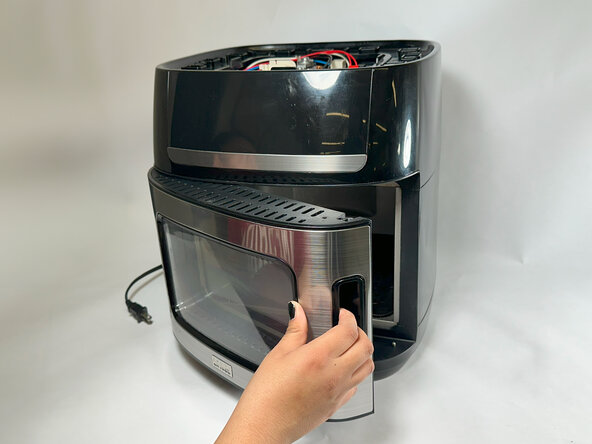
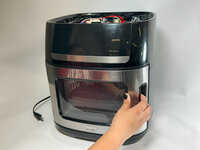
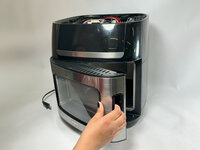
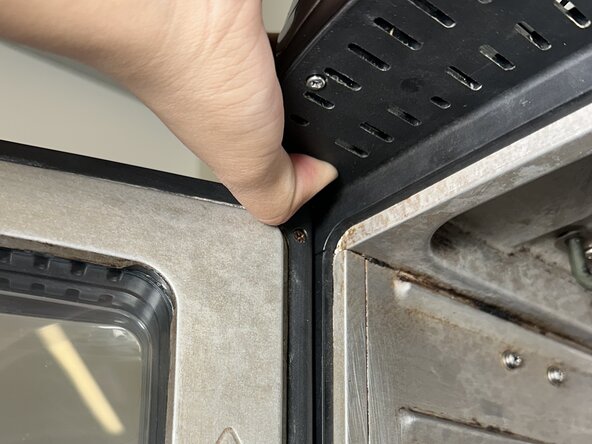
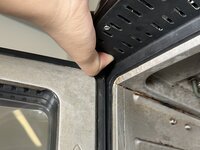
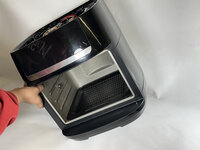
Press the button underneath the hood to release the mechanism that holds the door in place.
-
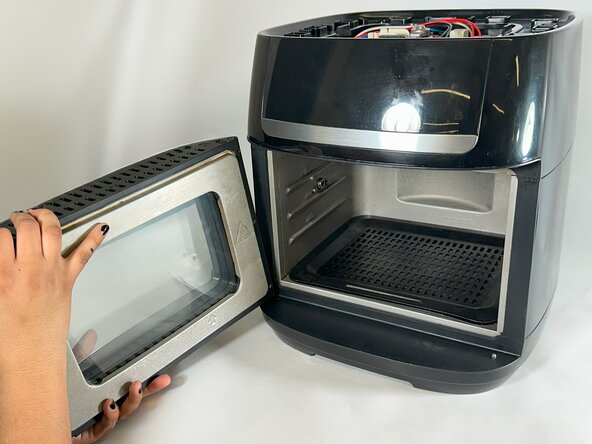
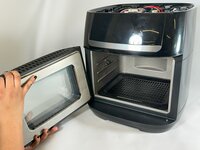
Once the door is disconnected, remove it from the airfryer and set it to the side.
-
-
-
-
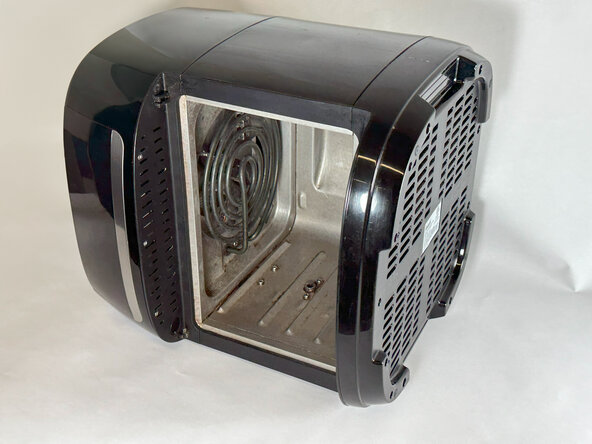
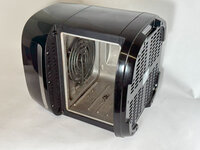
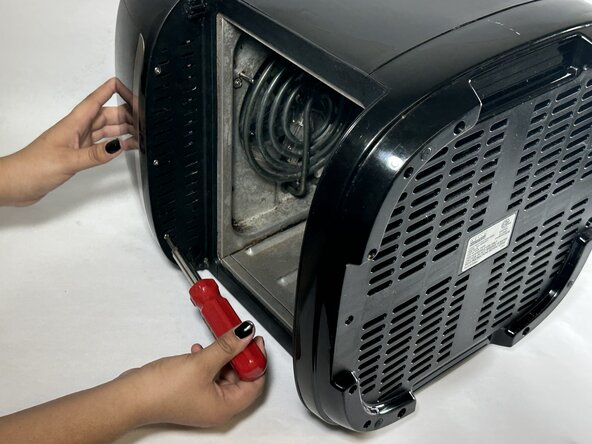
Carefully tilt the air fryer onto its side.
-
-
-
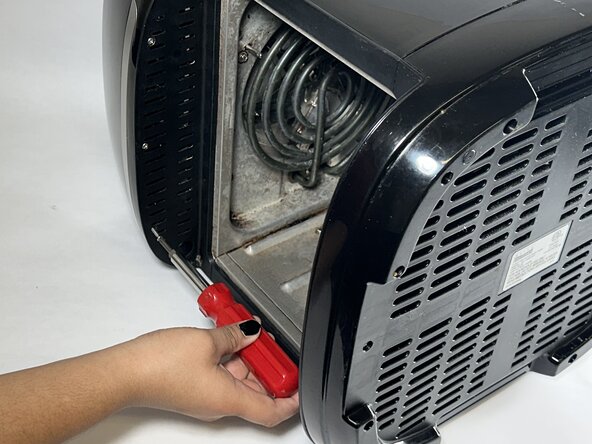
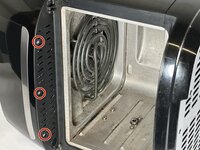
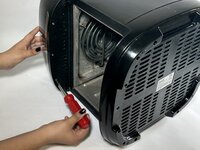
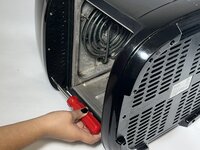
Use the Phillips #1 screwdriver to remove the three 25.4 mm screws under the hood.
-
-
-
Hold the top of the air fryer into place while carefully moving it back to its up-right position.
-
-
-
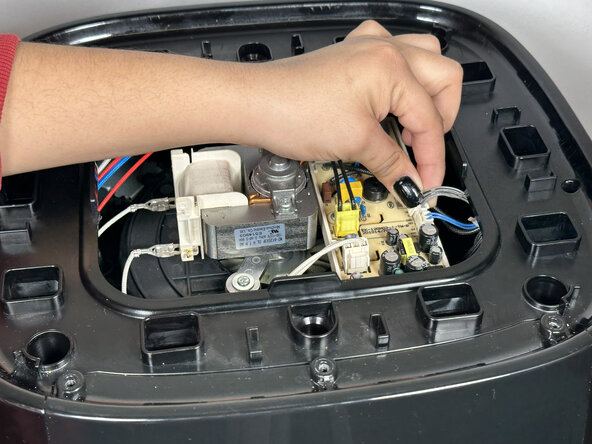
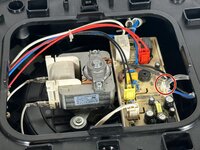
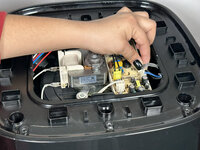
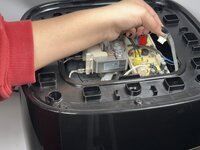
Identify the grey electrical cable attached to the circuit board.
-
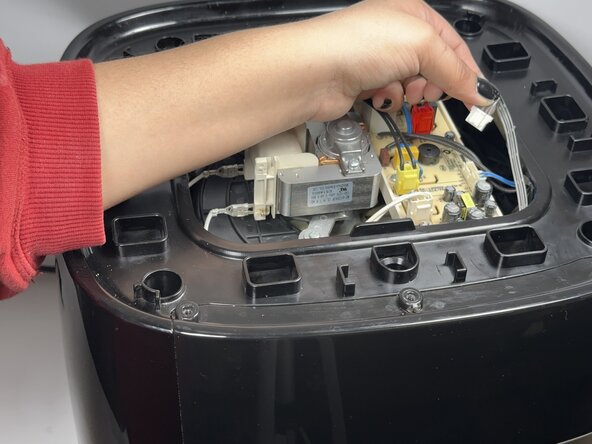
Press firmly on the cable head's tab to release the connection.
-
Carefully wiggle the cable head to disconnect the wire from the circuit board without damaging it.
-
-
-
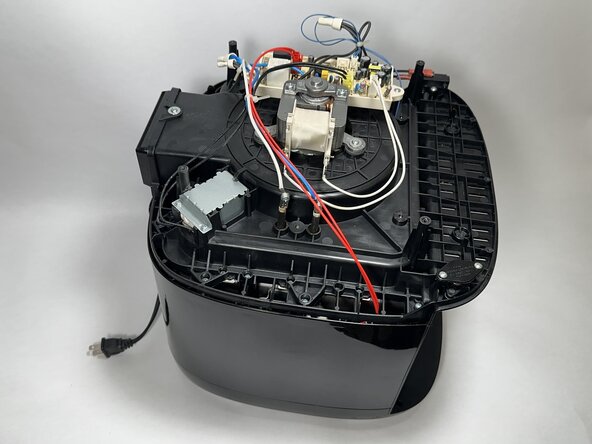
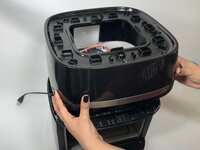
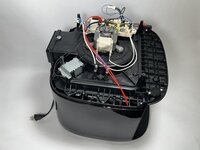
Lift the top cover off of the air fryer to access the electrical circuits underneath.
-
-
-
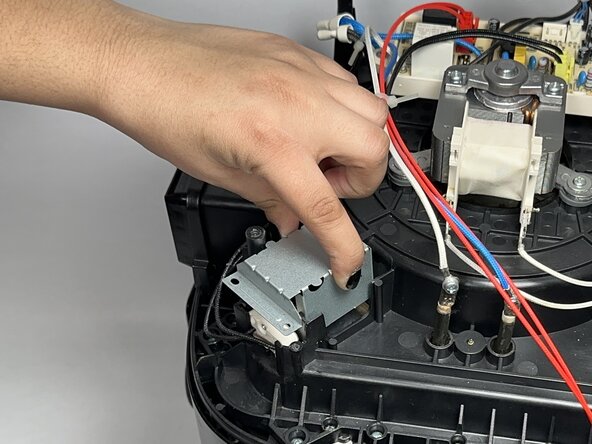
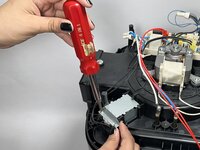
Remove the two 19.1 mm screws securing the metal light bulb cover using a Phillips #1 screwdriver.
-
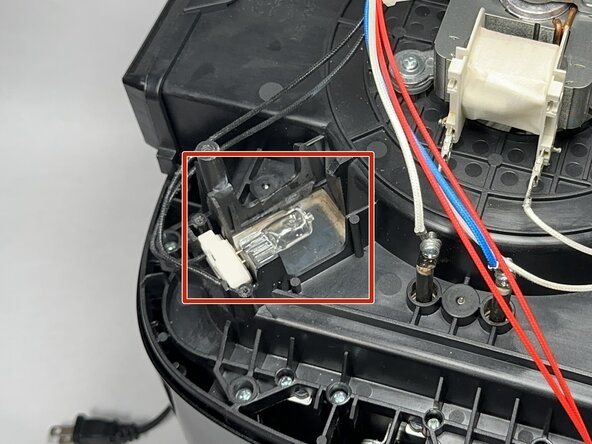
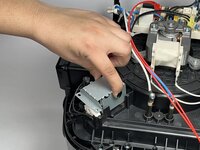
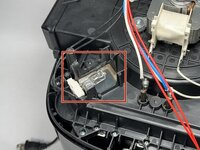
Carefully pull off the metal cover to reveal the burnt-out light bulb.
-
-
-
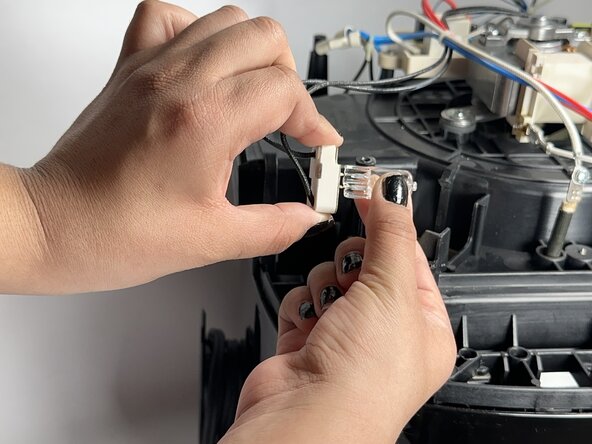
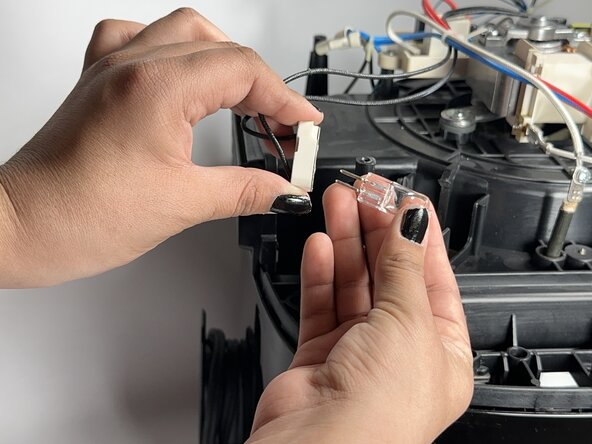
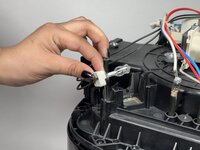
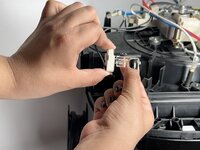
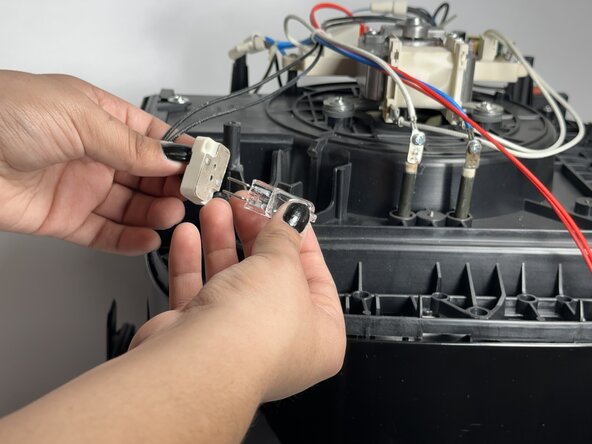
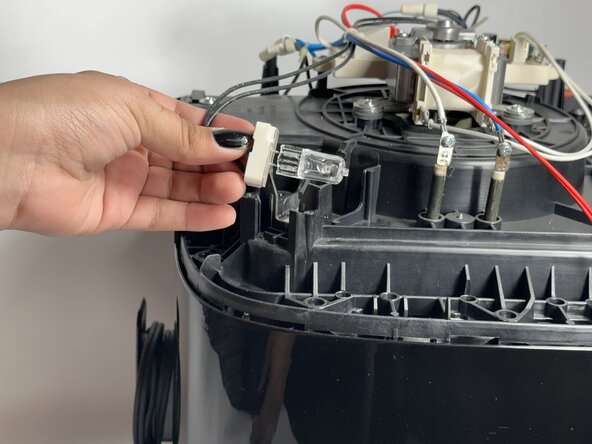
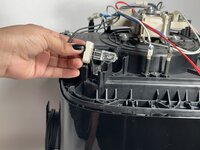
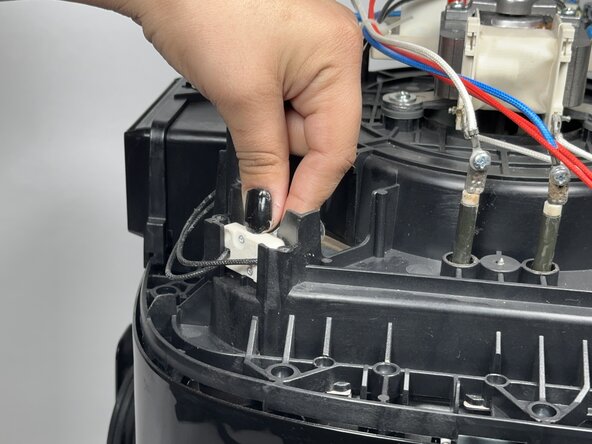
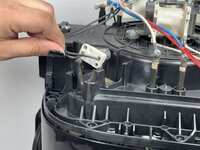
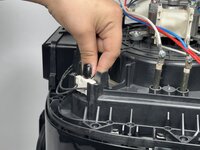
Lift the light bulb circuit out of the plastic slot and remove the burnt out light bulb by pulling gently.
-
-
-
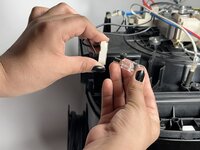
Gently plug the new light bulb into the light bulb circuit.
-
-
-
Slide the light bulb circuit carefully back into the plastic slot.
-
-
-
Plug your air fryer into an electrical outlet to confirm your new light bulb works.
-
Enjoy your perfectly cooked food!
-
To reassemble your device follow this guide in reverse order starting with step 11.
To reassemble your device follow this guide in reverse order starting with step 11.
crwdns2935221:0crwdne2935221:0
crwdns2935229:02crwdne2935229:0
crwdns2947410:01crwdne2947410:0
Can I please get a picture of the circuit board from both sides? I plugged this air fryer in 220 volts, which might've caused a couple resistors to go bad and I am trying to replace them, but I don't know the exact value of them


