crwdns2915892:0crwdne2915892:0
If the timer fails, it is easy to replace and fix your toaster using this guide.
crwdns2942213:0crwdne2942213:0
-
-
Remove five 11.6 mm Phillips #2 screws from the rear of the device.
-
-
-
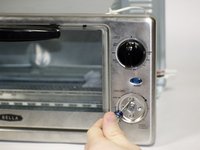
Open the front glass door of the toaster oven.
-
-
-
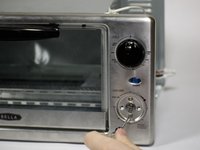
Locate retaining screw on the upper-middle portion of the door frame.
-
-
-
Remove one 21.9 mm Phillips #2 retaining screw from upper-middle portion of door frame.
-
-
-
-
Flip toaster onto back panel with feet facing forward.
-
-
-
Use spudger to pry the grey rubber inserts from the black plastic feet.
-
-
-
Remove four 13.7mm Phillips #2 screws from black plastic feet to separate the cover from the device.
-
-
-
Lift the black outer cover off of the toaster
-
-
-
Using a plastic spudger, gently pry the black plastic timing dial away from the face of the toaster.
-
-
-
Remove two 5.91 mm #2 Phillips screws which secure the timer to the toaster.
-
-
-
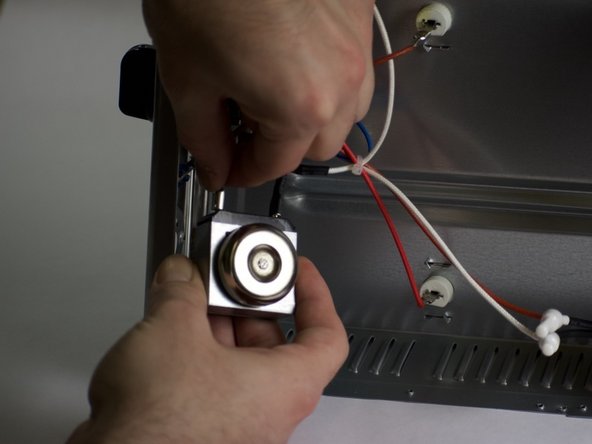
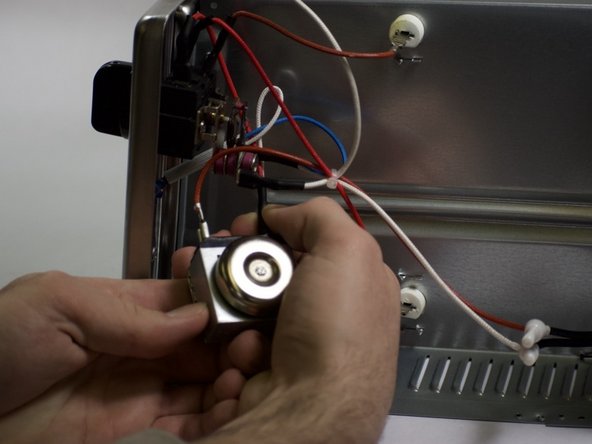
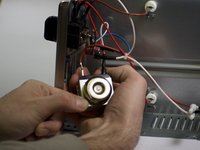
Inside the device, unplug the red and black wires from the top of the timer.
-


To reassemble your device, follow these instructions in reverse order.
To reassemble your device, follow these instructions in reverse order.
crwdns2935221:0crwdne2935221:0
crwdns2935227:0crwdne2935227:0
crwdns2915084:0crwdne2915084:0

Appalachian State University, Team S1-G4, Menagarishvili Spring 2019 crwdns2935289:0Appalachian State University, Team S1-G4, Menagarishvili Spring 2019crwdne2935289:0
APSU-MENAGARISHVILI-S19S1G4
crwdns2931471:03crwdne2931471:0
crwdns2935297:05crwdne2935297:0