crwdns2915892:0crwdne2915892:0
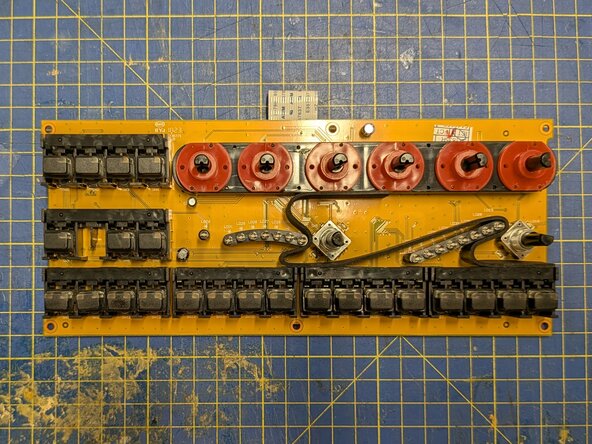
The button and controls board has all the controls you see on the front panel mounted on it. You might need to remove it to replace one of these, or simply to realign a button that's got stuck in a bad position.
crwdns2942213:0crwdne2942213:0
-
-
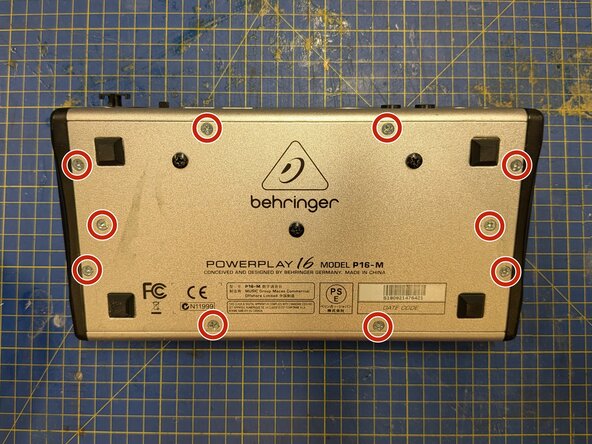
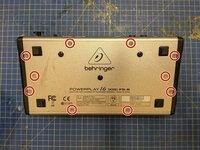
Remove 10 Phillips #2 screws from around the edges of the bottom plate
-
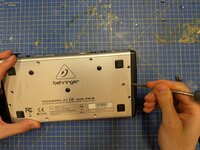
Use a spudger or flathead screwdriver to lever the bottom plate free.
-
-
-
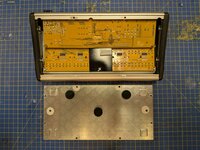
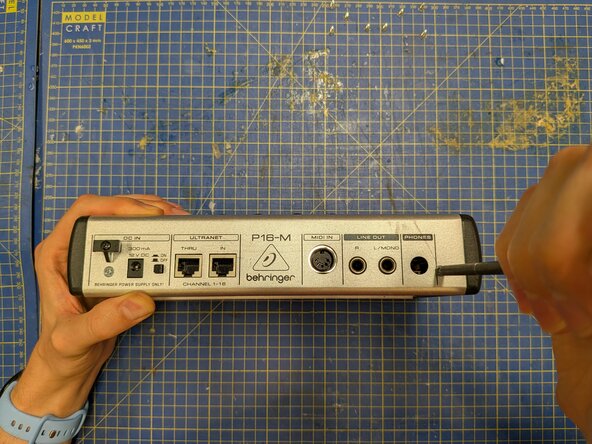
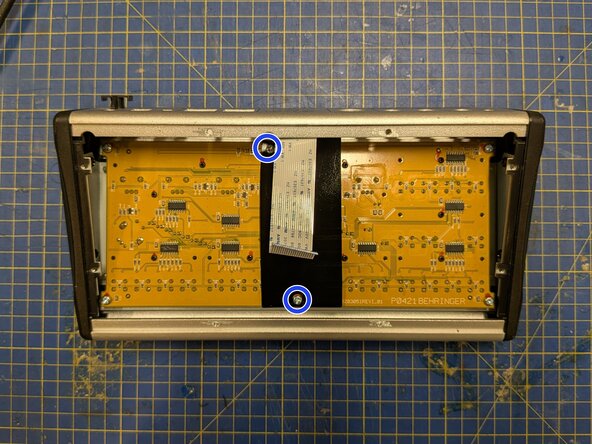
Remove the two silver Phillips #2 screws from the back plate.
-
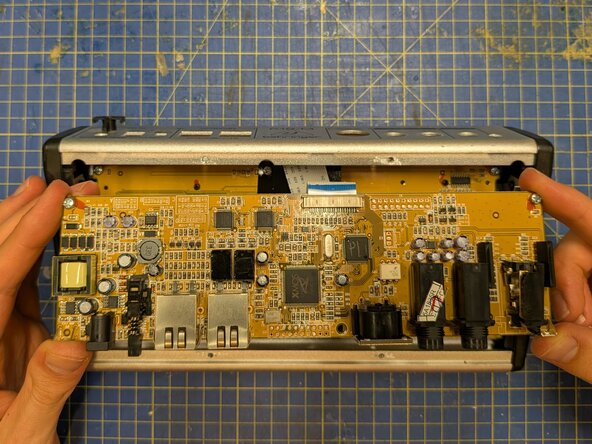
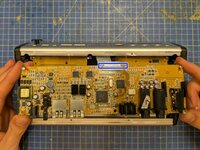
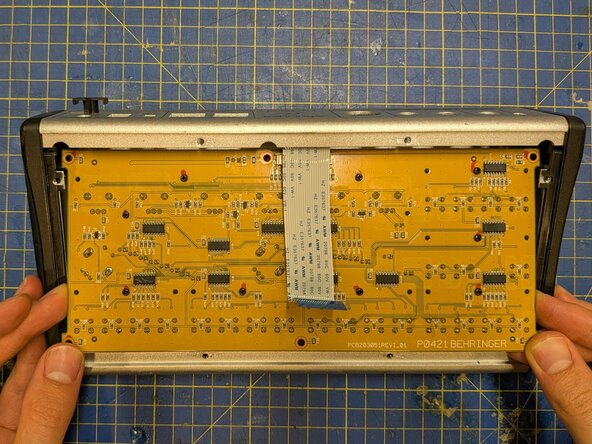
With the P16-M face down on the table, ease the circuit board away from the back plate to free the connectors from their slots, then manoeuvre it out of the case.
-
-
-
-
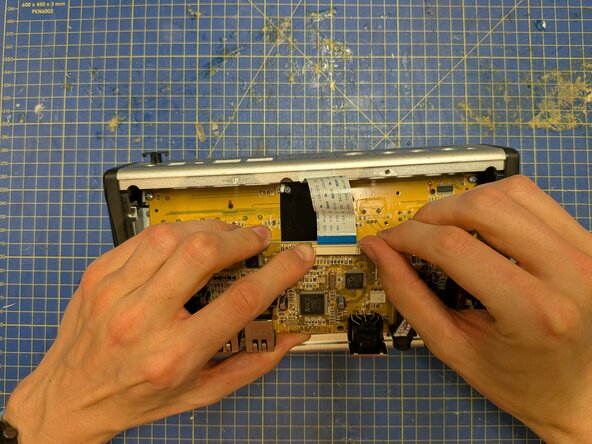
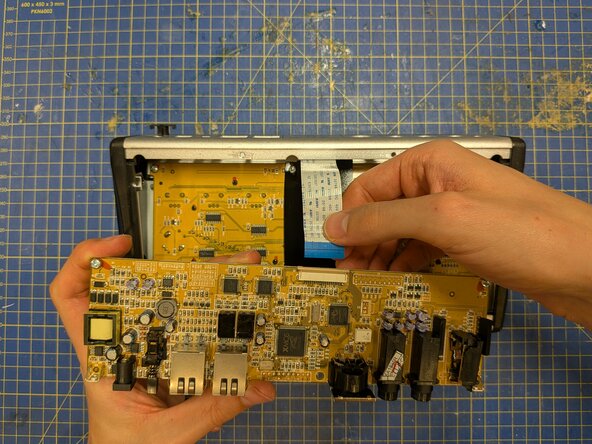
Push on the plastic tabs either side of the ribbon connector to free the ribbon.
-
Pull on the ribbon cable to remove it. This should barely require any force.
-
-
-
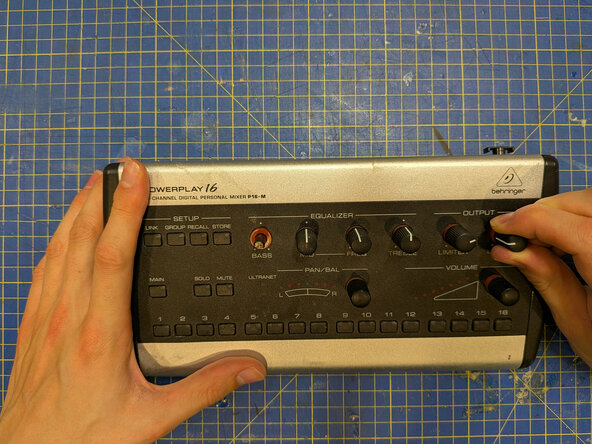
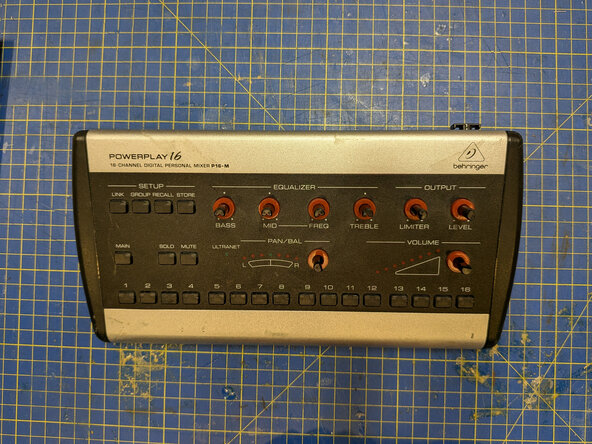
With the P16-M flat on the table, remove all the knobs from its front panel. To do this, grip each knob and pull it straight up. This may require some force.
-
-
-
Remove the two screws holding the plastic piece down.
-
Put the plastic piece aside.
-
-
-
Remove the remaining four screws from the corners of the board.
-
Manoeuvre the board out of the casing.
-


To reassemble your device, follow these instructions in reverse order.
To reassemble your device, follow these instructions in reverse order.