crwdns2915892:0crwdne2915892:0
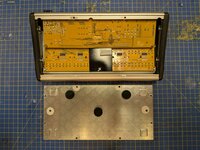
The I/O and processing board of the P16-M has the audio processing components, audio jacks, and other connectors mounted on it. You might need to take it out to replace broken connectors.
crwdns2942213:0crwdne2942213:0
-
-
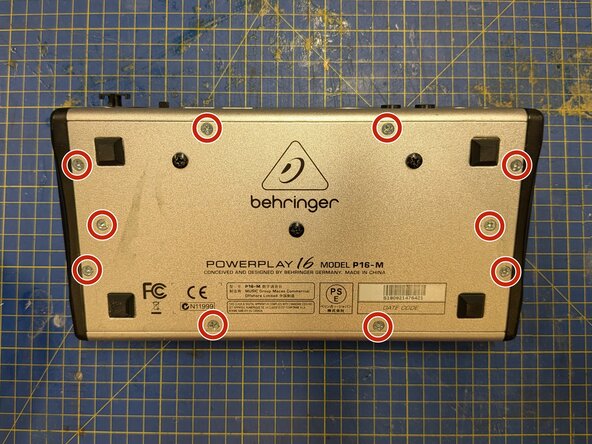
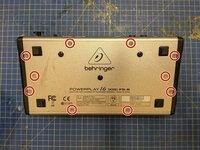
Remove 10 Phillips #2 screws from around the edges of the bottom plate
-
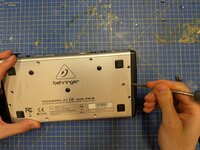
Use a spudger or flathead screwdriver to lever the bottom plate free.
-
-
-
-
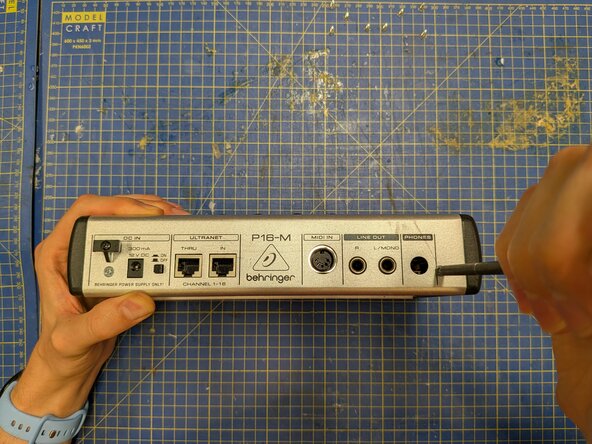
Remove the two silver Phillips #2 screws from the back plate.
-
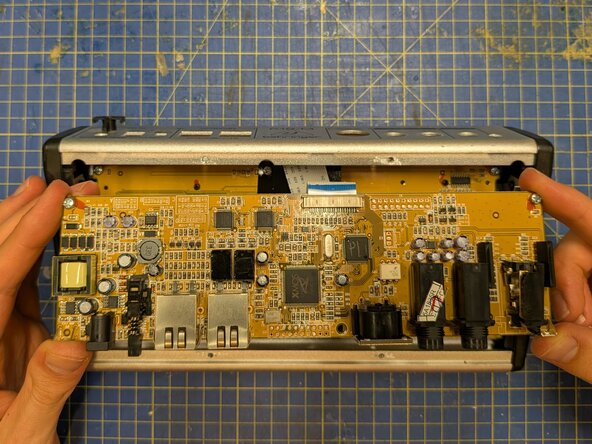
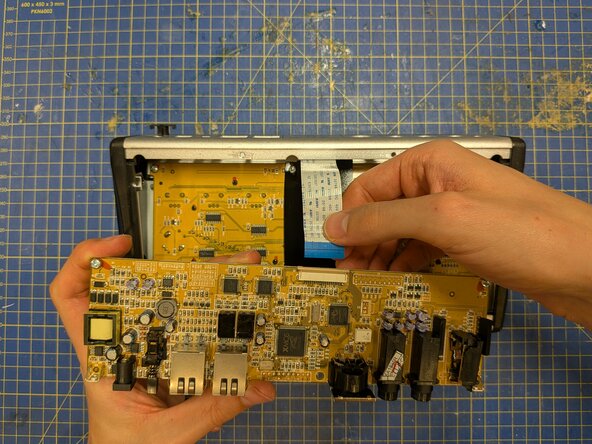
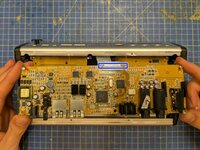
With the P16-M face down on the table, ease the circuit board away from the back plate to free the connectors from their slots, then manoeuvre it out of the case.
-
-
-
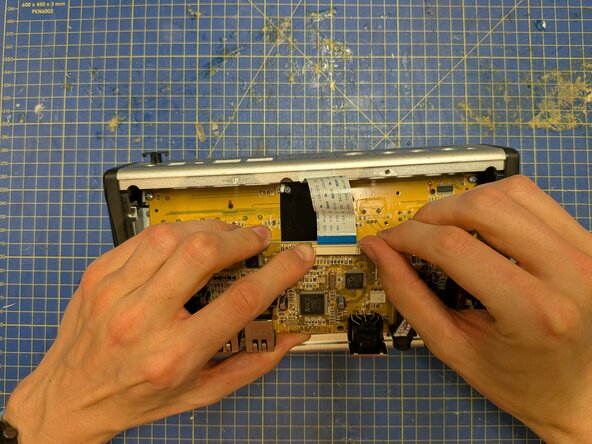
Push on the plastic tabs either side of the ribbon connector to free the ribbon.
-
Pull on the ribbon cable to remove it. This should barely require any force.
-


To reassemble your device, follow these instructions in reverse order.
To reassemble your device, follow these instructions in reverse order.