crwdns2915892:0crwdne2915892:0
It can be difficult to use this product if the heating element is not as strong or slowly gets weaker. Other reasons for removal may be damage to the upper structure, or just deterioration with age. It may seem initially intimidating to attempt to replace. However, by following these few simple steps, it makes it easier!
crwdns2942213:0crwdne2942213:0
-
-
Remove all four of the 4 mm Phillips screws on either side of the casing.
-
-
-
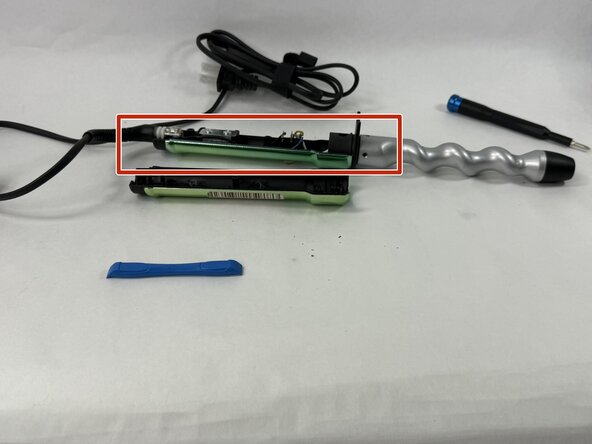
Using an opening tool, insert it along the seam where both halves of the casing meet, and slowly pry the left side of the casing from the right.
-
Gently pull back the right side of the casing from the center molding.
-
-
-
Move wiring or other components away from the main soldering field
-
-
-
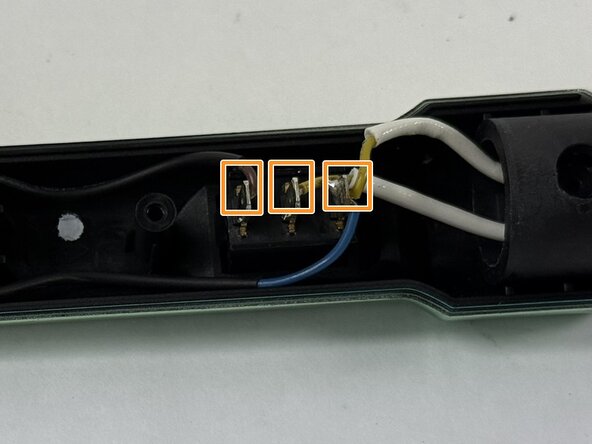
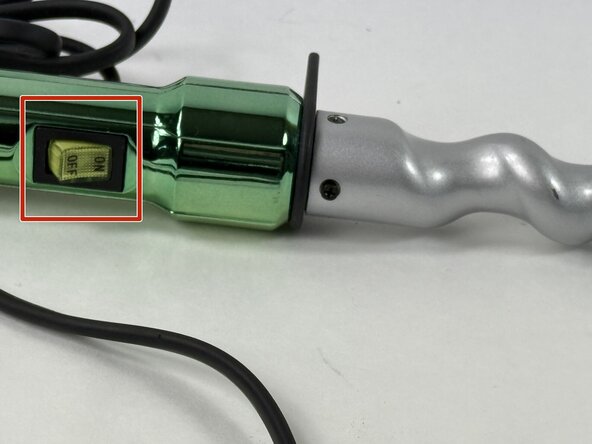
Release the securing tabs on the switch to the center molding.
-
Use a 4mm flat head screwdriver to break off the solder where the wires meet the switch.
-
-
-
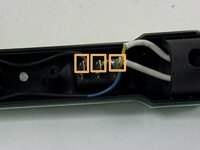
Press the new switch back into the center molding and use a soldering iron to solder the wires on the new switch.
-
-
-
Remove the four 4 mm Phillips screws shown on the heating element housing.
-
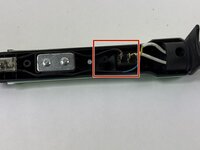
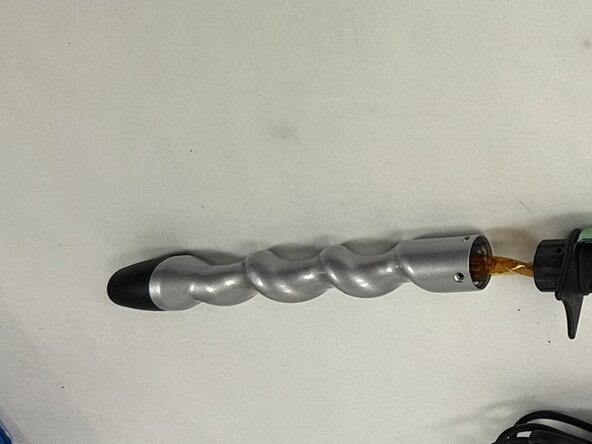
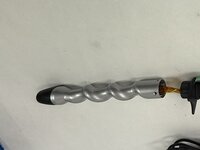
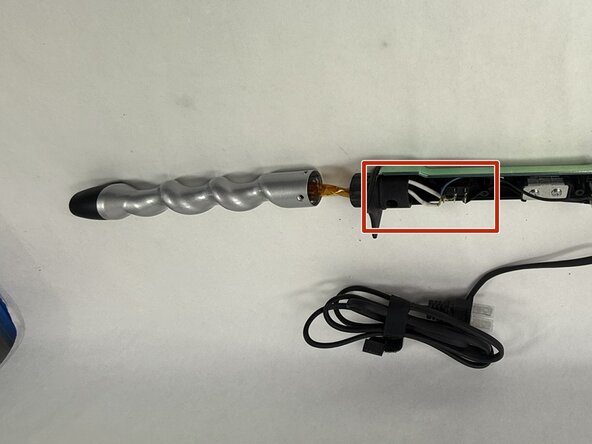
Pull back on the heater housing to release it from the main handle molding.
-
-
-
Locate the wiring of the heating element on the switch.
-
Use Philips Screwdriver #2 to remove the solder from both wires
-
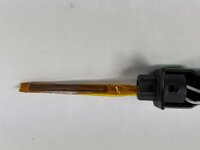
Once both wires are released, pull back on the heating element to release it from the assembly.
-
-
-
Use a Soldering iron to reconnect the heating element wires to the metal tabs on the switch.
-


To reassemble your device, follow these instructions in reverse order.
To reassemble your device, follow these instructions in reverse order.
crwdns2915084:0crwdne2915084:0

UMass Dartmouth, Team 3-6, Botvin Spring 2025 crwdns2935289:0UMass Dartmouth, Team 3-6, Botvin Spring 2025crwdne2935289:0
UMASSD-BOTVIN-S25S3G6
crwdns2931471:03crwdne2931471:0
crwdns2935297:04crwdne2935297:0