crwdns2933423:0crwdne2933423:0

Beboncool Gamepad for Nintendo Switch Joystick Replacement

crwdns2942213:0crwdne2942213:0

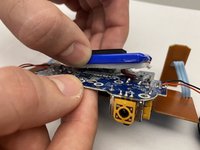
  1. Beboncool Gamepad for Nintendo Switch Joystick Replacement, Beboncool Nintendo Switch Gamepad Disassembly: crwdns2935265:01crwdnd2935265:01crwdnd2935265:03crwdne2935265:0 Beboncool Gamepad for Nintendo Switch Joystick Replacement, Beboncool Nintendo Switch Gamepad Disassembly: crwdns2935265:01crwdnd2935265:02crwdnd2935265:03crwdne2935265:0 Beboncool Gamepad for Nintendo Switch Joystick Replacement, Beboncool Nintendo Switch Gamepad Disassembly: crwdns2935265:01crwdnd2935265:03crwdnd2935265:03crwdne2935265:0
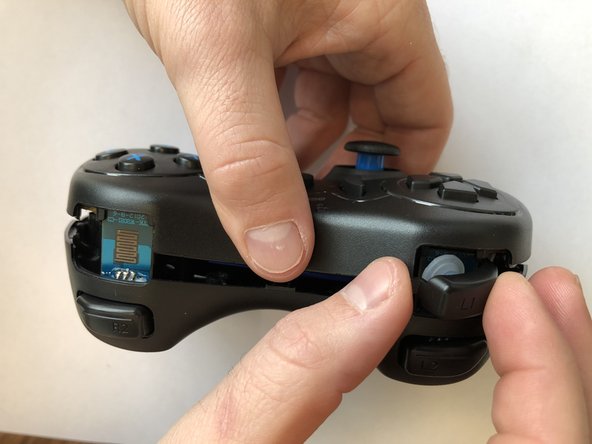
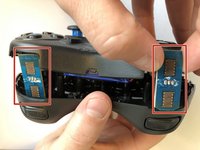
    • Use the plastic opening tool to remove the blue plastic grips from the sides of the controller.

  2. Beboncool Gamepad for Nintendo Switch Joystick Replacement: crwdns2935265:02crwdnd2935265:01crwdnd2935265:02crwdne2935265:0 Beboncool Gamepad for Nintendo Switch Joystick Replacement: crwdns2935265:02crwdnd2935265:02crwdnd2935265:02crwdne2935265:0
    • Use the Phillips #0 screwdriver to remove the seven 5mm screws from the back of the controller.

  3. Beboncool Gamepad for Nintendo Switch Joystick Replacement: crwdns2935265:03crwdnd2935265:01crwdnd2935265:03crwdne2935265:0 Beboncool Gamepad for Nintendo Switch Joystick Replacement: crwdns2935265:03crwdnd2935265:02crwdnd2935265:03crwdne2935265:0 Beboncool Gamepad for Nintendo Switch Joystick Replacement: crwdns2935265:03crwdnd2935265:03crwdnd2935265:03crwdne2935265:0
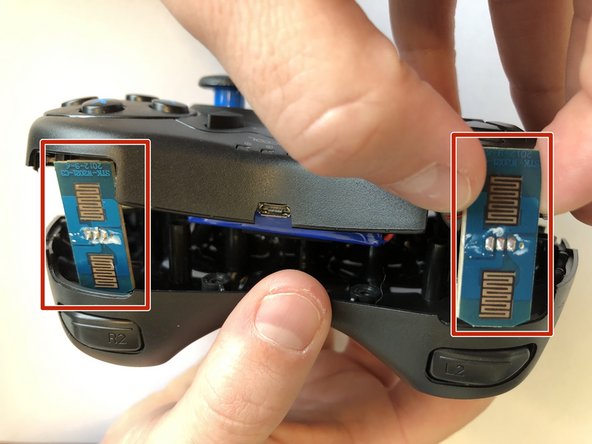
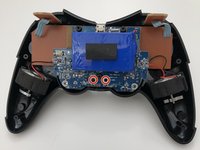
    • Gently separate the two halves of the controller.

    • As the two covers come apart the L1 and R1 button, will fall free from the controller. Be sure not to lose them if they should pop out and fall.

    • Be sure to slide the small circuit boards out of the covers to be able to separate the two halves

  4. Beboncool Gamepad for Nintendo Switch Joystick Replacement: crwdns2935265:04crwdnd2935265:01crwdnd2935265:02crwdne2935265:0 Beboncool Gamepad for Nintendo Switch Joystick Replacement: crwdns2935265:04crwdnd2935265:02crwdnd2935265:02crwdne2935265:0
    • Use the Phillips #0 screwdriver to remove the two 3.5mm screws holding the circuit board in place.

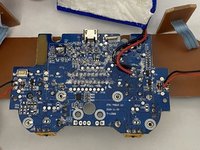
  5. Beboncool Gamepad for Nintendo Switch Joystick Replacement: crwdns2935265:05crwdnd2935265:01crwdnd2935265:03crwdne2935265:0 Beboncool Gamepad for Nintendo Switch Joystick Replacement: crwdns2935265:05crwdnd2935265:02crwdnd2935265:03crwdne2935265:0 Beboncool Gamepad for Nintendo Switch Joystick Replacement: crwdns2935265:05crwdnd2935265:03crwdnd2935265:03crwdne2935265:0
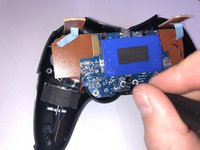
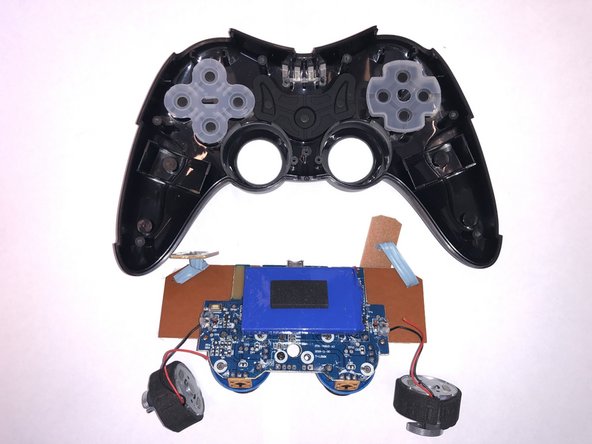
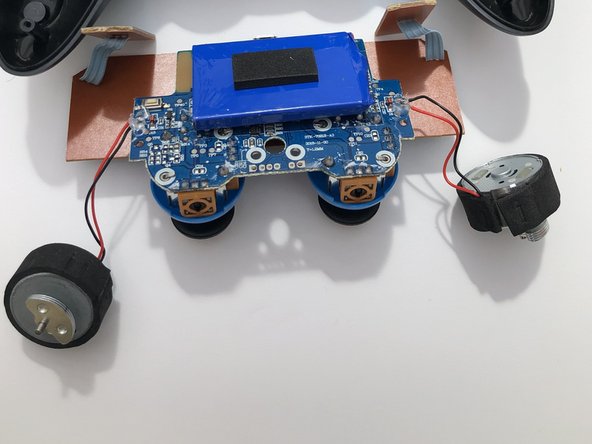
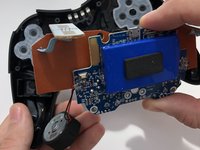
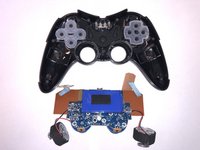
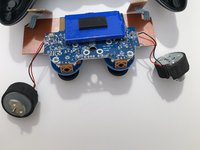
    • Lift the motherboard from the back case with the vibration motors and button boards attached.

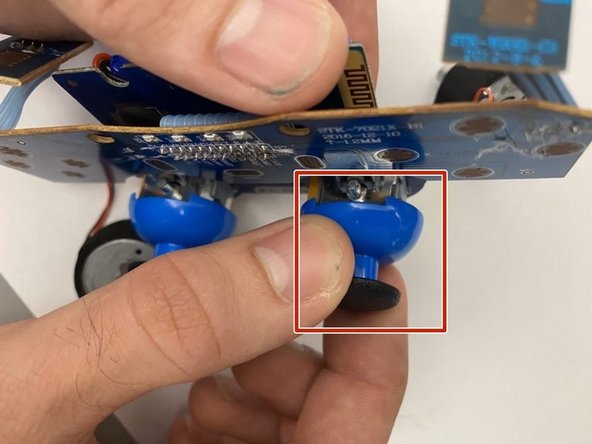
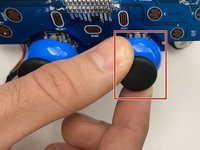
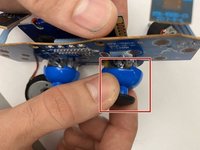
  6. Beboncool Gamepad for Nintendo Switch Joystick Replacement, Joystick: crwdns2935265:06crwdnd2935265:01crwdnd2935265:02crwdne2935265:0 Beboncool Gamepad for Nintendo Switch Joystick Replacement, Joystick: crwdns2935265:06crwdnd2935265:02crwdnd2935265:02crwdne2935265:0
    • Remove the joystick cover from the joystick actuator by firmly pulling the cover away from the actuator.

  7. Beboncool Gamepad for Nintendo Switch Joystick Replacement: crwdns2935265:07crwdnd2935265:01crwdnd2935265:02crwdne2935265:0 Beboncool Gamepad for Nintendo Switch Joystick Replacement: crwdns2935265:07crwdnd2935265:02crwdnd2935265:02crwdne2935265:0
    • Gently separate the battery pack from the back of the motherboard, leaving it connected to the board through its lead cables.

  8. Beboncool Gamepad for Nintendo Switch Joystick Replacement: crwdns2935265:08crwdnd2935265:01crwdnd2935265:01crwdne2935265:0
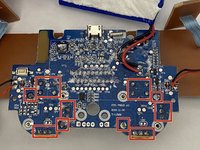
    • Bend each of the retaining tabs located in the the corners of each joystick actuator straight so that they can be removed.

    • If only one of your joysticks is showing issues, just address the pins corresponding to the problematic joystick.

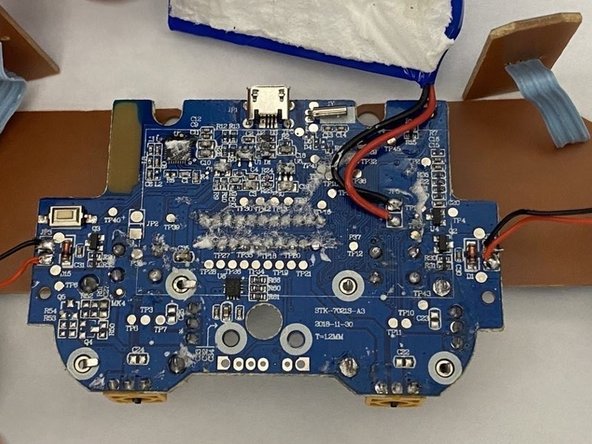
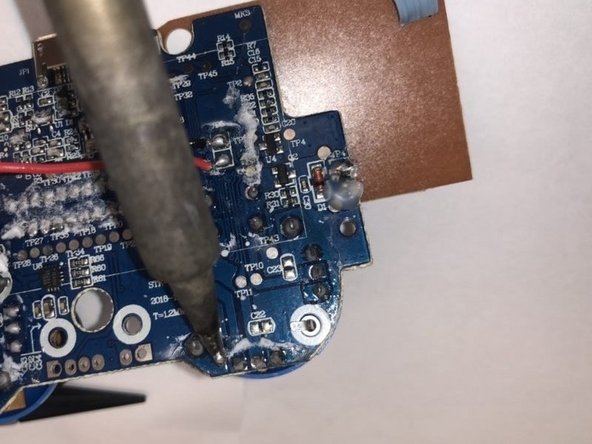
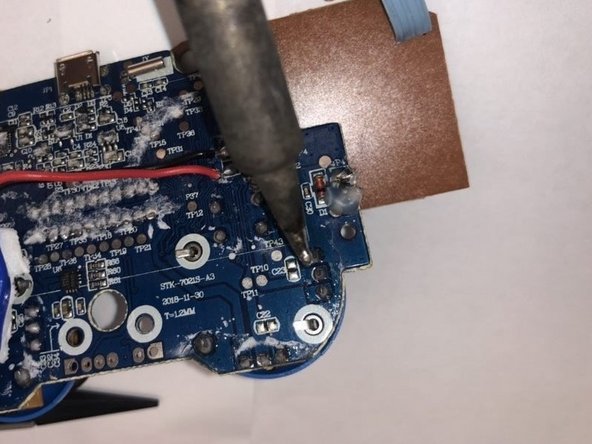
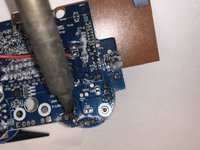
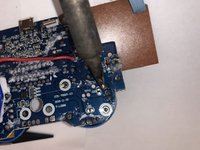
  9. Beboncool Gamepad for Nintendo Switch Joystick Replacement: crwdns2935265:09crwdnd2935265:01crwdnd2935265:03crwdne2935265:0 Beboncool Gamepad for Nintendo Switch Joystick Replacement: crwdns2935265:09crwdnd2935265:02crwdnd2935265:03crwdne2935265:0 Beboncool Gamepad for Nintendo Switch Joystick Replacement: crwdns2935265:09crwdnd2935265:03crwdnd2935265:03crwdne2935265:0
    • Desolder the 12 soldering points connecting the problematic actuator(s) to the motherboard.

    • Remove the actuator from the board.

    • For help with soldering best practices, check out this Soldering and Desoldering Connections Guide.

crwdns2915888:0crwdne2915888:0

To reassemble your device, follow these instructions in reverse order.

Patrick

crwdns2935283:001/30/20crwdne2935283:0

402 crwdns2915208:0crwdne2915208:0

crwdns2935297:03crwdne2935297:0

crwdns2915084:0crwdne2915084:0

Embry-Riddle Aeronautical University, Team S17-G9, Lamothe Spring 2020 crwdns2935289:0Embry-Riddle Aeronautical University, Team S17-G9, Lamothe Spring 2020crwdne2935289:0

ERAU-LAMOTHE-S20S17G9

crwdns2931471:04crwdne2931471:0

crwdns2935297:012crwdne2935297:0

crwdns2917034:0crwdne2917034:0

Me who used my no longer existing nails for the grips lol

TheGuyInTheChair - crwdns2934203:0crwdne2934203:0

crwdns2917038:0crwdne2917038:0

crwdns2936625:0crwdne2936625:0:

crwdns2936751:024crwdne2936751:0 2

crwdns2936753:07crwdne2936753:0 3

crwdns2936753:030crwdne2936753:0 15

crwdns2942667:0crwdne2942667:0 555