crwdns2915892:0crwdne2915892:0
With time, the earpads on your headphones can become worn out, causing discomfort and a decline in sound quality. You may easily and affordably replace your old earpads with news ones rather than buying new headphones.
This step-by-step guide will show you how to remove the old earpads and put in new ones. It only takes a few minutes, and no particular skills are needed. To restore comfort and extend the life of your Beats Studio Pro headphones, follow these steps!
crwdns2942213:0crwdne2942213:0
-
-
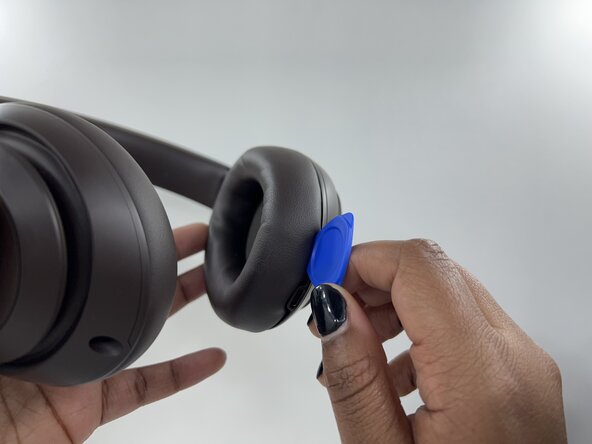
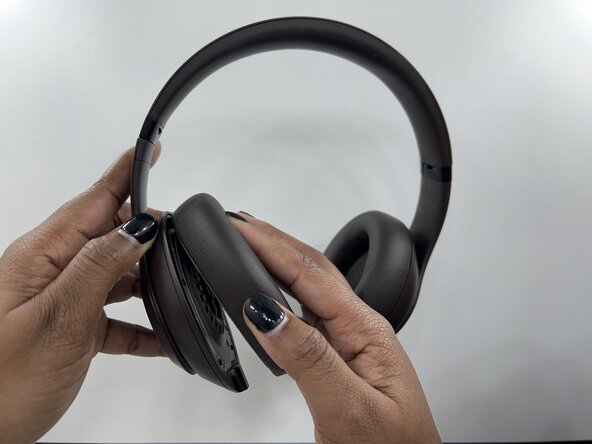
Grip the edge of the left or right earpad firmly.
-
Insert an opening pick under the earpad and work your way around the edge to pry it off.
-
Repeat for the second earpad.
-
-
-
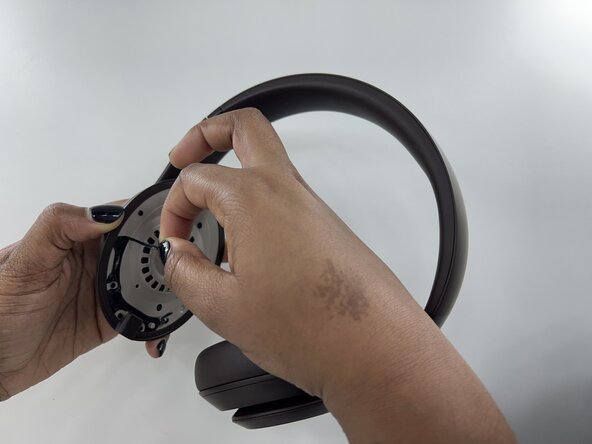
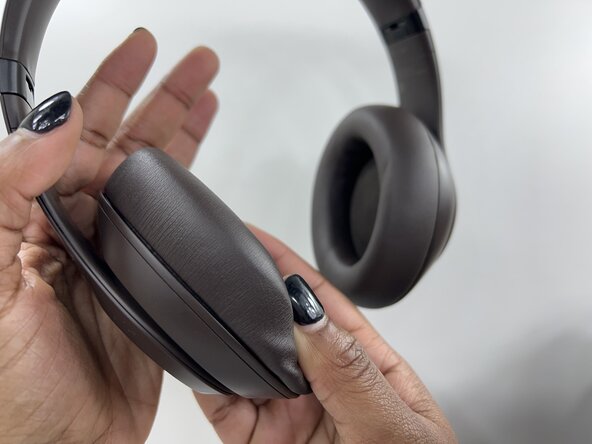
Slowly and carefully remove the old earpad.
-
-
-
-
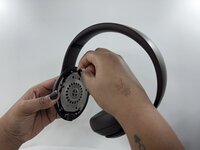
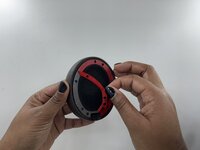
Gently peel off excess adhesive or use adhesive remover to ensure cleanliness.
-
-
-
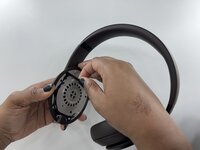
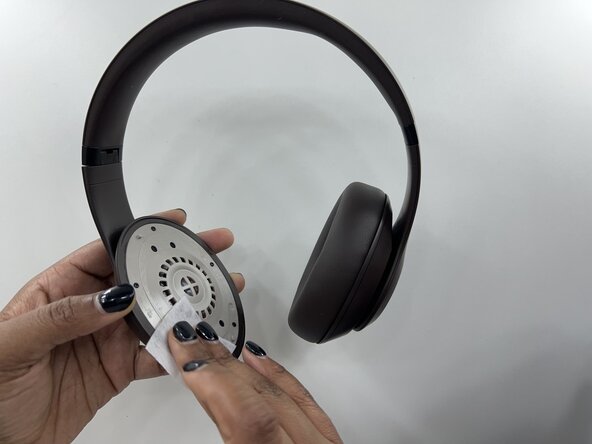
Use an alcohol or cleaning wipe to remove the residue left from the adhesive that you peeled off.
-
Make sure the surface is clean and dry before proceeding.
-
-
-
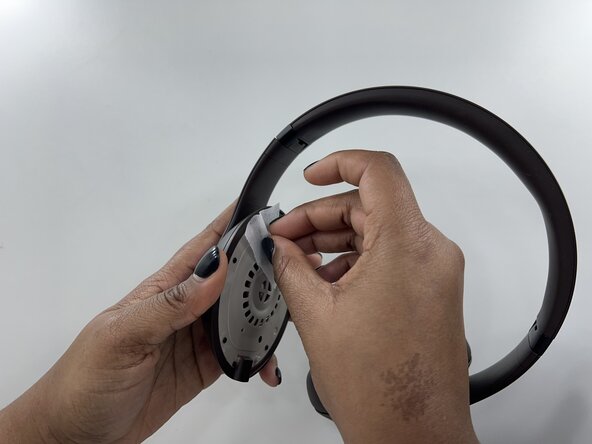
If they do, peel off the protective backing to expose the sticky side.
-
If not, apply double-sided adhesive tape to the back of the earpads.
-
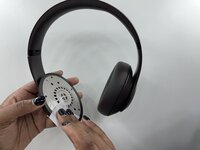
Identify the left and right earpads and align the new earpad with the ear cup.
-
Press firmly onto the headphone, and hold for 30 seconds. This allows the adhesive to bond properly.
-
-
-
Check that both earpads are securely attached. Run your fingers around the edges to ensure no part is peeling off.
-
Make sure to test the fit by wearing the headphones, they should feel more comfortable.
-


Congratulations! You've successfully replaced the earpads on your Beats Studio Pro headphones. This repair restores comfort and extends the life of your headphones, all without the need for expensive replacements. Enjoy your refreshed headphones!
crwdns2935287:0crwdne2935287:0

Rose State College, Team 1-17, Kirkman Spring 2025 crwdns2935289:0Rose State College, Team 1-17, Kirkman Spring 2025crwdne2935289:0
ROSE-KIRKMAN-S25S1G17
crwdns2934841:01crwdne2934841:0
crwdns2935303:01crwdne2935303:0