crwdns2933423:0crwdne2933423:0

Battery Disconnect

crwdns2862623:0crwdne2862623:0
crwdns2942641:0crwdne2942641:0

crwdns2942213:0crwdne2942213:0

  1. Battery Disconnect, Unfasten the lower case: crwdns2935265:01crwdnd2935265:01crwdnd2935265:02crwdne2935265:0 Battery Disconnect, Unfasten the lower case: crwdns2935265:01crwdnd2935265:02crwdnd2935265:02crwdne2935265:0
    • Remove the 11 Phillips screws securing the lower case:

    • Seven 11.6 mm screws

    • Two 14.6 mm screws

    • Two 6.1 mm screws

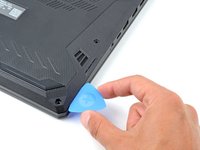
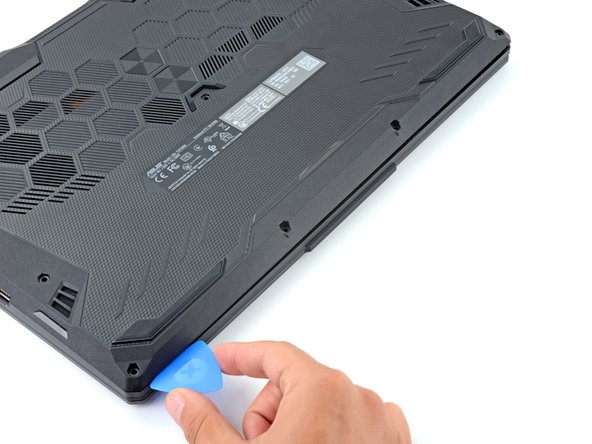
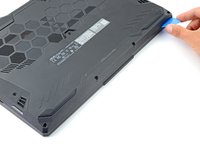
  2. Battery Disconnect, Insert an opening pick: crwdns2935265:02crwdnd2935265:01crwdnd2935265:02crwdne2935265:0 Battery Disconnect, Insert an opening pick: crwdns2935265:02crwdnd2935265:02crwdnd2935265:02crwdne2935265:0
    • Insert an opening pick between the lower case and the chassis on the front right edge.

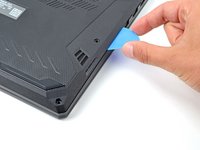
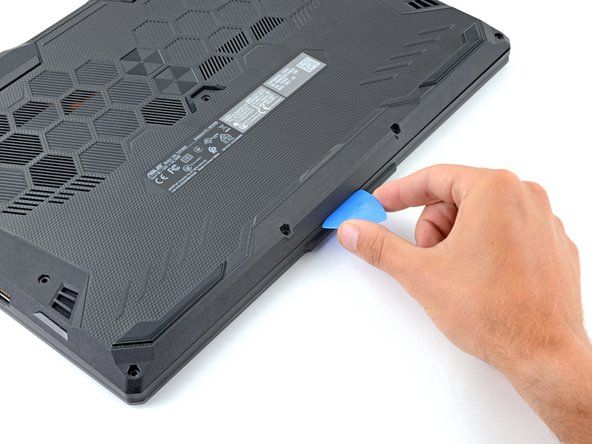
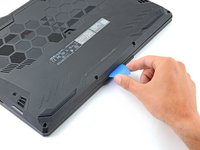
  3. Battery Disconnect, Release the right edge clips: crwdns2935265:03crwdnd2935265:01crwdnd2935265:02crwdne2935265:0 Battery Disconnect, Release the right edge clips: crwdns2935265:03crwdnd2935265:02crwdnd2935265:02crwdne2935265:0
    • Slide the pick along the right edge to release the clips securing the lower case.

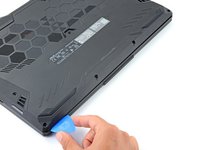
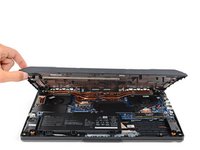
  4. Battery Disconnect, Release the remaining clips: crwdns2935265:04crwdnd2935265:01crwdnd2935265:03crwdne2935265:0 Battery Disconnect, Release the remaining clips: crwdns2935265:04crwdnd2935265:02crwdnd2935265:03crwdne2935265:0 Battery Disconnect, Release the remaining clips: crwdns2935265:04crwdnd2935265:03crwdnd2935265:03crwdne2935265:0
    • Continue sliding the opening pick along the perimeter of the lower case to release the remaining clips.

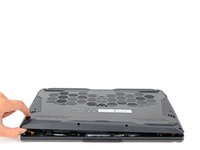
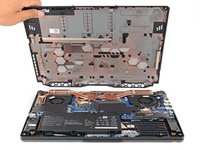
  5. Battery Disconnect: crwdns2935265:05crwdnd2935265:01crwdnd2935265:03crwdne2935265:0 Battery Disconnect: crwdns2935265:05crwdnd2935265:02crwdnd2935265:03crwdne2935265:0 Battery Disconnect: crwdns2935265:05crwdnd2935265:03crwdnd2935265:03crwdne2935265:0
    • Lift the lower case from the chassis and remove it.

    • During reassembly, this is a good point to power on your laptop and test all functions before sealing it up. Be sure to power your laptop back down before you continue working.

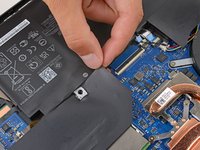
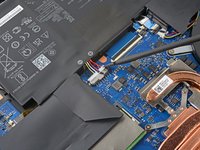
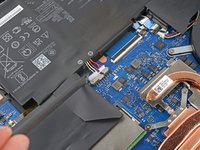
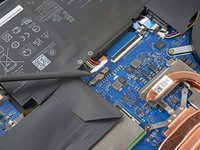
  6. Battery Disconnect, Reposition the plastic: crwdns2935265:06crwdnd2935265:01crwdnd2935265:02crwdne2935265:0 Battery Disconnect, Reposition the plastic: crwdns2935265:06crwdnd2935265:02crwdnd2935265:02crwdne2935265:0
    • Use your fingers to move the plastic that covers the battery connector out of the way.

    • If the plastic is not staying out of the way use a piece of tape to secure it.

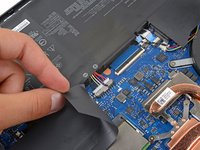
  7. Battery Disconnect, Disconnect the battery: crwdns2935265:07crwdnd2935265:01crwdnd2935265:03crwdne2935265:0 Battery Disconnect, Disconnect the battery: crwdns2935265:07crwdnd2935265:02crwdnd2935265:03crwdne2935265:0 Battery Disconnect, Disconnect the battery: crwdns2935265:07crwdnd2935265:03crwdnd2935265:03crwdne2935265:0
    • Use the flat end of a spudger to push each side of the battery connector until it comes out of the socket.

crwdns2915888:0crwdne2915888:0

To reassemble your device, follow these instructions in reverse order.

Spencer Day

crwdns2935283:009/14/22crwdne2935283:0

111,773 crwdns2915208:0crwdne2915208:0

crwdns2935297:0811crwdne2935297:0

crwdns2915084:0crwdne2915084:0

iFixit crwdns2935289:0iFixitcrwdne2935289:0

Staff

crwdns2931471:0120crwdne2931471:0

crwdns2935297:020,002crwdne2935297:0

crwdns2947412:00crwdne2947412:0

crwdns2917038:0crwdne2917038:0

crwdns2936625:0crwdne2936625:0:

crwdns2936751:024crwdne2936751:0 0

crwdns2936753:07crwdne2936753:0 0

crwdns2936753:030crwdne2936753:0 8

crwdns2942667:0crwdne2942667:0 28