crwdns2915892:0crwdne2915892:0
This is a prerequisite-only guide! This guide is part of another procedure and isn't meant to be used alone.
crwdns2942213:0crwdne2942213:0
-
-
Use a Phillips screwdriver to remove the screw securing the HDD hatch on the bottom left of the lower case.
-
-
-
Insert the flat end of a spudger under the cutout on the top right corner of the HDD hatch and pry it up.
-
Remove the HDD hatch.
-
-
-
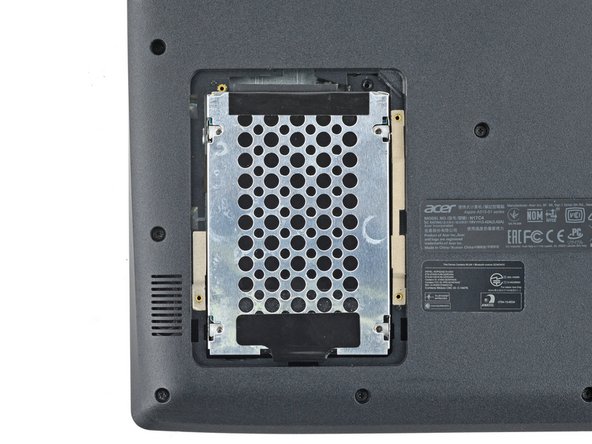
Use a Phillips screwdriver to remove the four screws securing the HDD assembly.
-
-
-
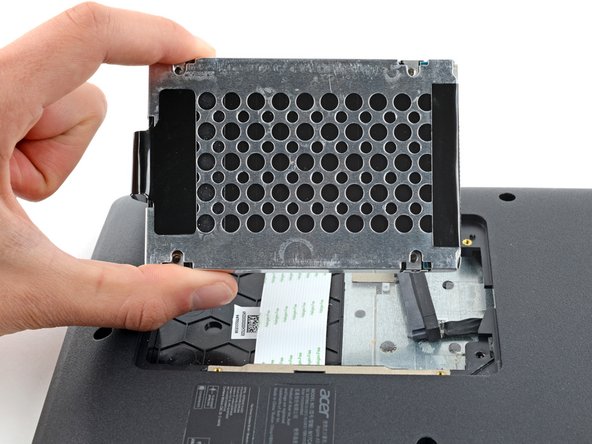
Firmly grip the HDD assembly and HDD cable connector head.
-
Pull the HDD cable connector out of its socket.
-
Remove the HDD assembly.
-
-
-
-
Use a Phillips screwdriver to remove the eighteen 6.6 mm screws securing the case.
-
-
-
Insert an opening pick between the lower case and the chassis on the front right edge.
-
-
-
Slide the pick along the front edge to release the clips securing the lower case.
-
-
-
Continue sliding the opening pick along the perimeter of the lower case to release the remaining clips.
-
-
-
Lift the lower case from the chassis and remove it.
-
-
-
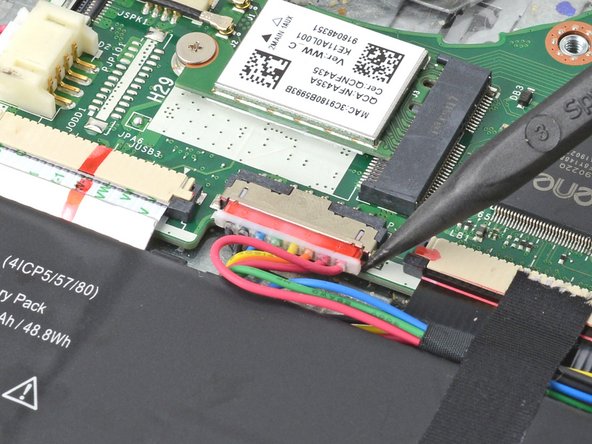
Use the pointed end of a spudger to push each side of the battery connector until it comes out of the socket.
-
To reassemble your device, follow these instructions in reverse order.
To reassemble your device, follow these instructions in reverse order.


