crwdns2915892:0crwdne2915892:0
This is a disassembly Guide For the nook Glowlight 3
crwdns2942213:0crwdne2942213:0
-
-
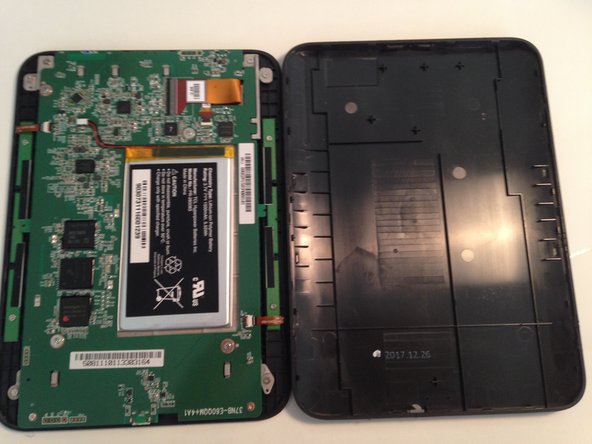
This is the Nook Glowlight 3. It features an E-ink display with a resolution of 300 ppi. This device is touchscreen. It comes with 8GB of on device storage. It is wifi compatible
-
-
-
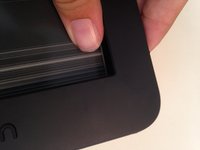
First, grab your Jimmy or any other thin tool and slide it along the edge of the device where the two halves meet, (shown in the picture).
-
Push firmly until the tool slides into the crack. Then rotate the tool as you slide it down to separate the clips securing the device.
-
Do this all around the device until the device splits into two halves.
-
-
-
When both of the halves are able to be separated move the back cover aside.
-
To reassemble the device, push down on the back cover until it snaps into place.
-
-
-
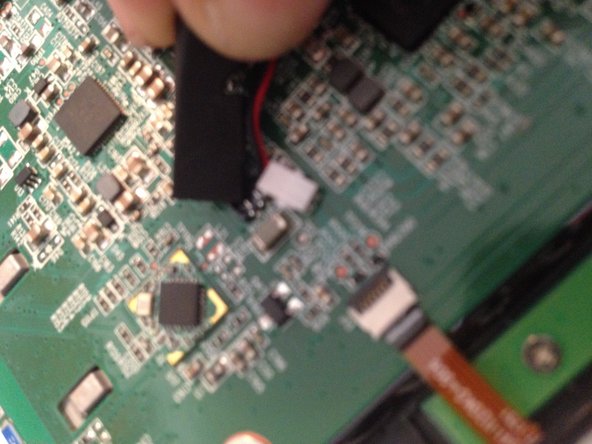
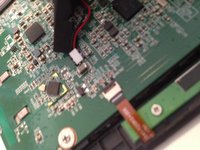
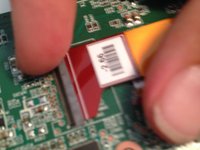
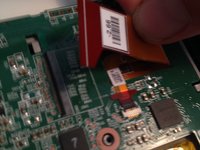
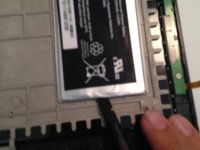
Disconnect the battery with a flick of the spudger.
-
-
-
-
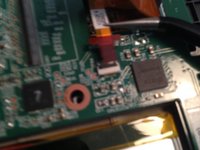
Remove the screws marked in red that secure the system board to the outer plastic.
-
-
-
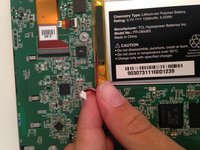
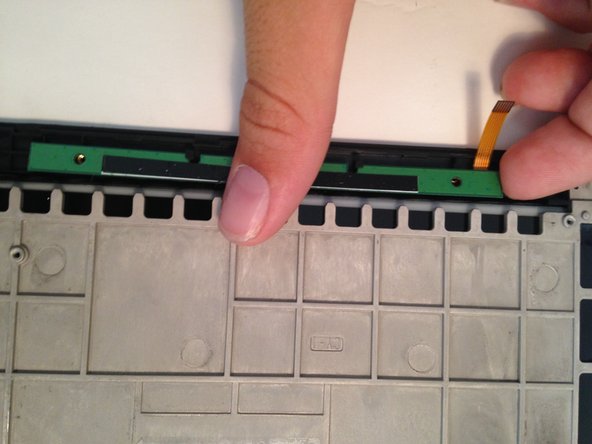
On both sides, there are two straight and skinny button panels. These control the side up/down buttons. Please disconnect both of these ribbon cables.
-
-
-
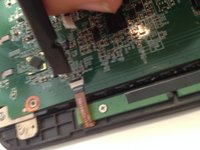
Now disconnect the display ribbon cables. ( one is hidden )
-
-
-
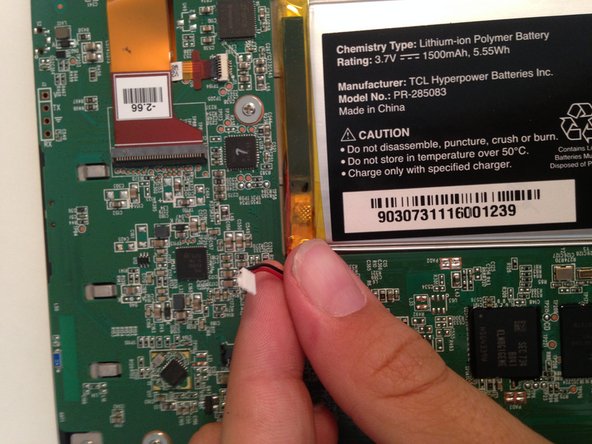
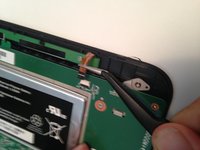
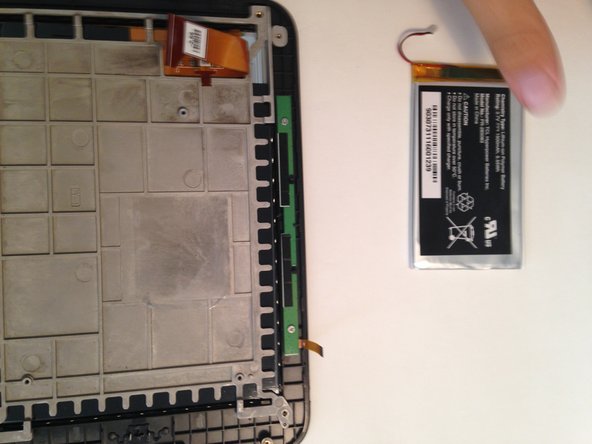
Now remove the battery by sliding a spudger underneath the battery and breaking the adhesive.
-
-
-
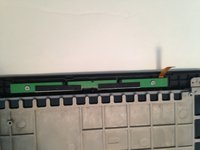
Now remove the screws on the button panels and remove them from the device.
-
-
-
Remove the rest of the screws connecting the display to the frame. Remember to take out both of the button boards.
-
-
-
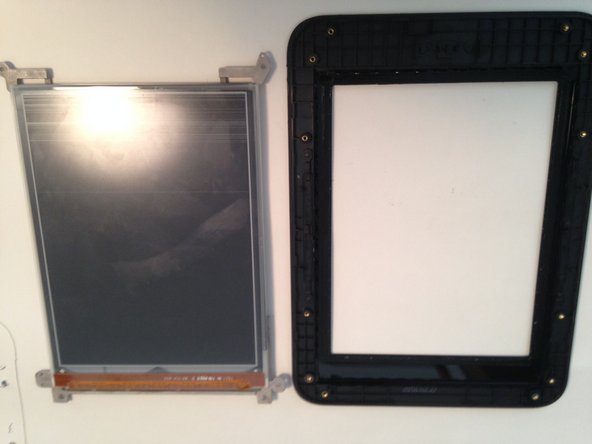
Push firmly on the display. Going all around the edges until the display becomes loose. (the screen was already cracked)
-


To reassemble your device, follow these instructions in reverse order.
To reassemble your device, follow these instructions in reverse order.
crwdns2935221:0crwdne2935221:0
crwdns2935227:0crwdne2935227:0
crwdns2947410:01crwdne2947410:0
does anyone know where I can purchase the screen?