crwdns2915892:0crwdne2915892:0
The Hotend Assembly (Hotend) includes the nozzle and is the final part the filament goes through before reaching the build plate.
crwdns2942213:0crwdne2942213:0
-
-
Cut the filament by fully pressing the handle on the right side of the toolhead.
-
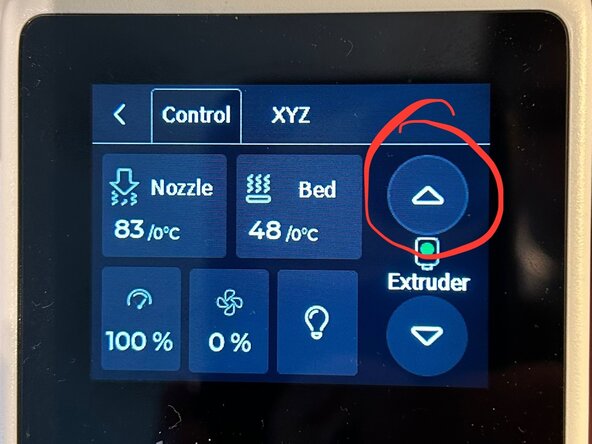
In the control window, press the up button for the extruder.
-
You do not want to need to rip the filament out of the nozzle.
-
-
-
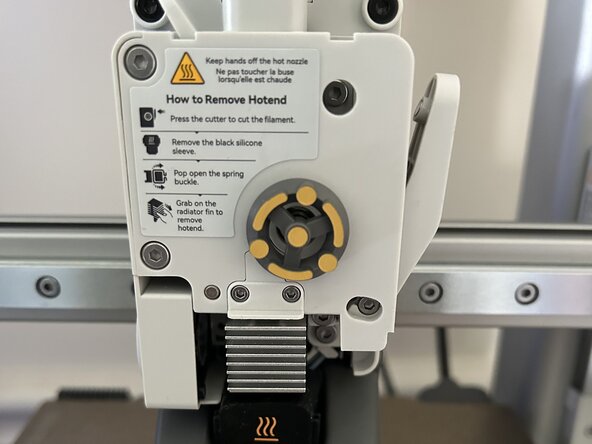
Lift the front cover in the circled spot in the photo and pull out the front cover.
-
-
-
-
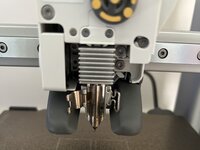
Remove the silicone sock from the nozzle.
-
-
-
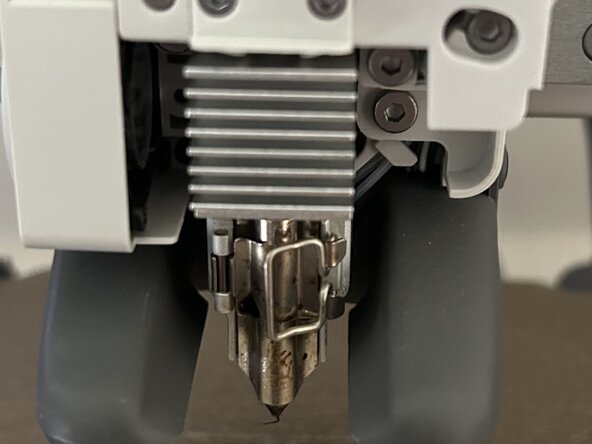
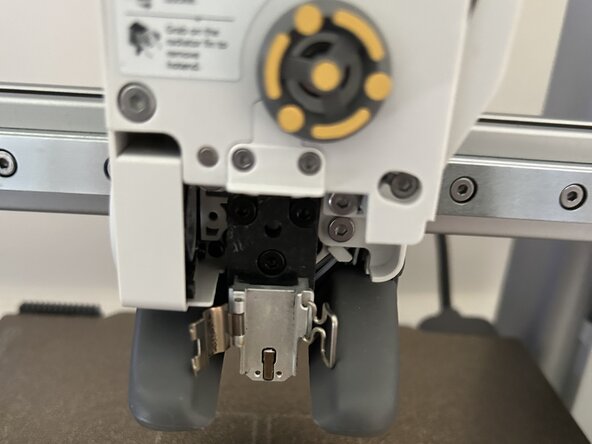
Open the front wire frame latch.
-
Then, open the solid latch.
-
-
-
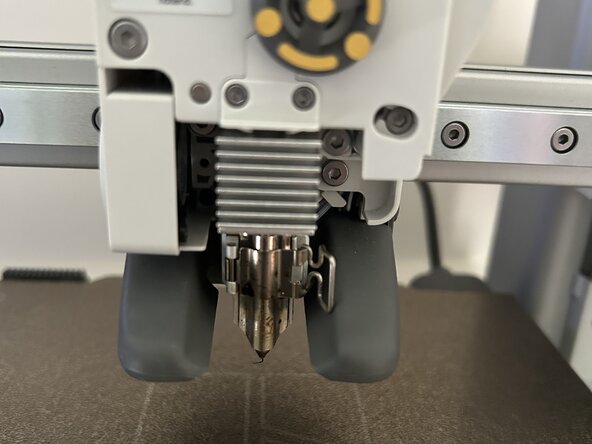
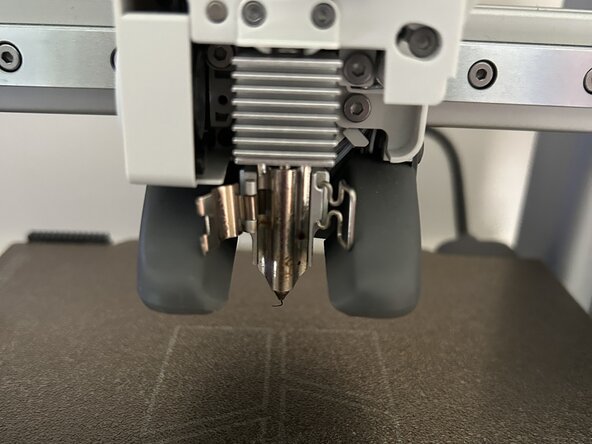
Pull out the old nozzle.
-
-
-
Place the new nozzle into the hotend.
-


To reassemble your device, follow these instructions in reverse order.
To reassemble your device, follow these instructions in reverse order.
crwdns2935221:0crwdne2935221:0
crwdns2935229:02crwdne2935229:0

crwdns2947410:01crwdne2947410:0
Perhaps this may be cross-referenced to various guides from the Bambu Lab wiki, such as the guide to clean the A1 series hotend.