crwdns2933423:0crwdne2933423:0
crwdns2947577:0crwdnd2947577:0crwdne2947577:0
Back Cover Replacement

Back Cover Replacement

Desiree DesJardins

crwdns2944107:0crwdnd2944107:0Desiree DesJardinscrwdnd2944107:0crwdnd2944107:0crwdnd2944107:03crwdnd2944107:0crwdne2944107:0

crwdns2944111:0Mud 7, 2024crwdne2944111:0

10 - 15 crwdns2931279:0crwdne2931279:0
crwdns2937801:0crwdne2937801:0

crwdns2915892:0crwdne2915892:0

crwdns2942287:0crwdne2942287:0

This guide is a prerequisite to accessing the inside of the Zoomer Dino Boomer, where the battery, electronics, and pulley system are located. It is important to be gentle while opening the dinosaur since the top covering will still be attached to the electronic system via a wire.

crwdns2942213:0crwdne2942213:0

crwdns2943215:0crwdne2943215:0

  • Phillips #1 Screwdriver
    Phillips #1 Screwdriver
  • Spudger
    Spudger

crwdns2944105:0crwdne2944105:0

  1. Back Cover Replacement, Back Cover: crwdns2935265:01crwdnd2935265:01crwdnd2935265:01crwdne2935265:0
    • Power off Zoomer Dino Boomer before disassembly.

    • Remove the eight 9.3mm Phillips #1 screws.

  2. Back Cover Replacement: crwdns2935265:02crwdnd2935265:01crwdnd2935265:02crwdne2935265:0 Back Cover Replacement: crwdns2935265:02crwdnd2935265:02crwdnd2935265:02crwdne2935265:0
    • Turn dinosaur over and hold upright.

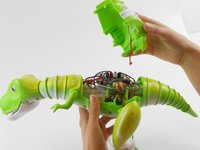
    • Use the spudger to pry apart the back cover from the remainder of the Zoomer Dino Boomer.

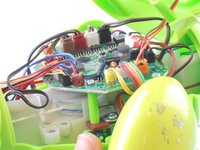
    • Be gentle while removing the back cover. The back cover of the Zoomer Dino Boomer is still connected to the electronic system by a wire.

  3. Back Cover Replacement: crwdns2935265:03crwdnd2935265:01crwdnd2935265:03crwdne2935265:0 Back Cover Replacement: crwdns2935265:03crwdnd2935265:02crwdnd2935265:03crwdne2935265:0 Back Cover Replacement: crwdns2935265:03crwdnd2935265:03crwdnd2935265:03crwdne2935265:0
    crwdns2935267:0crwdne2935267:0
    Tweezers
    $4.99
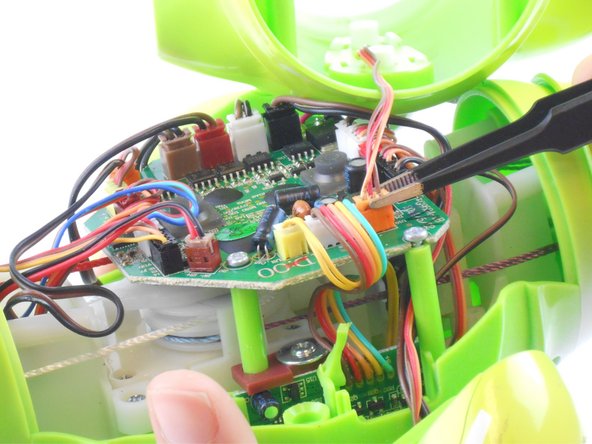
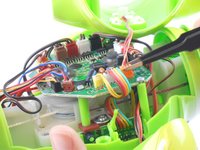
    • Disconnect the wire that connects the back cover of the dino to the main circuit board by carefully pulling on the orange wire connector with tweezers.

    • Remove back cover.

    • If you are having difficulty removing the connector from its socket, push in the small tabs on the side of the connector with the tweezers. This step may take some work.

    • Do not damage the wires or circuit board.

crwdns2915888:0crwdne2915888:0

To reassemble your device, follow these instructions in reverse order.

crwdns2935227:0crwdne2935227:0

Desiree DesJardins

crwdns2935283:009/02/15crwdne2935283:0

452 crwdns2915208:0crwdne2915208:0

crwdns2935297:02crwdne2935297:0

crwdns2915084:0crwdne2915084:0

USF Tampa, Team 16-1, Wollert Fall 2015 crwdns2935289:0USF Tampa, Team 16-1, Wollert Fall 2015crwdne2935289:0

USFT-WOLLERT-F15S16G1

crwdns2931471:03crwdne2931471:0

crwdns2935297:010crwdne2935297:0

crwdns2947412:00crwdne2947412:0

crwdns2917038:0crwdne2917038:0

crwdns2936625:0crwdne2936625:0:

crwdns2936751:024crwdne2936751:0 1

crwdns2936753:07crwdne2936753:0 3

crwdns2936753:030crwdne2936753:0 10

crwdns2942667:0crwdne2942667:0 790