crwdns2915892:0crwdne2915892:0
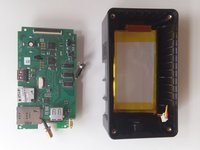
This guide will use a hex 2.0 head to open the case, as well as tweezers to disconnect and remove the motherboard. This will allow you to access the battery located at the bottom of the case.
crwdns2942213:0crwdne2942213:0
-
-
Stand the device on its side so the antenna is sitting on the top.
 crwdns2952109:0crwdne2952109:0
-
-
crwdns2935267:0crwdne2935267:0Tweezers$4.99
-
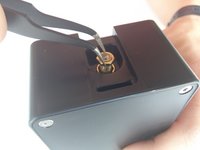
Use the tweezers to grip the neck of the antenna(the part closest to the device).
-
Use opposite hand to twist off the body of the antenna.
-
-
-
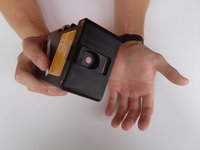
Place the face of the device showing BRCK face up.
-
-
-
Remove the four screws(4mm hex head) on the corners of the device with a Hex 2.0 Screwdriver.
-
-
-
-
Remove the top cover.
-
-
-
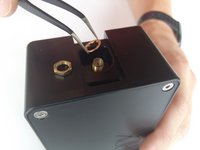
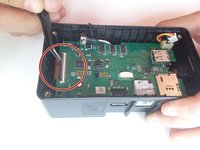
Remove the nut and washer from the RF connector, located where the antenna was connected.
-
-
-
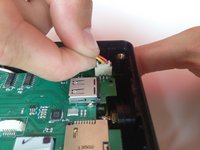
Unplug the red, black, and yellow wire connection by lifting up.
-
-
crwdns2935267:0crwdne2935267:0Tweezers$4.99
-
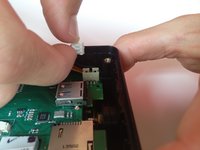
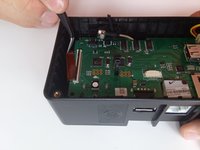
Carefully insert tweezers under the black tab, and lift to release the clip.
-
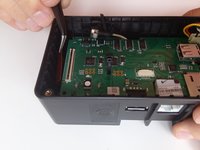
Slide the ribbon out from under the clip to free the motherboard.
-
-
-
Remove outside rubber covers by lifting them out of place.
-
-
-
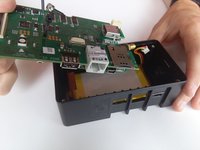
Slowly lift the motherboard out from the device by lifting it from the end next to the ribbon connection.
-
Lift and pull out of place.
-
-
-
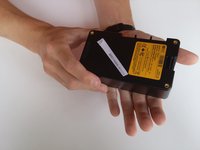
Flip device upside down. Hold the device and tap into your other hand with varying force to remove battery.
-


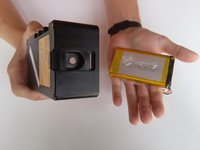
To reassemble your device, follow these instructions in reverse order.
crwdns2935287:0crwdne2935287:0

Cal Poly, Team 12-3, Lancaster Spring 2015 crwdns2935289:0Cal Poly, Team 12-3, Lancaster Spring 2015crwdne2935289:0
CPSU-LANCASTER-S15S12G3
crwdns2931471:03crwdne2931471:0
crwdns2935297:014crwdne2935297:0