crwdns2915892:0crwdne2915892:0
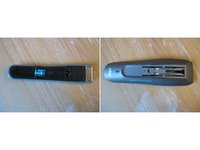
These instructions show you how to disassemble the BRAUN Cruzer 5 Hair & Beard Trimmer (type 5417) and replace a defective battery. Make sure you have all the necessary tools and spare parts ready before you start. This is a good opportunity to clean the inside of the appliance and apply oil to the trimmer.
crwdns2942213:0crwdne2942213:0
-
-
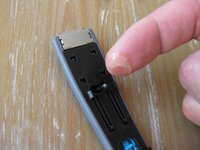
Remove the trimmer head.
-
Remove the two Torx T5 screws attaching the cover to the hand-piece.
-
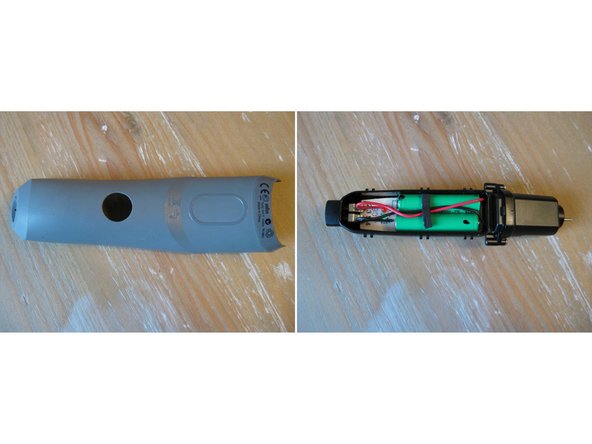
Remove the cover.
-
-
-
-
Remove the back cover.
-
Using a flat head screw driver, remove the single screw holding the power board in place.
-
Use compressed air to clean the motor. Lubricate the trimmer with a suitable lubricant.
-
Remove the two AAA batteries by de-soldering them with a soldering iron and de-soldering pump.
-
Bend the terminals of the new batteries and solder them back in the right direction
-
Insert the board again, with the side towards the motor first
-
-
-
Remove the front cover of the device.
-
Clean and lubricate this area thoroughly as well, then your device will run better.
-


To reassemble your device, follow the above steps in reverse order.
To reassemble your device, follow the above steps in reverse order.
crwdns2935221:0crwdne2935221:0
crwdns2935229:024crwdne2935229:0
crwdns2934873:0crwdne2934873:0
100%


crwdns2934885:0crwdne2934885:0 crwdns2934875:0crwdne2934875:0
crwdns2934877:0crwdne2934877:0 ›
crwdns2947412:07crwdne2947412:0
Your guide saved me from purchasing a new device.
After replacing the batteries it works again like a charm!
Thanks this was helpful. The Braun Series 3 Hair Clipper HC3050 has a VERY similar design. Some additional notes: After removing the screws, it takes a bit of force to get the back separated from the front. I had to gently pry it apart with a screw driver. The very inside is slightly different, but same concept.
Die Anleitung war sehr hilfreich.
Der Austausch der Batterien ging ziemlich gut.
I think one pcc— 1.2 V 1800 mah AA battary
Thank you! Another appliance reborn :)
It really helps to work around consumerism with such shared knowledge!
Keep it up 👍