crwdns2915892:0crwdne2915892:0
This is a simple guide to replacing a faulty or broken inner tail light bulb and contains few, easy-to-follow steps.
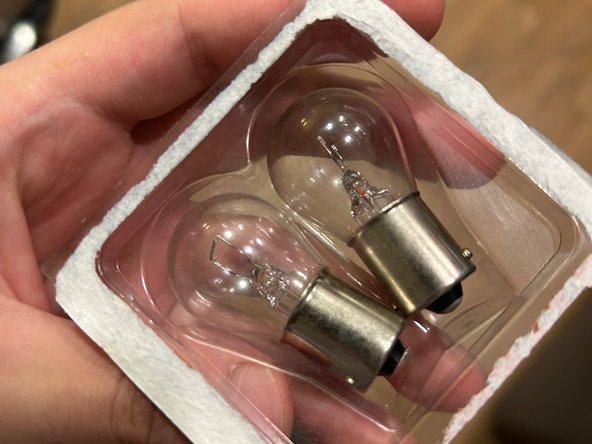
For this guide, you'll need a replacement tail light bulb and a trim panel tool.
crwdns2942213:0crwdne2942213:0
-
-
Start by opening the trunk and locating the 8 plastic studs holding the trunk trim panel in place.
-
To remove the studs, dig a trim removal tool under them and use leverage to pop them out.
-
-
-
Once the trim panel comes loose, it'll still be fastened to the trunck by a wire.
-
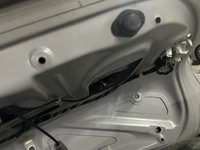
Make sure to leave the trim panel hanging since it'll expose the taillight housing enough to work on it in the next step.
-
-
-
-
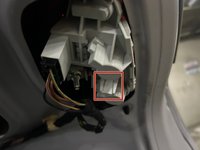
With the tail light bulb socket exposed, you'll need to first disconnect the wiring and then squeeze the plastic clip to release the entire bulb socket.
-
-
-
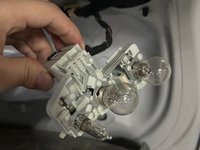
Once you remove the bulb socket simply remove the faulty bulb by twisting and pulling, then replace it with a new one. Place the socket back in and listen for it to click.
-


Once the new bulb is installed and the bulb housing is back in place, reconnect the wiring. Now simply line up the trunk trim panel and insert the studs in their corresponding holes to finish your bulb replacement.
Once the new bulb is installed and the bulb housing is back in place, reconnect the wiring. Now simply line up the trunk trim panel and insert the studs in their corresponding holes to finish your bulb replacement.
crwdns2935221:0crwdne2935221:0
crwdns2935229:02crwdne2935229:0
crwdns2915084:0crwdne2915084:0

CSU Los Angeles, Team 1-75, Harris Spring 2024 crwdns2935289:0CSU Los Angeles, Team 1-75, Harris Spring 2024crwdne2935289:0
CSULA-HARRIS-S24S1G75
crwdns2934841:01crwdne2934841:0
crwdns2935303:01crwdne2935303:0