crwdns2933423:0crwdne2933423:0

BLU Life XL Volume Control Buttons Replacement

crwdns2942213:0crwdne2942213:0

  1. BLU Life XL Volume Control Buttons Replacement, Volume Control Buttons: crwdns2935265:01crwdnd2935265:01crwdnd2935265:03crwdne2935265:0 BLU Life XL Volume Control Buttons Replacement, Volume Control Buttons: crwdns2935265:01crwdnd2935265:02crwdnd2935265:03crwdne2935265:0 BLU Life XL Volume Control Buttons Replacement, Volume Control Buttons: crwdns2935265:01crwdnd2935265:03crwdnd2935265:03crwdne2935265:0
    • Turn the device off by holding down the power button for up to 5 seconds and then tapping the "Power off" button on the screen.

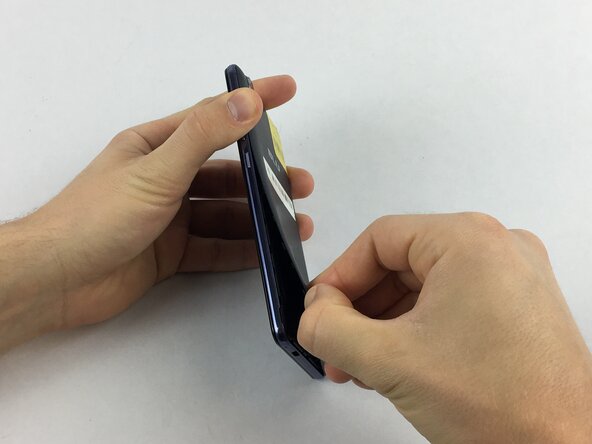
    • Remove the rear cover using your hands at the lip on the device back cover. No tools required.

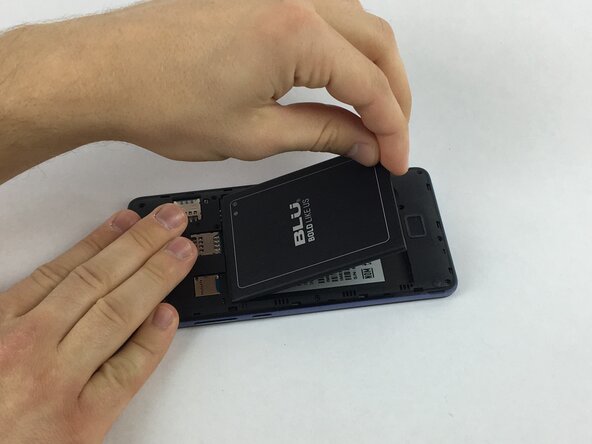
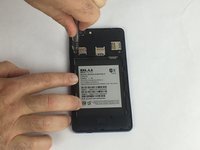
    • Remove the battery by lifting the lower edge of the battery up first.

  2. BLU Life XL Volume Control Buttons Replacement: crwdns2935265:02crwdnd2935265:01crwdnd2935265:02crwdne2935265:0 BLU Life XL Volume Control Buttons Replacement: crwdns2935265:02crwdnd2935265:02crwdnd2935265:02crwdne2935265:0
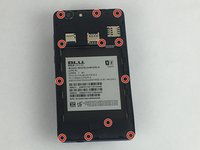
    • Remove the 12x3mm screws from the rear plate using the Phillips#000 screwdriver.

  3. BLU Life XL Volume Control Buttons Replacement: crwdns2935265:03crwdnd2935265:01crwdnd2935265:02crwdne2935265:0 BLU Life XL Volume Control Buttons Replacement: crwdns2935265:03crwdnd2935265:02crwdnd2935265:02crwdne2935265:0
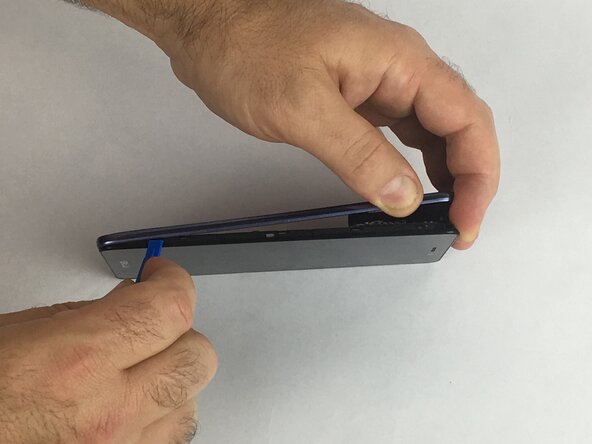
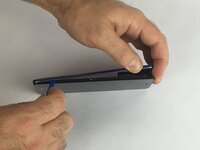
    • Firmly press the prying tool into the gap between the front glass and rear plate. This gap is located on all sides of the phone.

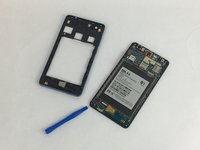
    • Run the prying tool around the entire phone separating the rear plate from the frame.

  4. BLU Life XL Volume Control Buttons Replacement: crwdns2935265:04crwdnd2935265:01crwdnd2935265:03crwdne2935265:0 BLU Life XL Volume Control Buttons Replacement: crwdns2935265:04crwdnd2935265:02crwdnd2935265:03crwdne2935265:0 BLU Life XL Volume Control Buttons Replacement: crwdns2935265:04crwdnd2935265:03crwdnd2935265:03crwdne2935265:0
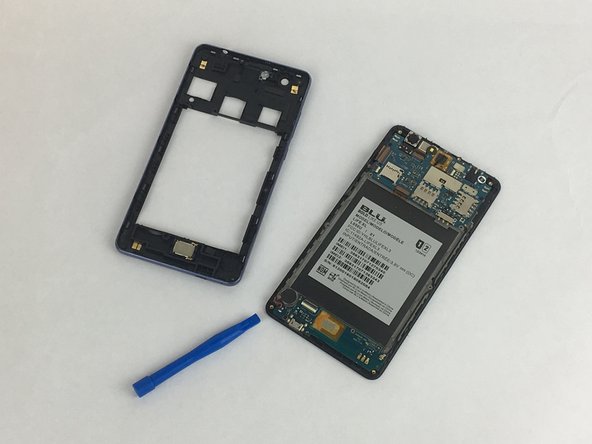
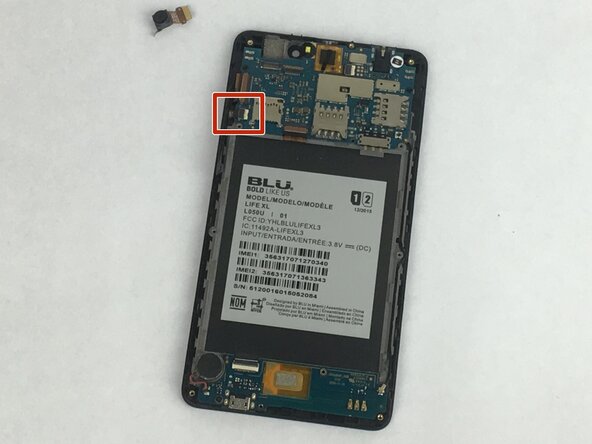
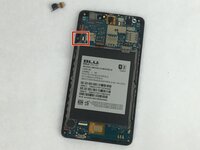
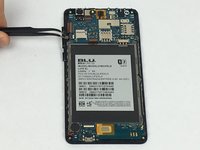
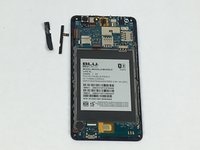
    • Gently remove the tape covering the volume control buttons. The tape is located near the top left of the cavity for the battery.

    • Replace the component and reapply the tape over the buttons.

crwdns2915888:0crwdne2915888:0

To reassemble your device, follow these instructions in reverse order.

James Whitlow

crwdns2935283:002/14/18crwdne2935283:0

342 crwdns2915208:0crwdne2915208:0

crwdns2935297:03crwdne2935297:0

crwdns2915084:0crwdne2915084:0

USF Tampa, Team S2-G5, Eyestone Spring 2018 crwdns2935289:0USF Tampa, Team S2-G5, Eyestone Spring 2018crwdne2935289:0

USFT-EYESTONE-S18S2G5

crwdns2931471:03crwdne2931471:0

crwdns2935297:05crwdne2935297:0

crwdns2944067:00crwdne2944067:0

crwdns2917038:0crwdne2917038:0

crwdns2936625:0crwdne2936625:0:

crwdns2936751:024crwdne2936751:0 0

crwdns2936753:07crwdne2936753:0 3

crwdns2936753:030crwdne2936753:0 12

crwdns2942667:0crwdne2942667:0 274