crwdns2915892:0crwdne2915892:0
This guide will show you how to replace the speaker itself but before doing so, check to make sure your Bluetooth signal is not being obstructed by any objects or walls and is close enough to the speaker. Also, make sure the battery is fully charged. Both of these could be causing distorted sound on your speaker. If both of these possible causes are not true than the actual cause could have to do with your speaker in which you should replace it.
crwdns2942213:0crwdne2942213:0
-
-
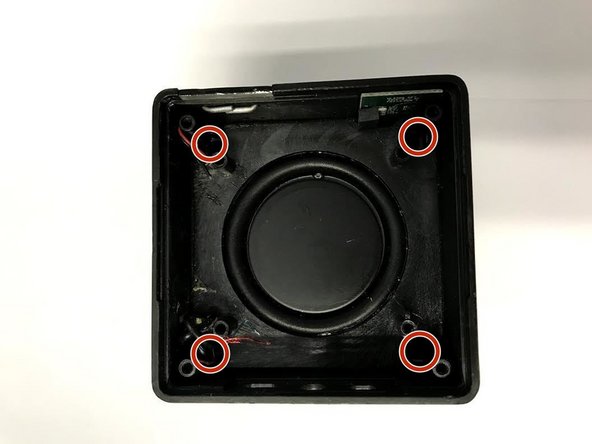
Pull back the rubber corners to uncover the bottom screws.
-
Continue this process for all four 10 mm screws.
-
-
-
Use the J0 screwdriver to remove all four 10mm screws from the bottom of the speaker.
-
-
crwdns2935267:0crwdne2935267:0Tweezers$4.99
-
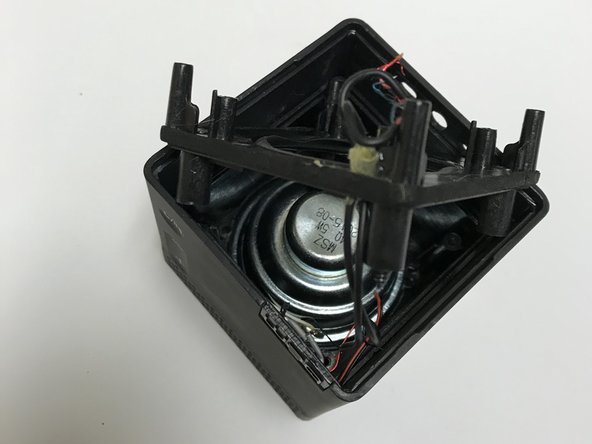
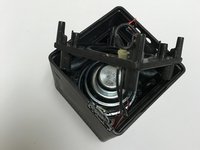
Remove the bottom cover of the speaker.
-
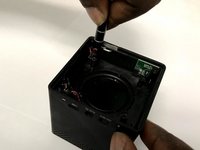
Remove all of the wires from the speakers internal chip, utilizing the tweezers.
-
-
-
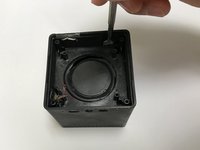
Remove the speakers battery from its metal base, utilizing the plastic opening tool.
-
-
-
-
Remove the wires from the speakers battery using the tweezers or by gently removing them by lightly pinching.
-
-
-
Use the J0 screwdriver to remove all four 10mm screws from the motherboard.
-
-
crwdns2935267:0crwdne2935267:0Tweezers$4.99
-
Remove the red/black wires in addition to the blue/white wires using the tweezers.
-
-
-
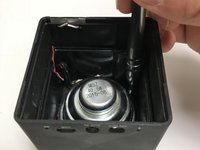
Remove bus wire from the speaker's motherboard and lift the motherboard out of the speaker.
-
-
-
Remove any glue that is left over from previous parts that may be covering the screw holes or the speakers drive.
-
-
-
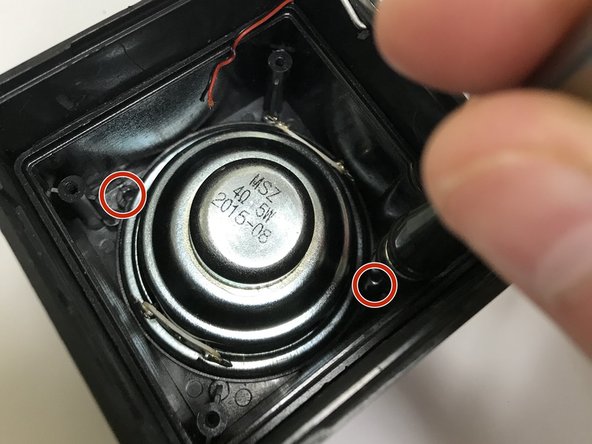
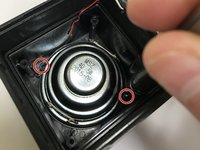
Remove the speaker's four 10 mm base screws.
-
-
-
Pry out the speaker's base using the metal Spuger. Use caution upon this step, it will require the use of force.
-
Remove the wire that will be placed in the speakers driver hole for access to the speaker.
-
-
-
Remove the speaker's two 10 mm screws that are located in its base then take the driver out of the speaker.
-


To reassemble your device, follow these instructions in reverse order.
crwdns2935287:0crwdne2935287:0

Baylor, Team S1-G1, Johnson Spring 2018 crwdns2935289:0Baylor, Team S1-G1, Johnson Spring 2018crwdne2935289:0
BU-JOHNSON-S18S1G1
crwdns2931471:03crwdne2931471:0
crwdns2935297:05crwdne2935297:0