crwdns2915892:0crwdne2915892:0
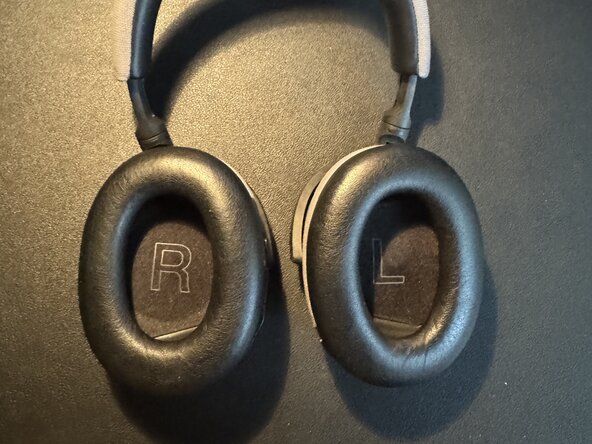
This tutorial should show, how to remove the rustling sounds and cutouts on the left headphone on the B&W PX7.
crwdns2942213:0crwdne2942213:0
-
-
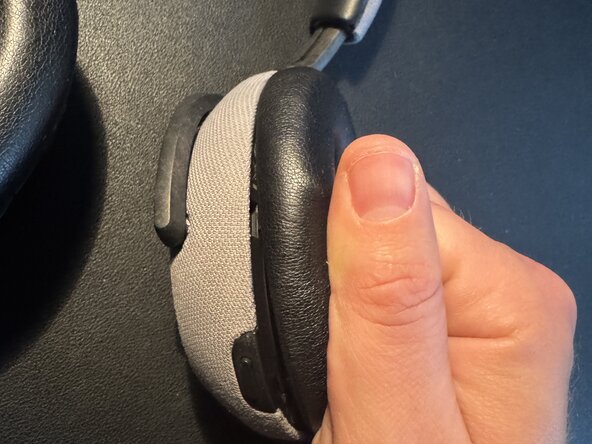
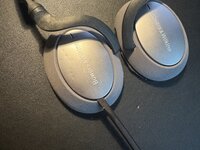
first we disconnect the ear cups with a gentle pull
-
now it is important to start with the inside of the earphones first
-
-
-
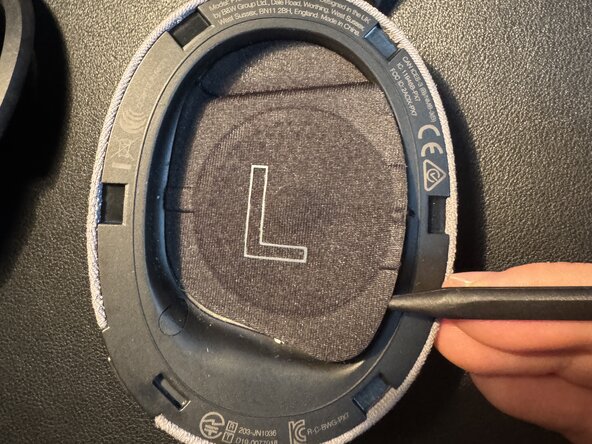
Now we remove the speakers cover
-
the easiest way to start is to start at the small microphone cable and work your way around the cover with a spudger
-
after that you can remove the cover and with some luck use it again.
-
-
-
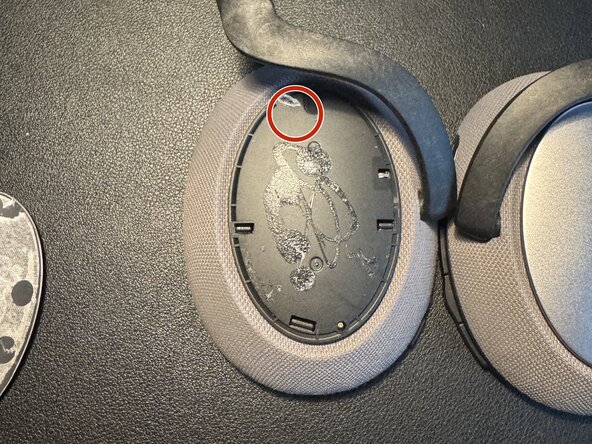
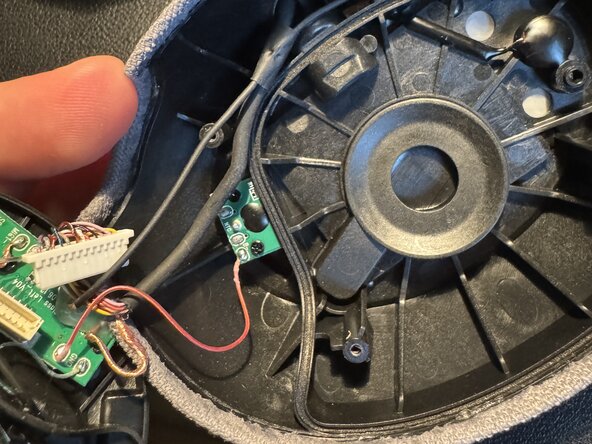
Now we remove the three screws marked with a red circle with a PH1
-
then remove the rubber cover at the orange circle and remove this screw with the PH1 as well
-
the last one is at the yellow circle and you have to use a PH0. This screw supports the rear or outside cover.
-
-
-
-
If you did step 4 before step 3, you will have noticed that the rear cover is held in place at the red circle. And you will have removed the glued on metal cover in this process.
-
With a spudger you can now lift the Cover and put it aside.
-
-
-
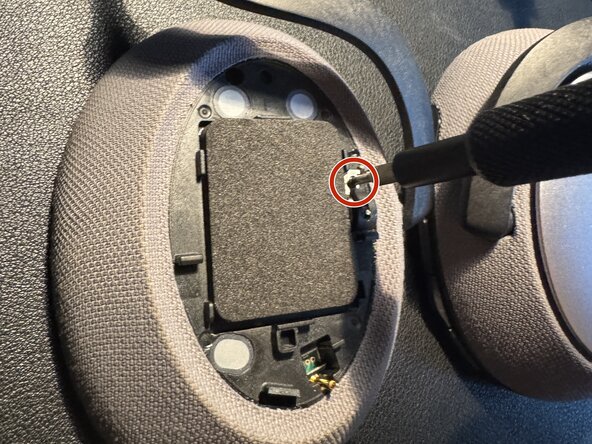
In the red circle you now remove the PH00 screw
-
This one is the last one keeping the inner part in place. After removing it you can go to step 6
-
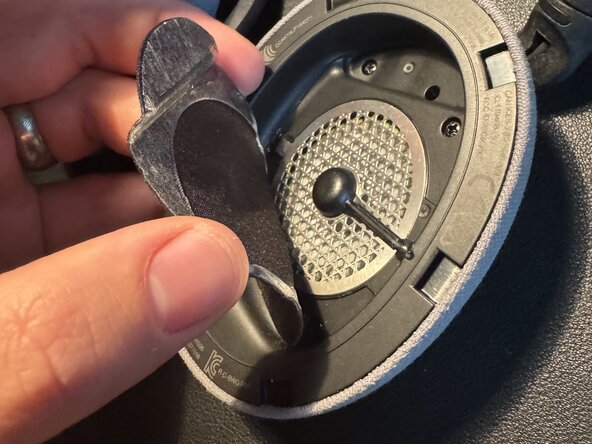
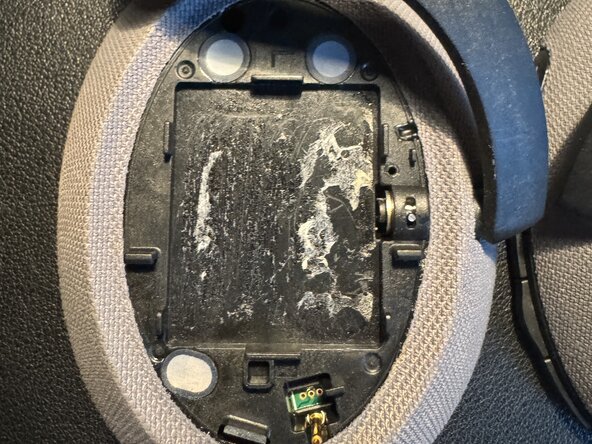
If you wonder what's below the foamy stuff, just look at picture three. You can remove it. But it is just part of the scenic route.
-
-
-
After removing the outside cover and the last screw there you can push the speaker up carefully and reach the electronics.
-
-
-
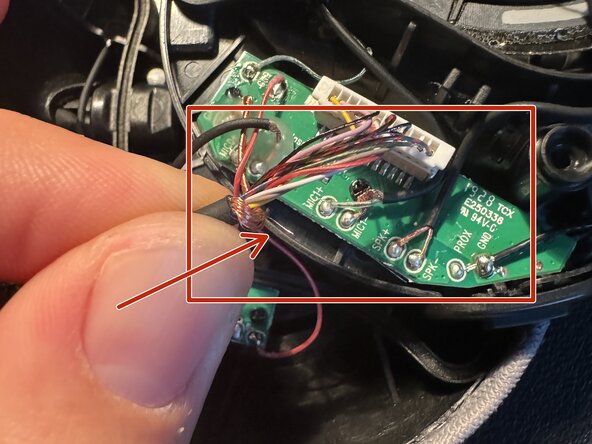
Once I had disconnected and reconnected all the wiring, I noticed that one of the cables is made up of bare stranded wire (red circle).
-
They are in my opinion far too close to those soldering points (Red square) and one little wire (red arrow) was moving too freely for my taste.
-
-
-
after some creative use of insulation tape over the soldering points in the vicinity an unintended short circuit seems to be avoided.
-
-
-
Now "just" do all the previous steps in the reverse order (not the tape though) to put everything back together.
-
I am using the headphones for quite a while now and even shaking my head or movement does not lead to the previous problems.
-


Do all the steps in reverse order to reassemble the Headphones.
Do all the steps in reverse order to reassemble the Headphones.
crwdns2935221:0crwdne2935221:0
crwdns2935227:0crwdne2935227:0
crwdns2934873:0crwdne2934873:0
100%


crwdns2934885:0crwdne2934885:0 crwdns2934875:0crwdne2934875:0
crwdns2934877:0crwdne2934877:0 ›

crwdns2947410:01crwdne2947410:0
Thank you, Karsten. This seems to have worked for me. But it is v. delicate work!
Read the full guide before attempting. The final fix is to wrap a bare wire with insulating tape. Be ready.
I did not tape mine, I unclipped the white connector and moved the bare wire on top of it to separate it from the soldered connections.
It seems to have helped, but may not be a final fix - I may need to tape it. The bare wire is quite thick and strong but many of the wires
seem seem almost hair-thin and extremely delicate. I was in fear of destroying the headphones the entire time.
---
Be extra careful in step 5a - the screw holds down a small squiggly spring. Take note of the position before removing.
Also in step 5a, just outside the red circle at the 5 o'clock position is a small metal post that will likely fall out as you move the cup.
I heard mine hit the floor and figured out where it came from.
Lastly in step 5 - there is no need to remove the foam. The scenic route is an unneeded detour.