crwdns2915892:0crwdne2915892:0
This guide shows how to replace Axess SPBT1031 Subwoofer. Replacing the subwoofer is moderate difficulty and it'll take about 15 minutes to replace. Below is the step-by-step guide to replacing the subwoofer.
crwdns2942213:0crwdne2942213:0
-
-
Look at the side of the speaker without the red interface plate; there will be a red ring around the mesh but no buttons on the side.
-
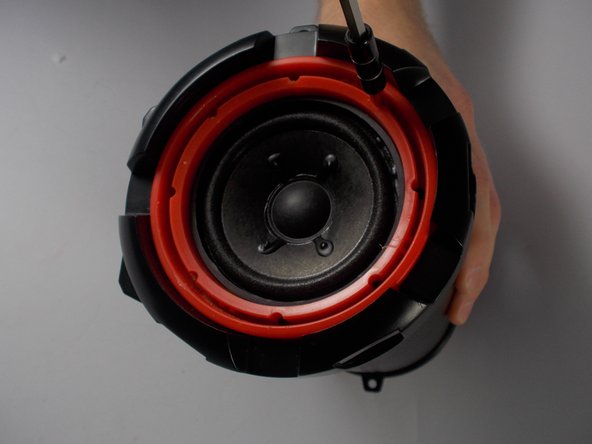
Remove the two 5.5 mm screws from the top and bottom of the black face plate using a Phillips #1 screwdriver.
-
-
-
Use a metal spudger to remove the mesh speaker cover by wedging the narrow end into the center of the outer edge of the mesh touching the red plate.
-
-
-
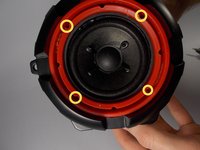
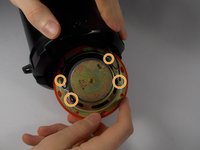
Remove four 5.5 mm screws from the red panel under the mesh using a Phillips #1 screwdriver.
-
-
-
crwdns2935267:0crwdne2935267:0Tweezers$4.99
-
If the screws are difficult to remove, use the tweezers to twist and pick them out.
-
-
-
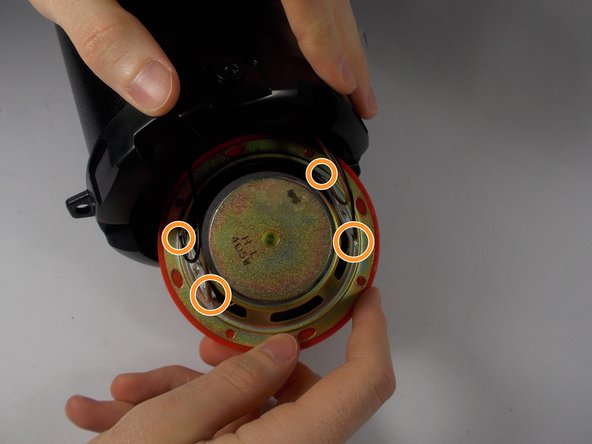
Separate the red plate from the black face plate by removing the black plate from the tube and pushing on the inside of the subwoofer.
-
-
-
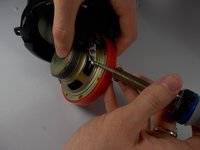
To remove the the wires from the subwoofer terminals, use a soldering iron to reheat the solder at each of the four points of connection.
-
-
crwdns2935267:0crwdne2935267:0Desoldering Pump$3.99
-
Use a desoldering pump to remove the liquid solder from the terminals.
-
To reassemble your device, follow these instructions in reverse order.
crwdns2935221:0crwdne2935221:0
crwdns2935229:02crwdne2935229:0
crwdns2947410:01crwdne2947410:0
I Ned to replace the charger conection and I need the parts please u can email me at elpaleterolopez@Gmail.com or call me at 6613402547


