crwdns2915892:0crwdne2915892:0
One of the most common issues with the Atari 5200 is faulty controller wiring- a controller's buttons will become unresponsive, hard to press, or even stuck in place. This guide will cover replacing the entire circuit board for the buttons, reseating each button to ensure proper contact and operation of each button.
crwdns2942213:0crwdne2942213:0
-
-
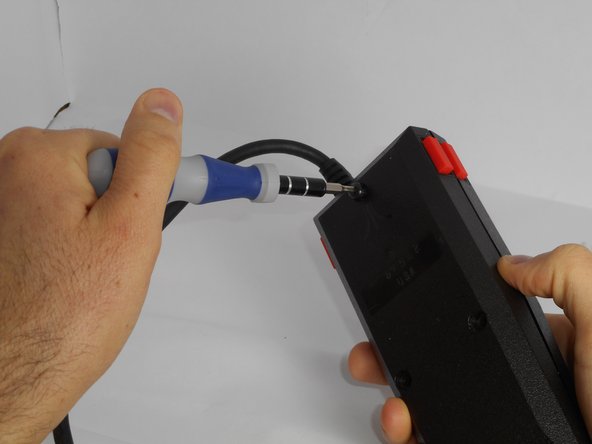
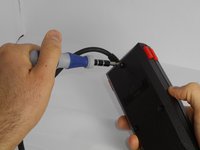
Turn the controller over, exposing the three screws on the back. Use a 6mm screwdriver to remove these screws.
-
Carefully slide and pull the two parts of the controller shell apart, exposing the innards.
-
-
-
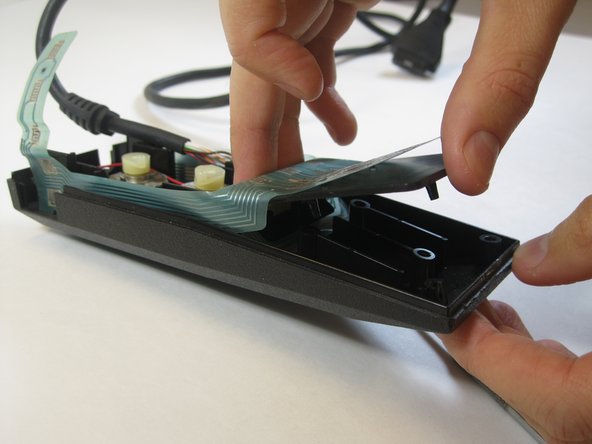
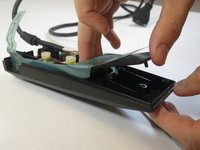
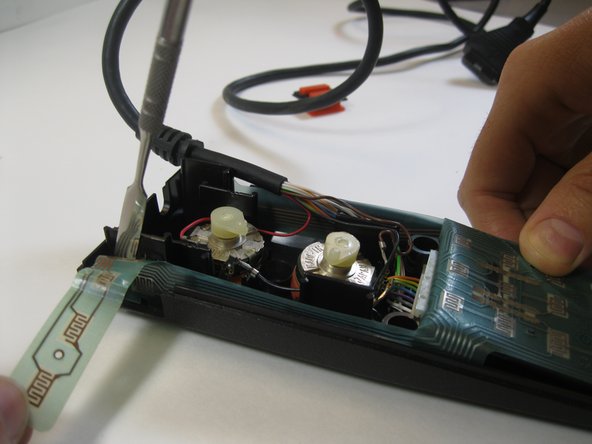
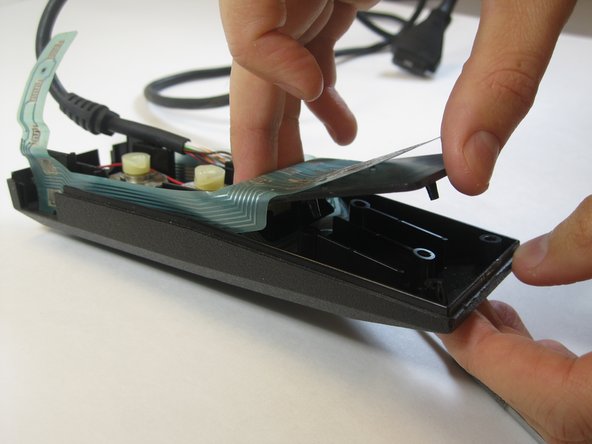
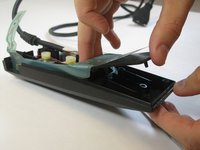
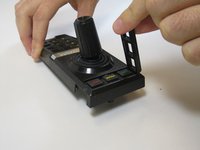
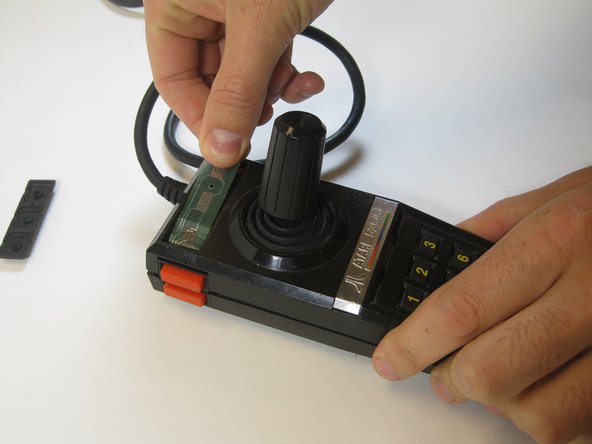
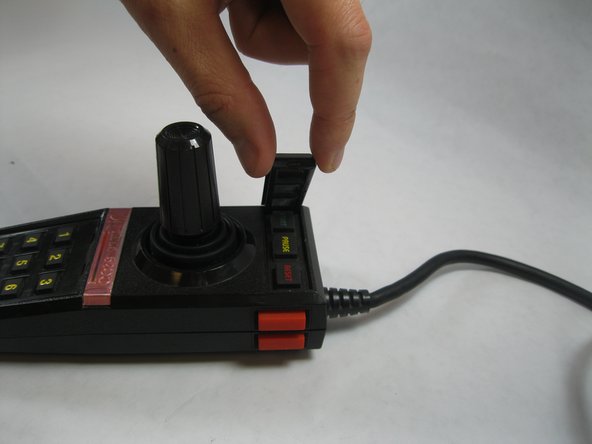
Slide out the strip of the board connected to the controller's START, PAUSE, and RESET buttons.
-
-
-
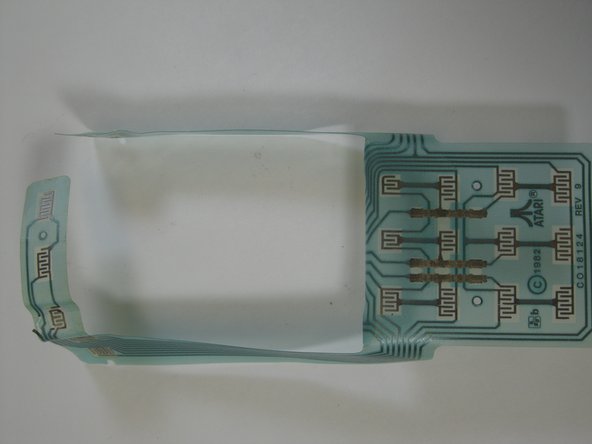
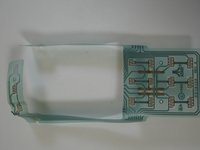
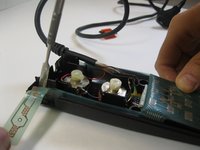
Peel off the old circuit board.
-
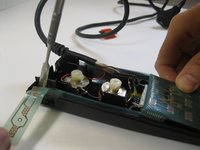
Disconnect it from the wire connector.
-
-
-
-
Place the new circuit board where the old one was.
-
Glue/tape it in places where the previous board was held.
-
Connect it to the wire connector.
-
-
-
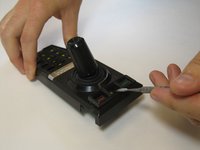
Use a spudger to remove the top frame.
-
Take off the plate.
-
Remove the rubber buttons.
-
-
-
Pull the circuit strip through the new space.
-
Realign the top and bottom of the controller.
-
-
-
Return the buttons to the top of the controller.
-
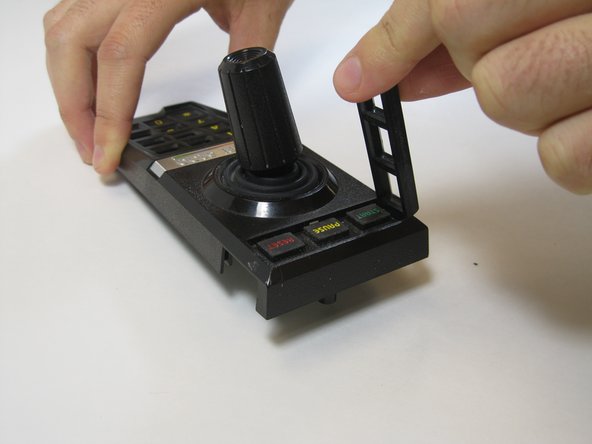
Snap the frame back into place.
-
Screw the Screws
-
crwdns2935221:0crwdne2935221:0
crwdns2935227:0crwdne2935227:0


