crwdns2933423:0crwdne2933423:0

Asus X751MA-DH01TQ Web Cam Replacement

crwdns2942213:0crwdne2942213:0

  1. Asus X751MA-DH01TQ  Web Cam Replacement, Web Cam: crwdns2935265:01crwdnd2935265:01crwdnd2935265:02crwdne2935265:0 Asus X751MA-DH01TQ  Web Cam Replacement, Web Cam: crwdns2935265:01crwdnd2935265:02crwdnd2935265:02crwdne2935265:0
    • Turn the laptop upside down and locate the ten screws that hold the plate cover.

    • Remove all ten screws using a 00 Phillips head screwdriver.

  2. Asus X751MA-DH01TQ  Web Cam Replacement: crwdns2935265:02crwdnd2935265:01crwdnd2935265:02crwdne2935265:0 Asus X751MA-DH01TQ  Web Cam Replacement: crwdns2935265:02crwdnd2935265:02crwdnd2935265:02crwdne2935265:0
    • Using the plastic opening tool, pry the keyboard off of the base of the laptop.

    • Lift up and remove the keyboard.

  3. Asus X751MA-DH01TQ  Web Cam Replacement: crwdns2935265:03crwdnd2935265:01crwdnd2935265:03crwdne2935265:0 Asus X751MA-DH01TQ  Web Cam Replacement: crwdns2935265:03crwdnd2935265:02crwdnd2935265:03crwdne2935265:0 Asus X751MA-DH01TQ  Web Cam Replacement: crwdns2935265:03crwdnd2935265:03crwdnd2935265:03crwdne2935265:0
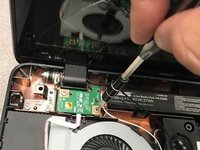
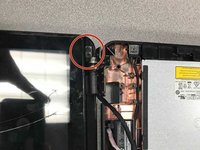
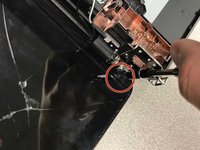
    • Remove eight 4.4 Phillips #00 screws attached to the hinge.

    • Hold the screen so it wont fall over.

  4. Asus X751MA-DH01TQ  Web Cam Replacement: crwdns2935265:04crwdnd2935265:01crwdnd2935265:03crwdne2935265:0 Asus X751MA-DH01TQ  Web Cam Replacement: crwdns2935265:04crwdnd2935265:02crwdnd2935265:03crwdne2935265:0 Asus X751MA-DH01TQ  Web Cam Replacement: crwdns2935265:04crwdnd2935265:03crwdnd2935265:03crwdne2935265:0
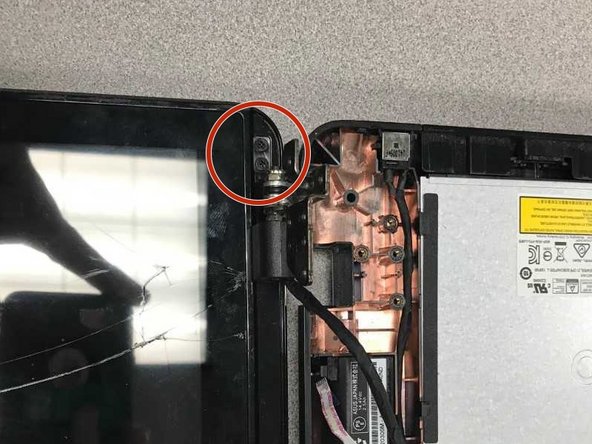
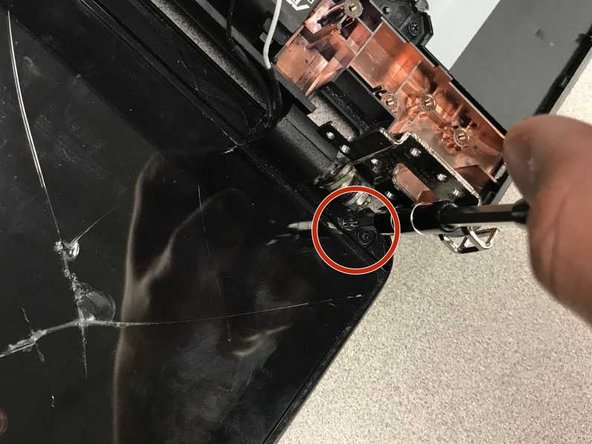
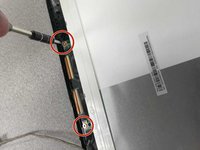
    • Remove the stickers from the bottom left and right corners of the screen.

    • Use a 00 Phillips head screw driver to remove the four screws.

  5. Asus X751MA-DH01TQ  Web Cam Replacement: crwdns2935265:05crwdnd2935265:01crwdnd2935265:01crwdne2935265:0
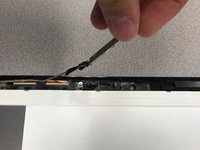
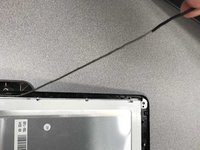
    • Use the plastic opening tool to take the screen apart.

  6. Asus X751MA-DH01TQ  Web Cam Replacement: crwdns2935265:06crwdnd2935265:01crwdnd2935265:02crwdne2935265:0 Asus X751MA-DH01TQ  Web Cam Replacement: crwdns2935265:06crwdnd2935265:02crwdnd2935265:02crwdne2935265:0
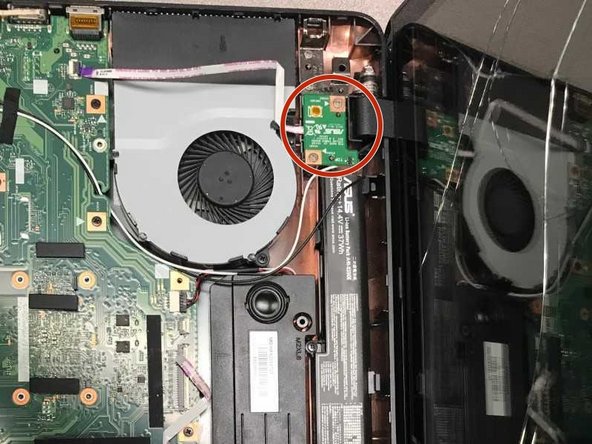
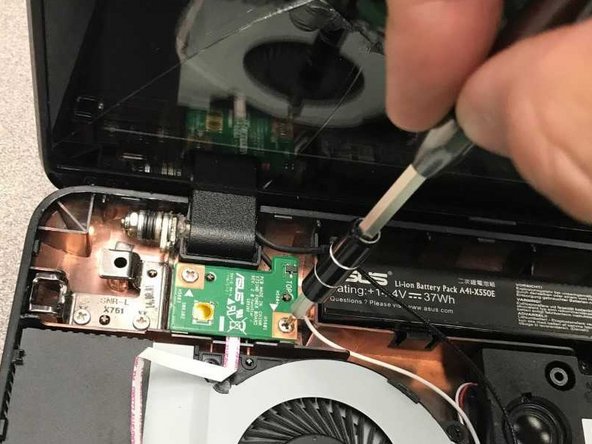
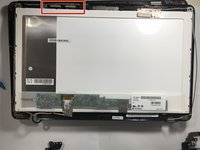
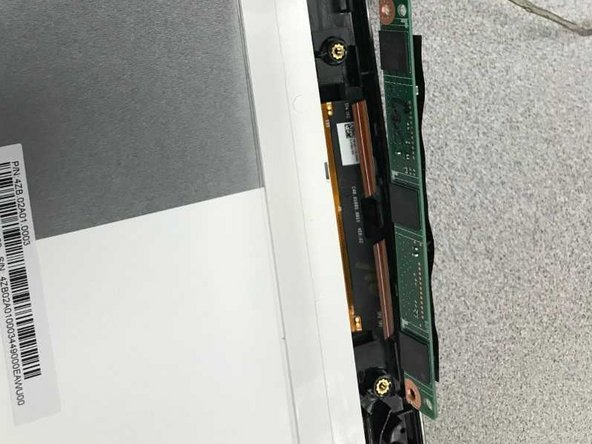
    • Remove the two 4mm Phillips #00 screws attached to the webcam.

  7. Asus X751MA-DH01TQ  Web Cam Replacement: crwdns2935265:07crwdnd2935265:01crwdnd2935265:03crwdne2935265:0 Asus X751MA-DH01TQ  Web Cam Replacement: crwdns2935265:07crwdnd2935265:02crwdnd2935265:03crwdne2935265:0 Asus X751MA-DH01TQ  Web Cam Replacement: crwdns2935265:07crwdnd2935265:03crwdnd2935265:03crwdne2935265:0
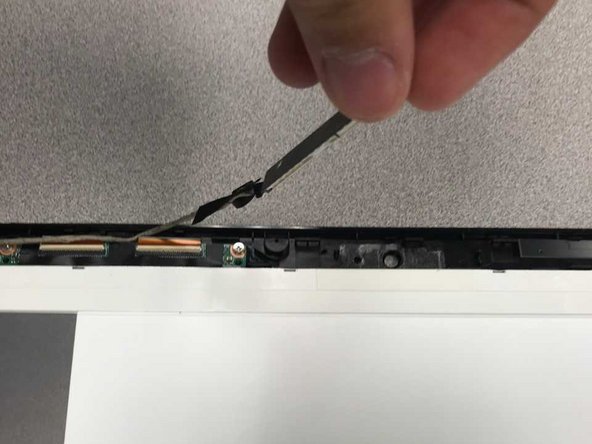
    • Slowly pull up the webcam out of its slot, and begin to remove the wire.

  8. Asus X751MA-DH01TQ  Web Cam Replacement: crwdns2935265:08crwdnd2935265:01crwdnd2935265:02crwdne2935265:0 Asus X751MA-DH01TQ  Web Cam Replacement: crwdns2935265:08crwdnd2935265:02crwdnd2935265:02crwdne2935265:0
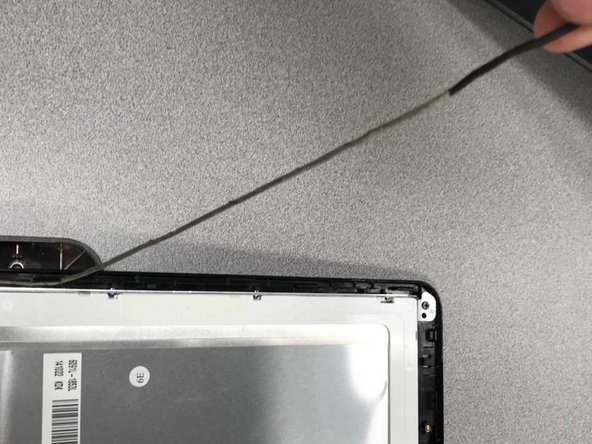
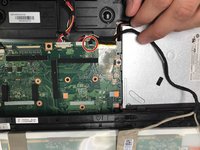
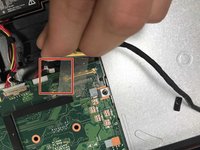
    • Continue to unravel the wire and peel the webcam wire sticker off.

  9. Asus X751MA-DH01TQ  Web Cam Replacement: crwdns2935265:09crwdnd2935265:01crwdnd2935265:02crwdne2935265:0 Asus X751MA-DH01TQ  Web Cam Replacement: crwdns2935265:09crwdnd2935265:02crwdnd2935265:02crwdne2935265:0
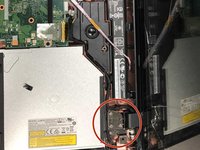
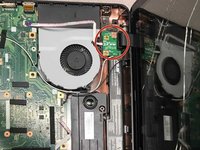
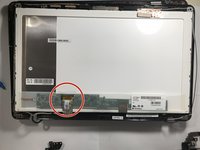
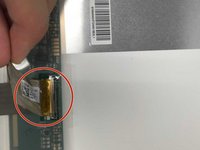
    • Once the sticker is peeled off pull the plug holding the webcam into the circuit board and the webcam is now disconnected.

crwdns2915888:0crwdne2915888:0

To reassemble your device, follow these instructions in reverse order.

Darren Kim

crwdns2935283:009/18/18crwdne2935283:0

657 crwdns2915208:0crwdne2915208:0

crwdns2935297:03crwdne2935297:0

crwdns2915084:0crwdne2915084:0

University of North Texas, Team S1-G1, Thomas Spring 2020 crwdns2935289:0University of North Texas, Team S1-G1, Thomas Spring 2020crwdne2935289:0

UNT-THOMAS-S20S1G1

crwdns2931471:03crwdne2931471:0

crwdns2935297:03crwdne2935297:0

crwdns2944067:00crwdne2944067:0

crwdns2917038:0crwdne2917038:0

crwdns2936625:0crwdne2936625:0:

crwdns2936751:024crwdne2936751:0 1

crwdns2936753:07crwdne2936753:0 1

crwdns2936753:030crwdne2936753:0 9

crwdns2942667:0crwdne2942667:0 152