crwdns2915892:0crwdne2915892:0
This guide will help you replace a defective screen, patience and extreme care is required. It will require a major disassembly of the laptop.
crwdns2942213:0crwdne2942213:0
-
-
Flip the device over so that the back cover is facing you.
-
-
-
Remove the four 5mm Phillips #1 screws from the top of the laptop.
-
Remove the two 6mm Phillips #1 screws from the sides of the laptop.
-
Remove the four 2mm Phillips #1 screws from the bottom of the laptop.
-
-
-
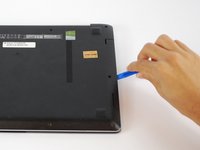
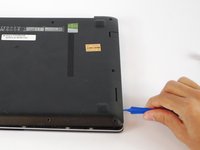
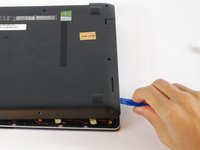
Use a plastic opening tool to gently pry the bottom of the laptop up. Slowly slide it along the edges, twisting it every so often to pop the bottom of the laptop out of the clips holding it in place.
-
-
-
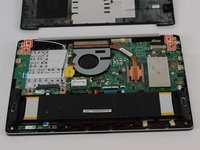
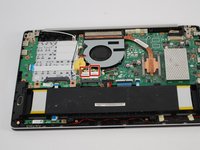
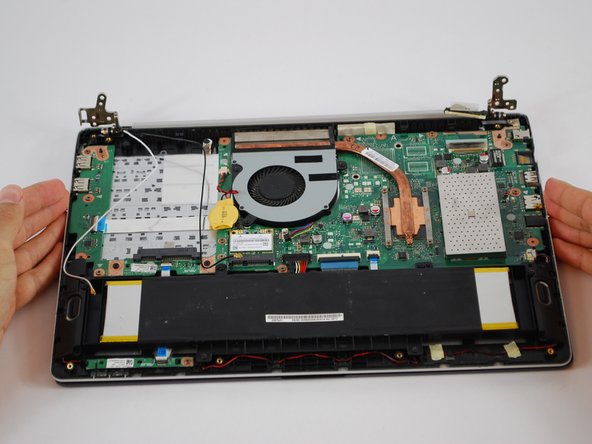
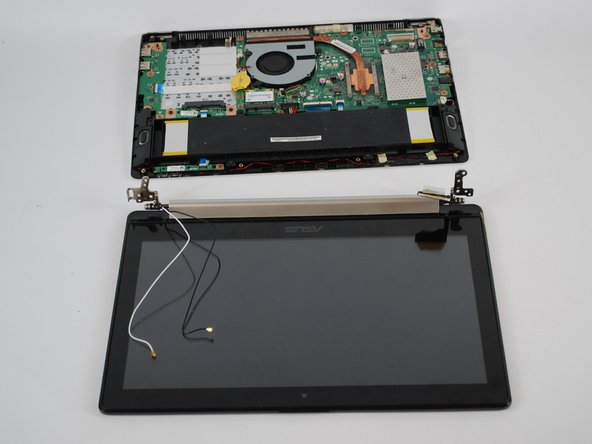
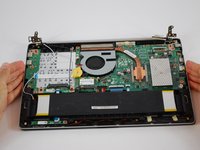
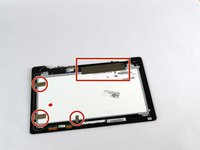
Lift off the cover and remove the back cover from the device.
-
-
-
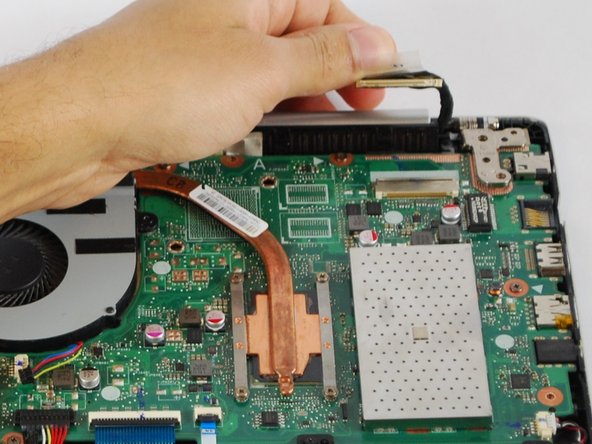
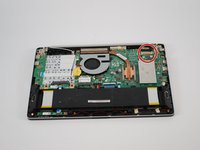
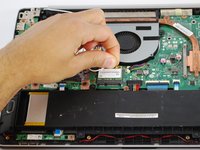
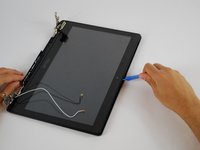
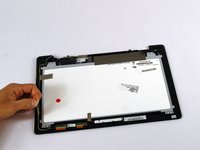
Unplug the screen connector from the motherboard.
-
-
-
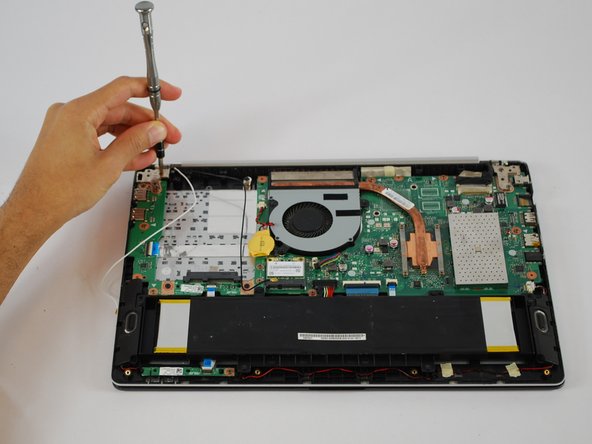
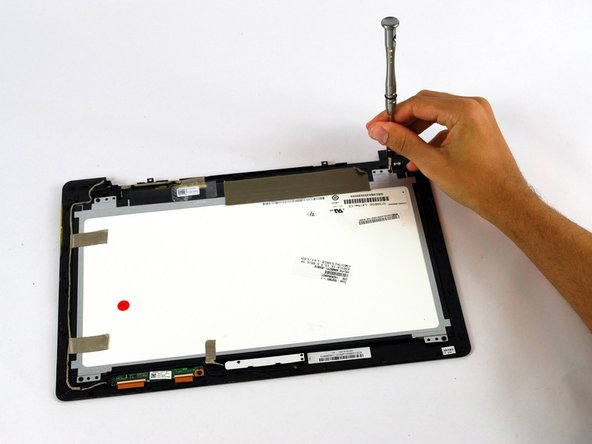
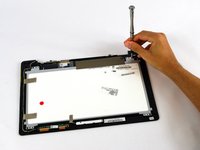
Using a Phillips #1 Screwdriver unscrew the four 4 mm screws holding the screen holder onto the motherboard.
-
-
-
-
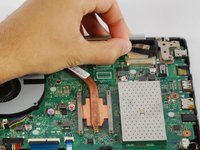
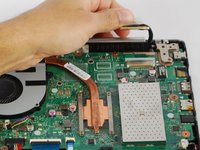
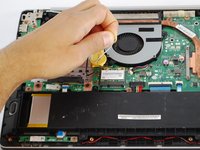
Remove the two cables connecting to the wifi card.
-
-
-
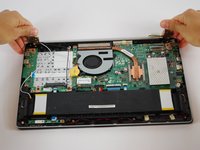
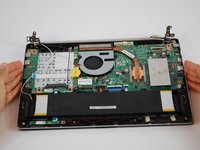
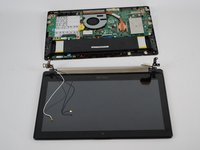
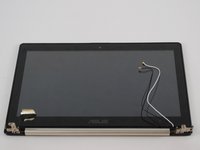
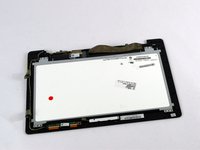
Remove the screen holder from the rest of the laptop.
-
-
-
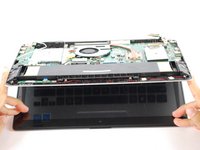
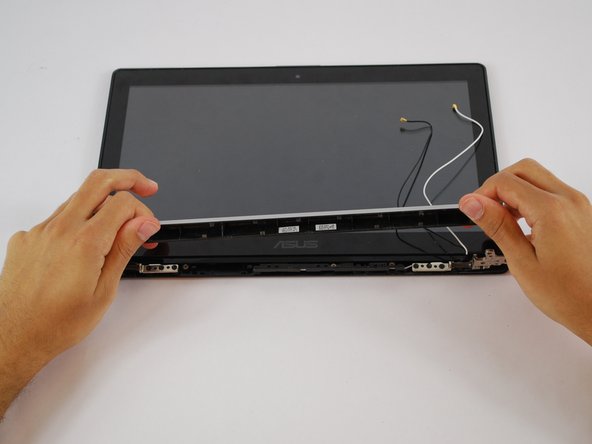
Remove the bottom of the laptop from the screen.
-
-
-
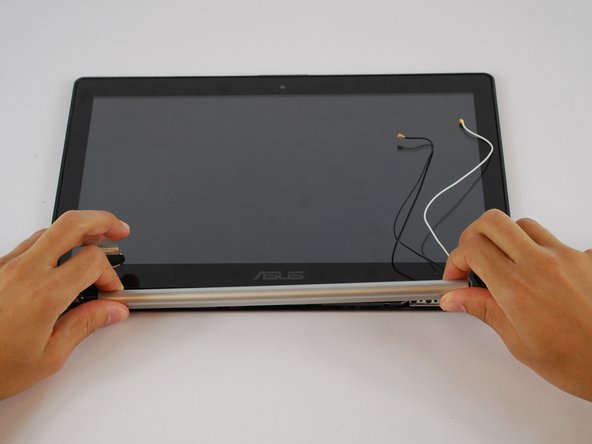
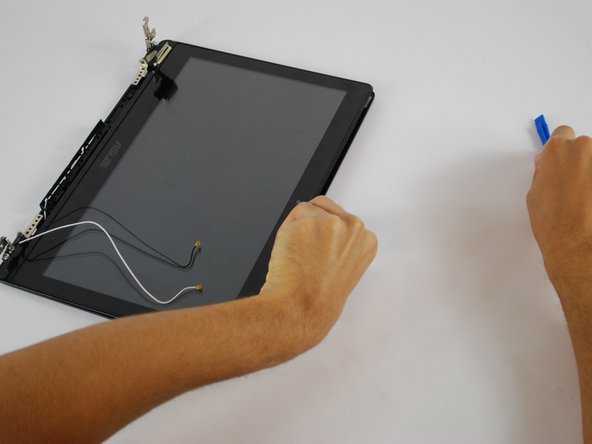
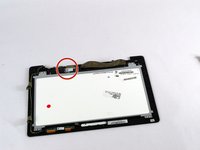
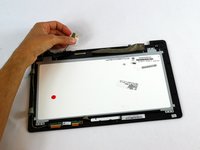
Remove the hinge cover by gently pulling to the right then upwards.
-
-
-
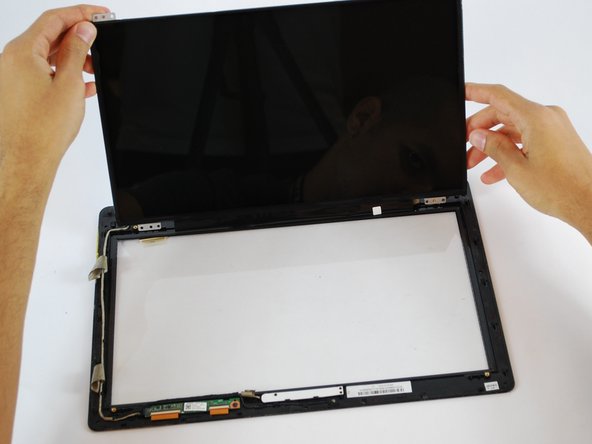
Using a Phillips #1 Screwdriver unscrew the six 3 mm black screws and the three 2 mm copper screws that are keeping the screen in place.
-
-
-
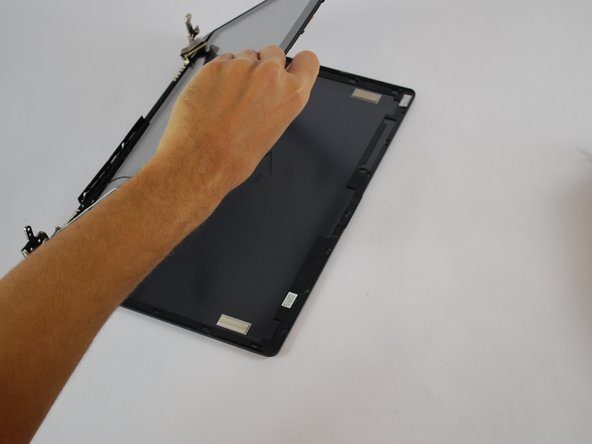
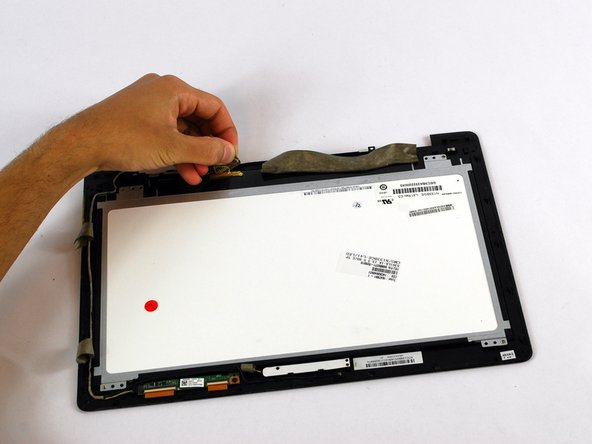
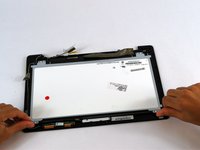
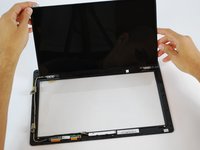
Push screen downwards then pull top of screen upwards and remove the screen.
-
-
-
Using a Phillips #1 Screwdriver Unscrew the four 2 mm screws holding the screen onto the screen cover.
-
-
-
Use a sharp object to remove tape from the back of the screen.
-
-
-
Unplug the screen from the screen holder.
-
-
-
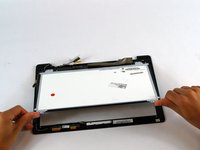
Take the screen off of the screen holder.
-


To reassemble your device, follow these instructions in reverse order.
crwdns2935221:0crwdne2935221:0
crwdns2935229:04crwdne2935229:0

crwdns2935287:0crwdne2935287:0

USF Tampa, Team S10-G3, Thompson Fall 2017 crwdns2935289:0USF Tampa, Team S10-G3, Thompson Fall 2017crwdne2935289:0
USFT-THOMPSON-F17S10G3
crwdns2931471:04crwdne2931471:0
crwdns2935297:06crwdne2935297:0