crwdns2915892:0crwdne2915892:0
This guide will show you how to remove and replace the motherboard if you are experiencing performance issues.
crwdns2942213:0crwdne2942213:0
-
-
Turn off the computer and unplug the charge cable.
-
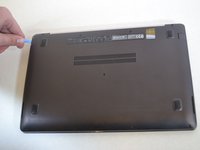
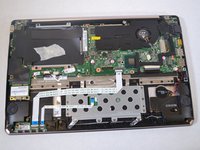
Turn the computer upside down.
-
-
-
Remove the nine Philips #00 screws holding the back panel in place (four 5.6mm, four 7.7mm, and one 9.2mm).
-
-
-
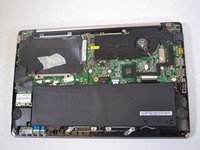
Use a plastic opening tool to gently remove the back panel.
-
-
-
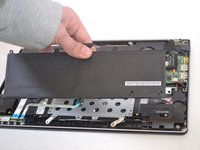
Remove the eight 4.7mm Philips #00 screws holding the battery in place.
-
-
-
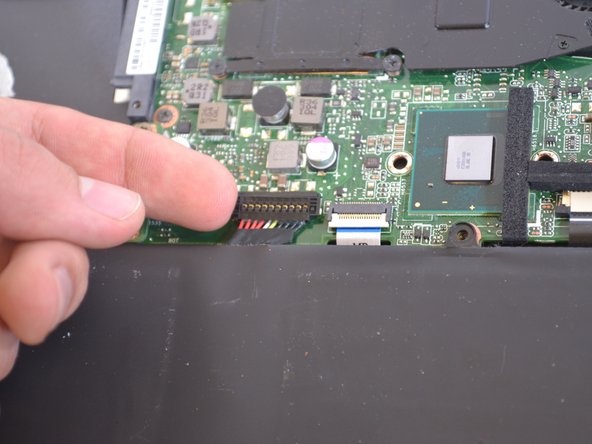
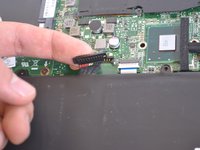
The battery is attached by a set of wires.
-
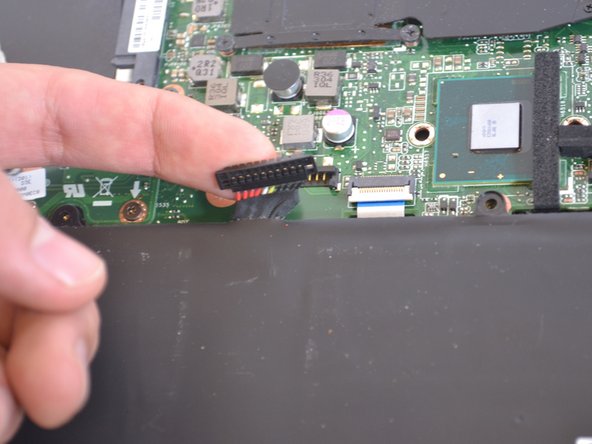
Use your finger to disconnect the set of wires. It should come off very easily.
-
-
-
Now just lift the battery out of place.
-
-
-
Unscrew the five 4.9mm screws holding the cooling fan in place using a Phillips #0 screwdriver.
-
-
-
-
Lift up and remove the cooling fan from the slot.
-
-
-
Locate wireless card next to battery.
-
-
-
Remove the one 4.9mm screw that holds the wireless card in place with a Phillips #00 screwdriver.
-
-
-
Unplug the black coaxial cable from the wireless card.
-
-
-
Pull the wireless card from connector slot.
-
-
-
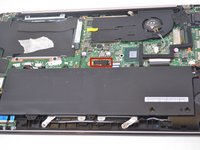
Locate the motherboard under the cooling fan.
-
-
-
Unscrew the two 5.9mm screws on the PCB board with a Phillips #0 screwdriver.
-
-
-
Remove the PCB board from the motherboard.
-
-
-
Unscrew the four 5.9mm hard drive bracket screws with a Phillips #0 screwdriver.
-
-
-
Unscrew the four 5.9mm screws with a Phillips #0 screwdriver.
-
Next, carefully lift the LAN bracket out of the slot.
-
-
-
Remove the five 5.9mm screws holding the motherboard in place with a Phillips #0 screwdriver.
-
Remove the five 3.5mm screws holding the motherboard with a Phillips #00 screwdriver.
-
-
-
Carefully lift the motherboard up out of the slot.
-
-
-
Locate and unplug the power bus from the motherboard.
-
The motherboard can now be replaced.
-


To reassemble your device, follow these instructions in reverse order.
To reassemble your device, follow these instructions in reverse order.
crwdns2915084:0crwdne2915084:0

IUPUI, Team S4-G4, Wilson Summer 2017 crwdns2935289:0IUPUI, Team S4-G4, Wilson Summer 2017crwdne2935289:0
IUPUI-WILSON-SU17S4G4
crwdns2931471:04crwdne2931471:0
crwdns2935297:07crwdne2935297:0
crwdns2947410:01crwdne2947410:0
Very useful tutorial with nice photos indicating even different type of screws n different color..
This was more useful than a YouTube video..
I just replaced my mother board..
Thank you and God bless u for ur effort..