crwdns2933423:0crwdne2933423:0

Asus V6800V Fan Replacement

crwdns2942213:0crwdne2942213:0

  1. Asus V6800V Fan Replacement, Battery: crwdns2935265:01crwdnd2935265:01crwdnd2935265:02crwdne2935265:0 Asus V6800V Fan Replacement, Battery: crwdns2935265:01crwdnd2935265:02crwdnd2935265:02crwdne2935265:0
    • Place the computer upside down.

    • Using your thumbs, slide both latches away from each other (towards the outside).

    • Push the battery out with your fingers.

    • The actual battery is not pictured.

  2. Asus V6800V Fan Replacement, Fan: crwdns2935265:02crwdnd2935265:01crwdnd2935265:02crwdne2935265:0 Asus V6800V Fan Replacement, Fan: crwdns2935265:02crwdnd2935265:02crwdnd2935265:02crwdne2935265:0
    • Use the Phillips #0 to remove the six screws on the back of the device.

    • Gently open the cover using the tab located by the highlighted box.

  3. Asus V6800V Fan Replacement: crwdns2935265:03crwdnd2935265:01crwdnd2935265:02crwdne2935265:0 Asus V6800V Fan Replacement: crwdns2935265:03crwdnd2935265:02crwdnd2935265:02crwdne2935265:0
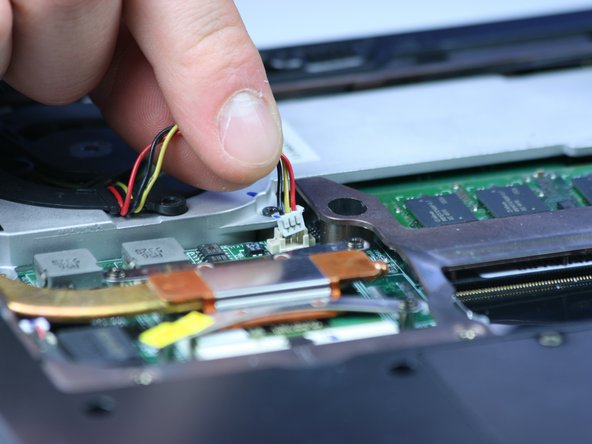
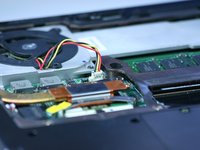
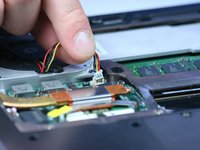
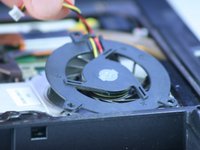
    • Unplug the wires by pulling straight up on the white connector and away from the computer.

    • Make sure not to pull on the wires (as shown in the second picture). The white connector should pop off with very little force.

  4. Asus V6800V Fan Replacement: crwdns2935265:04crwdnd2935265:01crwdnd2935265:02crwdne2935265:0 Asus V6800V Fan Replacement: crwdns2935265:04crwdnd2935265:02crwdnd2935265:02crwdne2935265:0
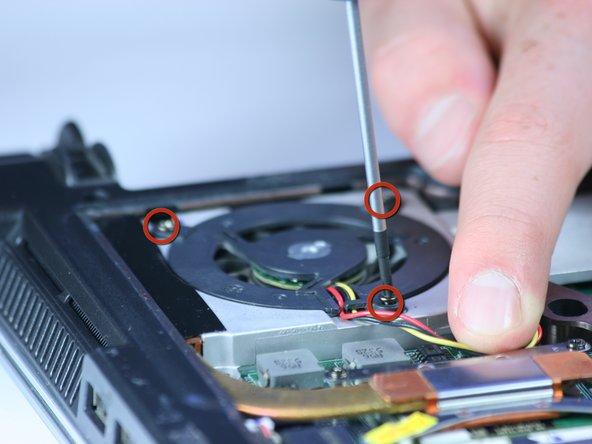
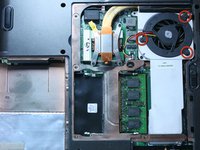
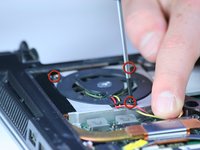
    • Use a Phillips #0 to remove the three screws holding the fan in place.

  5. Asus V6800V Fan Replacement: crwdns2935265:05crwdnd2935265:01crwdnd2935265:02crwdne2935265:0 Asus V6800V Fan Replacement: crwdns2935265:05crwdnd2935265:02crwdnd2935265:02crwdne2935265:0
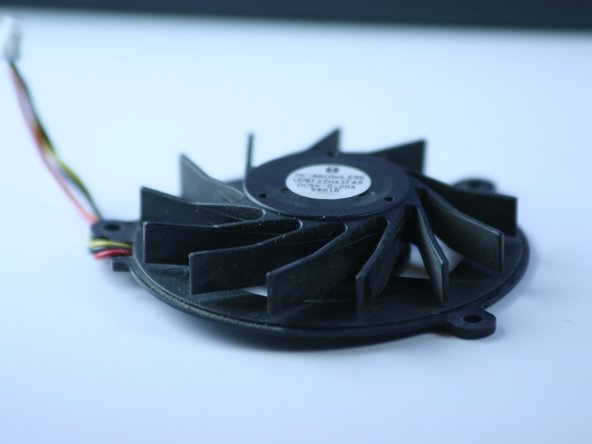
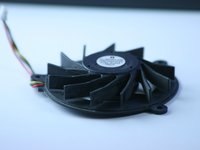
    • Remove the fan from the device.

    • The fan should remove easily.

  6. Asus V6800V Fan Replacement: crwdns2935265:06crwdnd2935265:01crwdnd2935265:02crwdne2935265:0 Asus V6800V Fan Replacement: crwdns2935265:06crwdnd2935265:02crwdnd2935265:02crwdne2935265:0
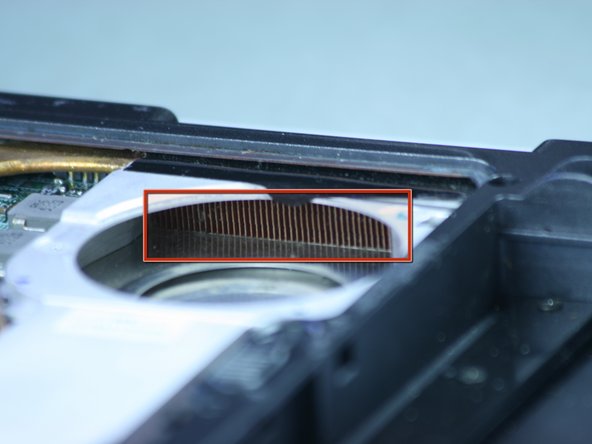
    • Use a cotton swab or compressed air to blow air from the inside, out to clear dust from the vent or heat sink.

crwdns2915888:0crwdne2915888:0

To reassemble your device, follow these instructions in reverse order.

Jong Park

crwdns2935283:006/24/10crwdne2935283:0

114 crwdns2915208:0crwdne2915208:0

crwdns2935297:05crwdne2935297:0

crwdns2915084:0crwdne2915084:0

Cal Poly, Team 2-9, Johann Summer 2010 crwdns2935289:0Cal Poly, Team 2-9, Johann Summer 2010crwdne2935289:0

CPSU-JOHANN-R10S2G9

crwdns2931471:05crwdne2931471:0

crwdns2935297:010crwdne2935297:0

crwdns2944067:00crwdne2944067:0

crwdns2917038:0crwdne2917038:0

crwdns2936625:0crwdne2936625:0:

crwdns2936751:024crwdne2936751:0 0

crwdns2936753:07crwdne2936753:0 2

crwdns2936753:030crwdne2936753:0 16

crwdns2942667:0crwdne2942667:0 4,966