crwdns2933423:0crwdne2933423:0

Asus UL30VT-A1 Hard Drive Replacement

crwdns2942213:0crwdne2942213:0

  1. Asus UL30VT-A1 Hard Drive Replacement, Hard Drive: crwdns2935265:01crwdnd2935265:01crwdnd2935265:01crwdne2935265:0
    • Flip your device so that the back of the device is facing you.

  2. Asus UL30VT-A1 Hard Drive Replacement: crwdns2935265:02crwdnd2935265:01crwdnd2935265:02crwdne2935265:0 Asus UL30VT-A1 Hard Drive Replacement: crwdns2935265:02crwdnd2935265:02crwdnd2935265:02crwdne2935265:0
    • Remove the four screws using your Phillips #0 screwdriver to attain access to your Hard Drive.

    • Remove the panel using a plastic opening tool.

  3. Asus UL30VT-A1 Hard Drive Replacement: crwdns2935265:03crwdnd2935265:01crwdnd2935265:02crwdne2935265:0 Asus UL30VT-A1 Hard Drive Replacement: crwdns2935265:03crwdnd2935265:02crwdnd2935265:02crwdne2935265:0
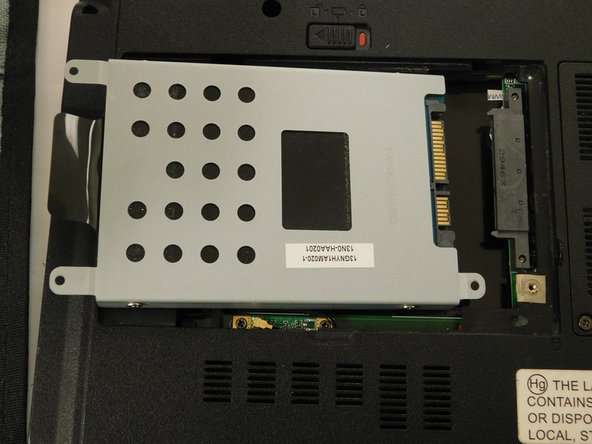
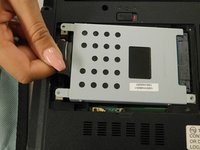
    • Gently pull the black strip and the Hard Drive should slide right off. Pull your hard drive to the side not up to avoid damage to the slot.

crwdns2915888:0crwdne2915888:0

To reassemble your device, follow these instructions in reverse order.

crwdns2935227:0crwdne2935227:0
Miguel Gonzalez

crwdns2935283:002/04/19crwdne2935283:0

97 crwdns2915208:0crwdne2915208:0

crwdns2935295:0crwdne2935295:0

crwdns2915084:0crwdne2915084:0

Gateway, Team S1-G2, Saknee Spring 2019 crwdns2935289:0Gateway, Team S1-G2, Saknee Spring 2019crwdne2935289:0

GCC-SAKNEE-S19S1G2

crwdns2931471:05crwdne2931471:0

crwdns2935297:03crwdne2935297:0

crwdns2944067:00crwdne2944067:0

crwdns2917038:0crwdne2917038:0

crwdns2936625:0crwdne2936625:0:

crwdns2936751:024crwdne2936751:0 1

crwdns2936753:07crwdne2936753:0 1

crwdns2936753:030crwdne2936753:0 9

crwdns2942667:0crwdne2942667:0 214