crwdns2933423:0crwdne2933423:0

Asus TUF Gaming A15 FA506QM Back Cover Replacement

crwdns2942213:0crwdne2942213:0

  1. Asus TUF Gaming A15 FA506QM Back Cover Replacement, Prepare the device: crwdns2935265:01crwdnd2935265:01crwdnd2935265:03crwdne2935265:0 Asus TUF Gaming A15 FA506QM Back Cover Replacement, Prepare the device: crwdns2935265:01crwdnd2935265:02crwdnd2935265:03crwdne2935265:0 Asus TUF Gaming A15 FA506QM Back Cover Replacement, Prepare the device: crwdns2935265:01crwdnd2935265:03crwdnd2935265:03crwdne2935265:0
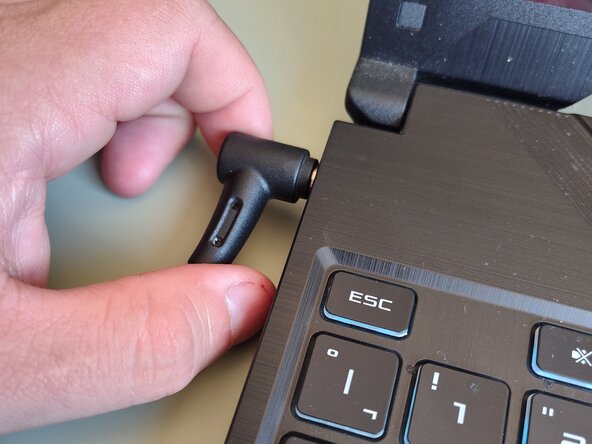
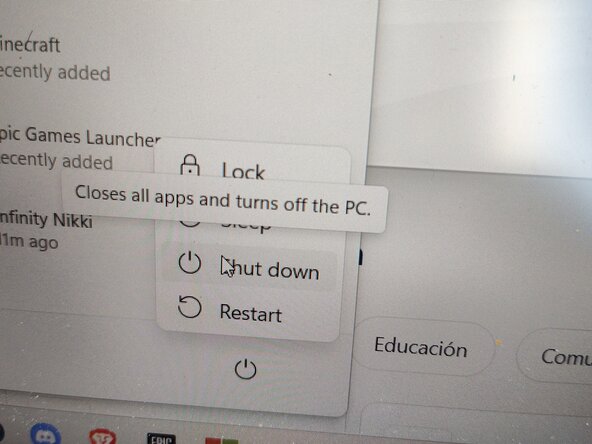
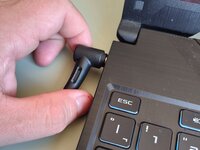
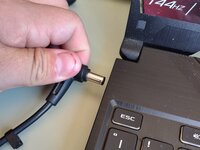
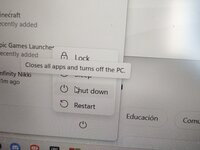
    • Disconnect the charger and turn off the device.

  2. Asus TUF Gaming A15 FA506QM Back Cover Replacement, Check peripherals: crwdns2935265:02crwdnd2935265:01crwdnd2935265:03crwdne2935265:0 Asus TUF Gaming A15 FA506QM Back Cover Replacement, Check peripherals: crwdns2935265:02crwdnd2935265:02crwdnd2935265:03crwdne2935265:0 Asus TUF Gaming A15 FA506QM Back Cover Replacement, Check peripherals: crwdns2935265:02crwdnd2935265:03crwdnd2935265:03crwdne2935265:0
    • Close the lid.

    • Make sure to take out any USB peripherals before continuing.

  3. Asus TUF Gaming A15 FA506QM Back Cover Replacement, Opening the laptop: crwdns2935265:03crwdnd2935265:01crwdnd2935265:03crwdne2935265:0 Asus TUF Gaming A15 FA506QM Back Cover Replacement, Opening the laptop: crwdns2935265:03crwdnd2935265:02crwdnd2935265:03crwdne2935265:0 Asus TUF Gaming A15 FA506QM Back Cover Replacement, Opening the laptop: crwdns2935265:03crwdnd2935265:03crwdnd2935265:03crwdne2935265:0
    • The bottom-right screw (pictured in green) is captive. Don't force it out.

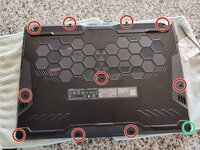
    • Remove the 11 screws. Make sure to keep them organized.

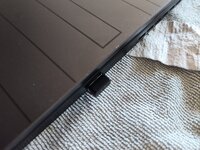
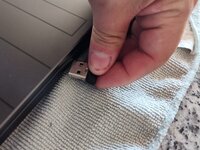
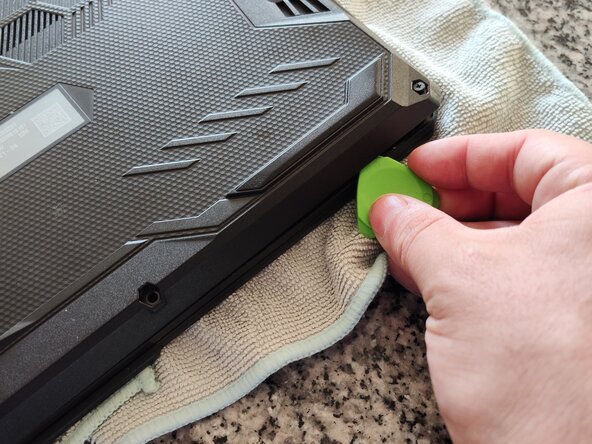
    • Using a plastic spudger, undo the clips until the casing start to loosen.

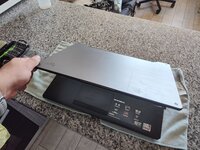
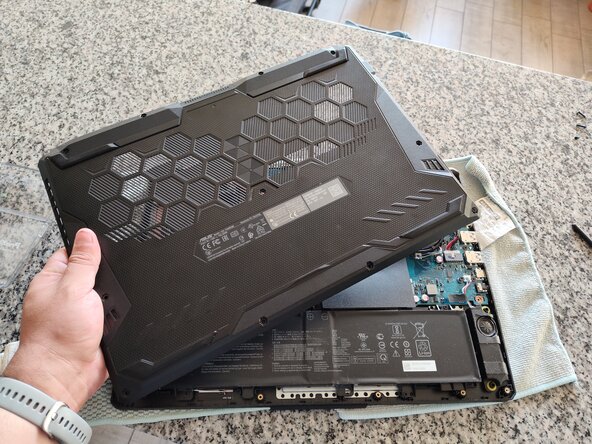
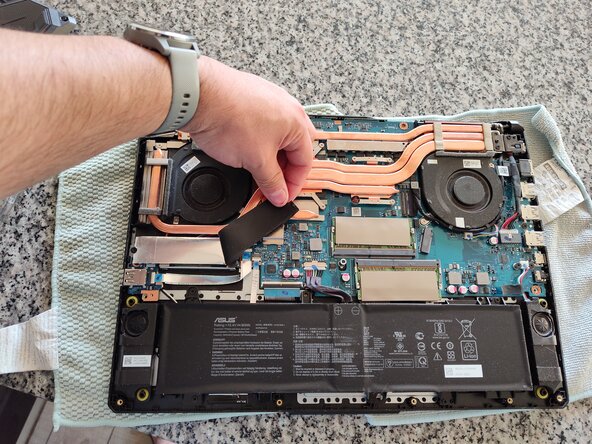
    • Remove the casing and set it aside.

  4. Asus TUF Gaming A15 FA506QM Back Cover Replacement: crwdns2935265:04crwdnd2935265:01crwdnd2935265:03crwdne2935265:0 Asus TUF Gaming A15 FA506QM Back Cover Replacement: crwdns2935265:04crwdnd2935265:02crwdnd2935265:03crwdne2935265:0 Asus TUF Gaming A15 FA506QM Back Cover Replacement: crwdns2935265:04crwdnd2935265:03crwdnd2935265:03crwdne2935265:0
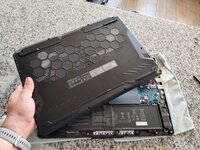
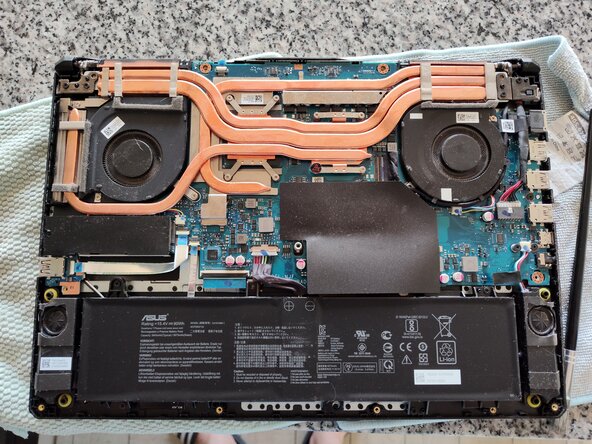
    • The first picture shows how it looks as you open it. It has a couple of thin black plastic covers.

    • You can remove these plasic covers to gain access to:

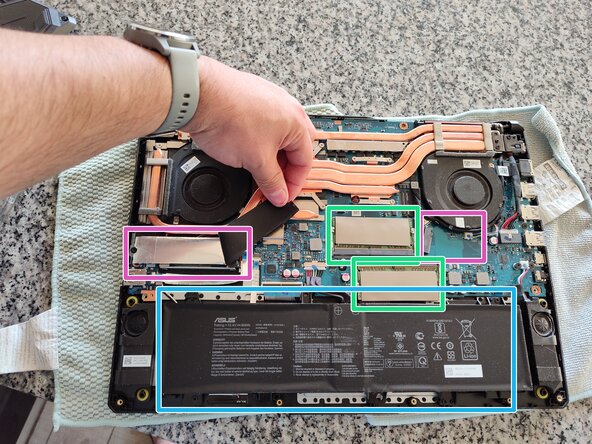
    • 2 PCIe 3.0 NVMe M.2 SSD Slots (Pictured in Purple). It uses a 2280 format size.

    • 2 SO-DIMM DDR4 Slots (Pictured in Green)

    • 90 Wh Battery (Pictured in Blue)

crwdns2915888:0crwdne2915888:0

Congratulations! You gained access to your laptop internals. Now, you can reassemble by following the steps in reverse! Good Luck.

Franco Iván Bello Rojas

crwdns2935283:002/28/22crwdne2935283:0

1,004 crwdns2915208:0crwdne2915208:0

crwdns2935297:06crwdne2935297:0

crwdns2947412:00crwdne2947412:0

crwdns2917038:0crwdne2917038:0

crwdns2936625:0crwdne2936625:0:

crwdns2936751:024crwdne2936751:0 3

crwdns2936753:07crwdne2936753:0 13

crwdns2936753:030crwdne2936753:0 24

crwdns2942667:0crwdne2942667:0 21