crwdns2933423:0crwdne2933423:0
crwdns2947577:0crwdnd2947577:0crwdne2947577:0

Asus Rog GL55VW-DH71 Screen Replacement

crwdns2942213:0crwdne2942213:0

    1. Asus Rog GL55VW-DH71 Screen Replacement, Battery: crwdns2935265:01crwdnd2935265:01crwdnd2935265:03crwdne2935265:0 Asus Rog GL55VW-DH71 Screen Replacement, Battery: crwdns2935265:01crwdnd2935265:02crwdnd2935265:03crwdne2935265:0 Asus Rog GL55VW-DH71 Screen Replacement, Battery: crwdns2935265:01crwdnd2935265:03crwdnd2935265:03crwdne2935265:0
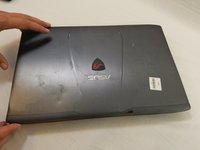
      • Flip the laptop over so the backside is facing upwards.

      • Using both hands, slide the lock mechanisms outwards and pull up to remove the battery.

      crwdns2952109:0crwdne2952109:0

      crwdns2917038:0crwdne2917038:0

    1. Asus Rog GL55VW-DH71 Screen Replacement, Keyboard: crwdns2935265:02crwdnd2935265:01crwdnd2935265:03crwdne2935265:0 Asus Rog GL55VW-DH71 Screen Replacement, Keyboard: crwdns2935265:02crwdnd2935265:02crwdnd2935265:03crwdne2935265:0 Asus Rog GL55VW-DH71 Screen Replacement, Keyboard: crwdns2935265:02crwdnd2935265:03crwdnd2935265:03crwdne2935265:0
      • Remove the nine 15.4mm Phillips #00 screws.

      • Remove the four 8.7mm Phillips #00 screws from the hard drive mounting bracket.

      • Remove the hard drive bracket.

      crwdns2952109:0crwdne2952109:0

      crwdns2917038:0crwdne2917038:0

    2. Asus Rog GL55VW-DH71 Screen Replacement: crwdns2935265:03crwdnd2935265:01crwdnd2935265:02crwdne2935265:0 Asus Rog GL55VW-DH71 Screen Replacement: crwdns2935265:03crwdnd2935265:02crwdnd2935265:02crwdne2935265:0
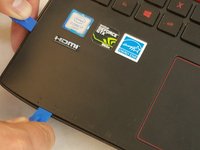
      • Flip laptop over and open the screen.

      • Wedge some plastic opening tools between the keyboard and case.

      • Work your way around with the plastic opening tools until the keyboard is separate from the case.

      • Do not try to lift the keyboard straight off at this time. There are some ribbon cables that attach the motherboard to the keyboard that need to be removed first.

      crwdns2952109:0crwdne2952109:0

      crwdns2917038:0crwdne2917038:0

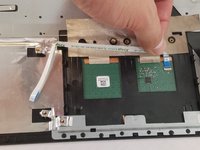
    3. Asus Rog GL55VW-DH71 Screen Replacement: crwdns2935265:04crwdnd2935265:01crwdnd2935265:03crwdne2935265:0 Asus Rog GL55VW-DH71 Screen Replacement: crwdns2935265:04crwdnd2935265:02crwdnd2935265:03crwdne2935265:0 Asus Rog GL55VW-DH71 Screen Replacement: crwdns2935265:04crwdnd2935265:03crwdnd2935265:03crwdne2935265:0
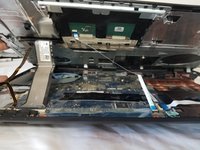
      • Remove the ZIF connected ribbon cables for the touchpad and keyboard by gently lifting the latch on the connector point, then slide the ribbon cable out. Repeat for each cable.

      • Verify all ribbon cables are disconnected and out of the way, and lift the keyboard out of the assembly.

      crwdns2952109:0crwdne2952109:0

      crwdns2917038:0crwdne2917038:0

    1. Asus Rog GL55VW-DH71 Screen Replacement, Asus Rog GL55VW-DH71 Disassembly: crwdns2935265:05crwdnd2935265:01crwdnd2935265:01crwdne2935265:0
      • Remove the CD/DVD drive by sliding it out of the side of the laptop.

      crwdns2952109:0crwdne2952109:0

      crwdns2917038:0crwdne2917038:0

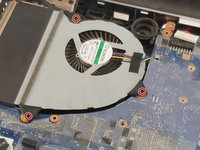
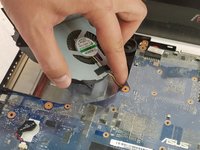
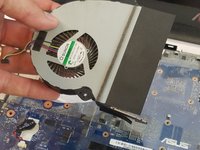
    2. Asus Rog GL55VW-DH71 Screen Replacement: crwdns2935265:06crwdnd2935265:01crwdnd2935265:03crwdne2935265:0 Asus Rog GL55VW-DH71 Screen Replacement: crwdns2935265:06crwdnd2935265:02crwdnd2935265:03crwdne2935265:0 Asus Rog GL55VW-DH71 Screen Replacement: crwdns2935265:06crwdnd2935265:03crwdnd2935265:03crwdne2935265:0
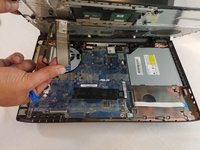
      • Remove the three 6.5mm Phillips #00 screws from the fan.

      • Disconnect the fan power cable from the motherboard.

      • Remove the fan.

      crwdns2952109:0crwdne2952109:0

      crwdns2917038:0crwdne2917038:0

    3. Asus Rog GL55VW-DH71 Screen Replacement: crwdns2935265:07crwdnd2935265:01crwdnd2935265:03crwdne2935265:0 Asus Rog GL55VW-DH71 Screen Replacement: crwdns2935265:07crwdnd2935265:02crwdnd2935265:03crwdne2935265:0 Asus Rog GL55VW-DH71 Screen Replacement: crwdns2935265:07crwdnd2935265:03crwdnd2935265:03crwdne2935265:0
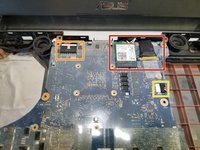
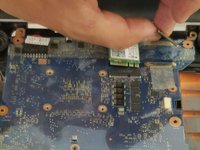
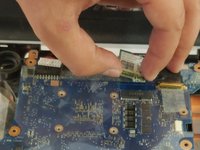
      • Gently remove the ribbon cables and wireless chip. A plastic prying tool will help in this removal.

      • Remove the power cable for the motherboard.

      • Remove the power cable for the speaker.

      crwdns2952109:0crwdne2952109:0

      crwdns2917038:0crwdne2917038:0

    4. Asus Rog GL55VW-DH71 Screen Replacement: crwdns2935265:08crwdnd2935265:01crwdnd2935265:01crwdne2935265:0
      • Ensuring no missed connections or screws, remove the motherboard from the assembly.

      crwdns2952109:0crwdne2952109:0

      crwdns2917038:0crwdne2917038:0

    1. Asus Rog GL55VW-DH71 Screen Replacement, Screen: crwdns2935265:09crwdnd2935265:01crwdnd2935265:02crwdne2935265:0 Asus Rog GL55VW-DH71 Screen Replacement, Screen: crwdns2935265:09crwdnd2935265:02crwdnd2935265:02crwdne2935265:0
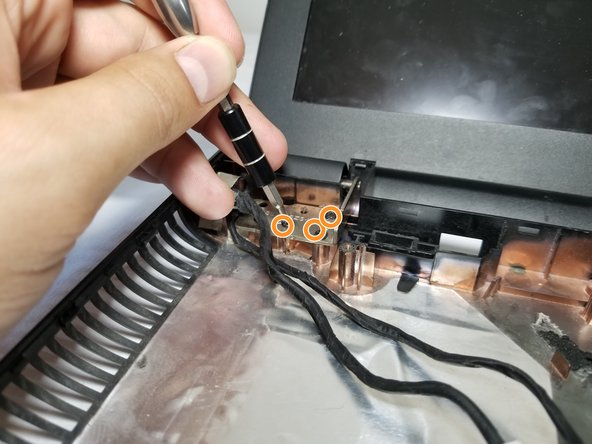
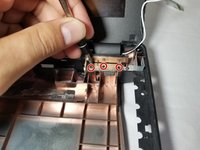
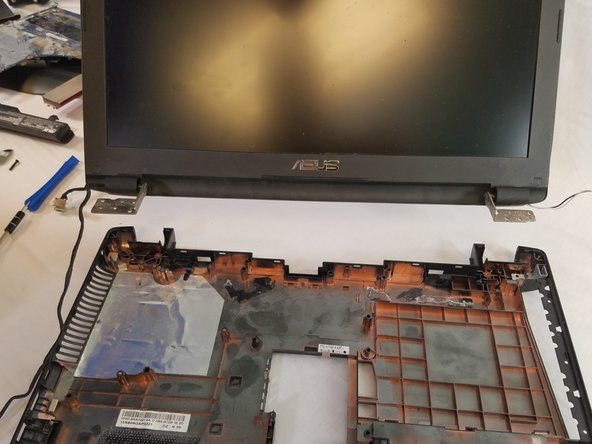
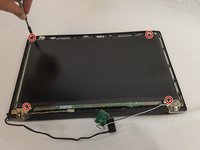
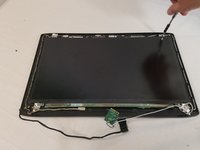
      • Using the Phillips Screwdriver #00, remove the 3 8.5mm screws to disconnect the right side hinge from the assembly.

      • Remove the 3 8.5mm screws to disconnect the left side hinge from the assembly.

      crwdns2952109:0crwdne2952109:0

      crwdns2917038:0crwdne2917038:0

    2. Asus Rog GL55VW-DH71 Screen Replacement: crwdns2935265:010crwdnd2935265:01crwdnd2935265:02crwdne2935265:0 Asus Rog GL55VW-DH71 Screen Replacement: crwdns2935265:010crwdnd2935265:02crwdnd2935265:02crwdne2935265:0
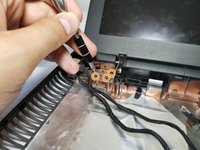
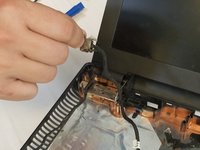
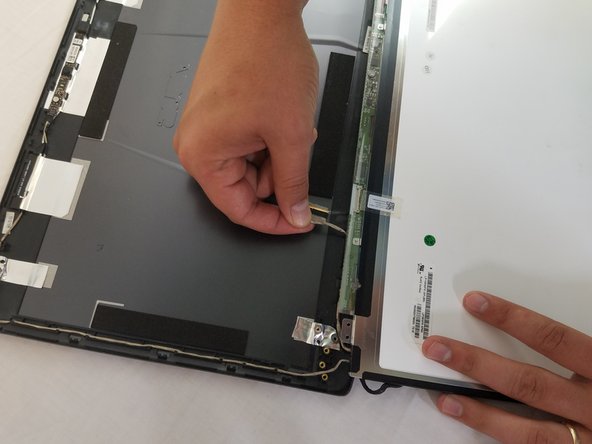
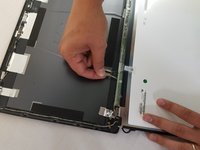
      • Remove the tape holding the power cable down and trace and remove the cables for the LCD from the assembly.

      • Set the assembly aside and all that should be left is the screen.

      crwdns2952109:0crwdne2952109:0

      crwdns2917038:0crwdne2917038:0

    3. Asus Rog GL55VW-DH71 Screen Replacement: crwdns2935265:011crwdnd2935265:01crwdnd2935265:02crwdne2935265:0 Asus Rog GL55VW-DH71 Screen Replacement: crwdns2935265:011crwdnd2935265:02crwdnd2935265:02crwdne2935265:0
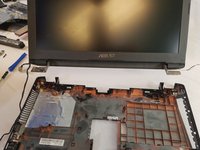
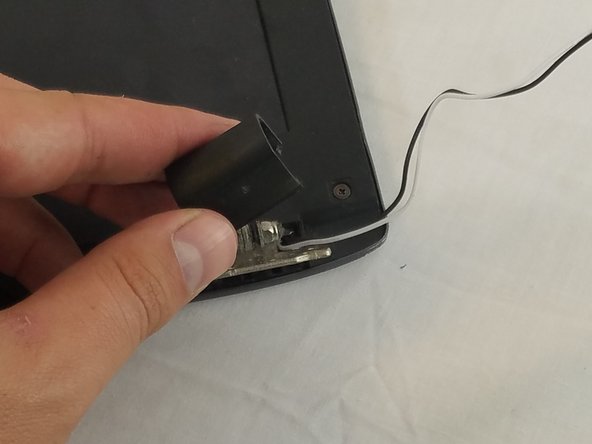
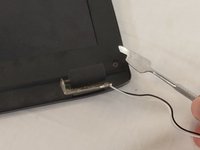
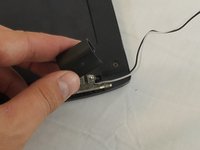
      • Remove the black hinge covers on each side. They just pop on and off with some force.

      crwdns2952109:0crwdne2952109:0

      crwdns2917038:0crwdne2917038:0

    4. Asus Rog GL55VW-DH71 Screen Replacement: crwdns2935265:012crwdnd2935265:01crwdnd2935265:02crwdne2935265:0 Asus Rog GL55VW-DH71 Screen Replacement: crwdns2935265:012crwdnd2935265:02crwdnd2935265:02crwdne2935265:0
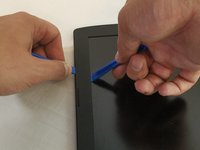
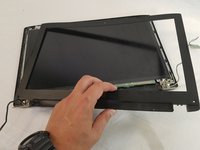
      • Using 2 plastic opening tools, remove the faceplate. Slide the tools under the side with the screen and the outside in the crevice.

      • You will feel the faceplate start to lift off with audible clicks.

      • Place the faceplate to the side.

      crwdns2952109:0crwdne2952109:0

      crwdns2917038:0crwdne2917038:0

    5. Asus Rog GL55VW-DH71 Screen Replacement: crwdns2935265:013crwdnd2935265:01crwdnd2935265:03crwdne2935265:0 Asus Rog GL55VW-DH71 Screen Replacement: crwdns2935265:013crwdnd2935265:02crwdnd2935265:03crwdne2935265:0 Asus Rog GL55VW-DH71 Screen Replacement: crwdns2935265:013crwdnd2935265:03crwdnd2935265:03crwdne2935265:0
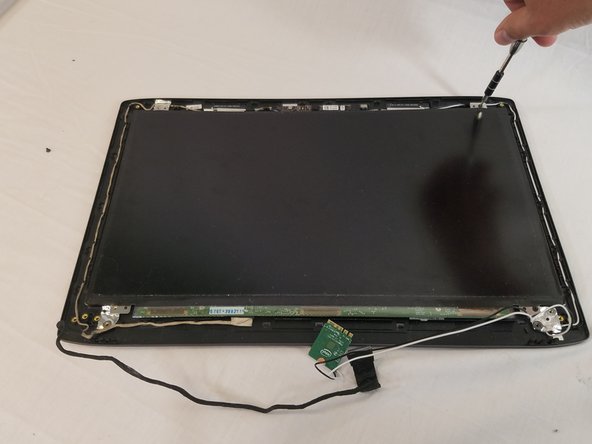
      • Using the Phillips Screwdriver #00, remove the 4 3.4mm screws that hold the screen to the top plate.

      • Trace the wires through the holders and remove the LCD.

      • Replace with new screen.

      crwdns2952109:0crwdne2952109:0

      crwdns2917038:0crwdne2917038:0

crwdns2915888:0crwdne2915888:0

To reassemble your device, follow these instructions in reverse order.

crwdns2935221:0crwdne2935221:0

crwdns2935229:02crwdne2935229:0

Addison Thomas

crwdns2935283:002/14/18crwdne2935283:0

1,246 crwdns2915208:0crwdne2915208:0

crwdns2935297:08crwdne2935297:0

crwdns2935287:0crwdne2935287:0

USF Tampa, Team S1-G2, Nance Spring 2018 crwdns2935289:0USF Tampa, Team S1-G2, Nance Spring 2018crwdne2935289:0

USFT-NANCE-S18S1G2

crwdns2931471:04crwdne2931471:0

crwdns2935297:096crwdne2935297:0

crwdns2947412:00crwdne2947412:0

crwdns2917038:0crwdne2917038:0

crwdns2936625:0crwdne2936625:0:

crwdns2936751:024crwdne2936751:0 2

crwdns2936753:07crwdne2936753:0 13

crwdns2936753:030crwdne2936753:0 64

crwdns2942667:0crwdne2942667:0 4,257