crwdns2915892:0crwdne2915892:0
This guide will teach you how to remove and replace the CDC/DVD drive in case it became inoperable.
crwdns2942213:0crwdne2942213:0
-
-
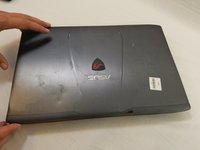
Flip the laptop over so the backside is facing upwards.
-
Using both hands, slide the lock mechanisms outwards and pull up to remove the battery.
-
-
-
Remove the nine 15.4mm Phillips #00 screws.
-
Remove the four 8.7mm Phillips #00 screws from the hard drive mounting bracket.
-
Remove the hard drive bracket.
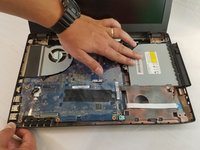
There is another screw next to the A near the CPU heatsink and RAM that also needs to be taken out.
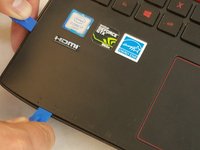
Additionally, there is a screw beneath the optical drive that attaches to the keyboard. While the laptop is upside down, slide the optical drive completely out, and remove the shallow screw near the lip of the chassis. This should be done prior to the next step of lifting the keyboard with a pry tool.
-
-
-
-
Flip laptop over and open the screen.
-
Wedge some plastic opening tools between the keyboard and case.
-
Work your way around with the plastic opening tools until the keyboard is separate from the case.
-
-
-
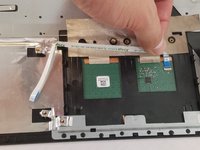
Remove the ZIF connected ribbon cables for the touchpad and keyboard by gently lifting the latch on the connector point, then slide the ribbon cable out. Repeat for each cable.
-
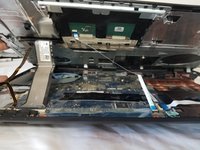
Verify all ribbon cables are disconnected and out of the way, and lift the keyboard out of the assembly.
-
-
-
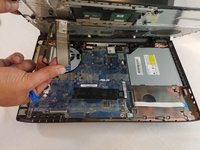
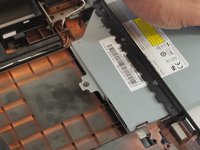
Locate the CD/DVD drive and slide it out the side of the laptop.
-


To reassemble your device, follow these instructions in reverse order.
To reassemble your device, follow these instructions in reverse order.
crwdns2915084:0crwdne2915084:0

USF Tampa, Team S1-G2, Nance Spring 2018 crwdns2935289:0USF Tampa, Team S1-G2, Nance Spring 2018crwdne2935289:0
USFT-NANCE-S18S1G2
crwdns2931471:04crwdne2931471:0
crwdns2935297:08crwdne2935297:0
crwdns2947410:01crwdne2947410:0
Unnecessary complication of a simple task. Simply unscrew one screw (on the bottom of the laptop) and pull the drive out of the laptop case.