crwdns2915892:0crwdne2915892:0
This guide explains how to remove the screen of the Asus ROG Strix GL702VM-BHI7N09 for replacement. This replacement involves numerous screws and snap seals that add to the time it takes to replace; however, it is not a very difficult replacement.
crwdns2942213:0crwdne2942213:0
-
-
Flip the laptop over to the back panel, with the serial numbers facing up.
-
Using a Phillips #1 screwdriver, remove the ten 12 mm screws from the back panel.
-
-
-
Wedge the sharp edge of the plastic opening tool into the seam between the back panel and the rest of the laptop, then gently pry the panel up.
-
Continue breaking the seals by sliding the plastic opening tool around the entire laptop under the seam until the back panel is free.
-
Once you have broken all the seals, carefully lift the panel off.
To make sure you don’t damage your board it’s necessary to unplug the main battery
-
-
-
Using a Phillips #1 screwdriver, remove the two 6 mm screws that hold the hinge.
-
-
-
Using a Phillips #1 screwdriver, remove the one 4 mm screw from the motherboard to release the Intel chip.
-
-
-
-
Disconnect the chip from the motherboard by pulling it gently toward the laptop hinges.
-
-
-
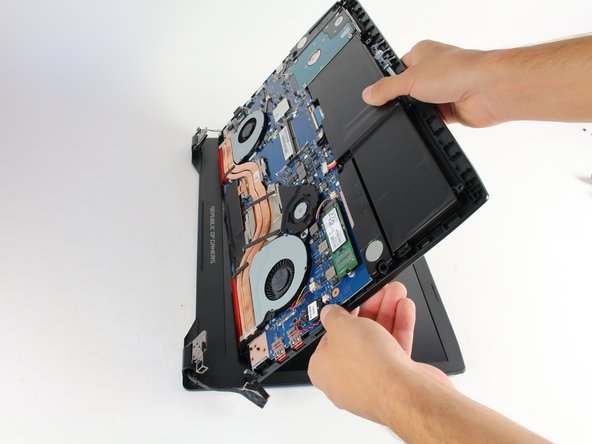
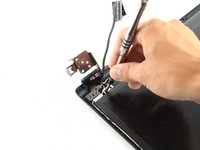
Disconnect the black wire adjacent to the fan from the motherboard by gently pulling it upward.
-
-
-
While holding down the screen, lift the base of the laptop to an angle between 45 and 90 degrees.
-
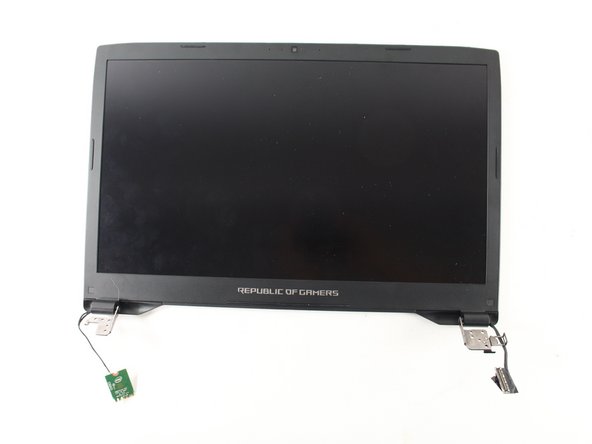
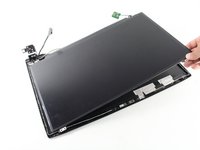
Remove the screen from the base by gently pulling the base in the direction of the screen, parallel to the ground.
-
-
-
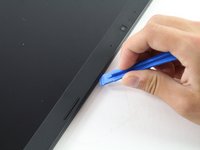
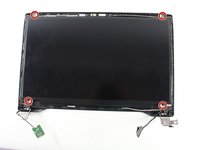
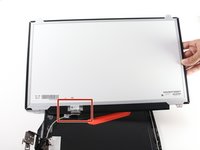
Using the blue plastic opening tool, pry up the squares that cover two screws on the front of the screen.
-
-
-
Using the Phillips #1 screwdriver, remove the 5 mm screws from both sides of the screen.
-
-
-
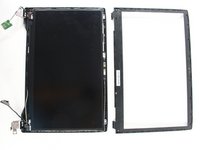
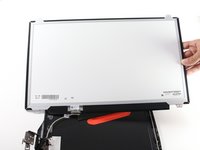
Use the plastic opening tool to pry the plastic covering away from the screen, it does not matter where you start.
-
-
-
Using the Phillips #1 screwdriver, remove the four 4 mm screws along the edge.
-
-
-
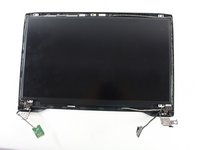
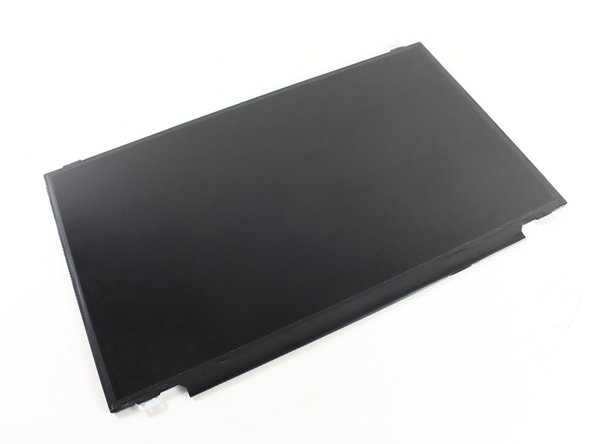
Simultaneously lift and turn over the screen.
-
-
-
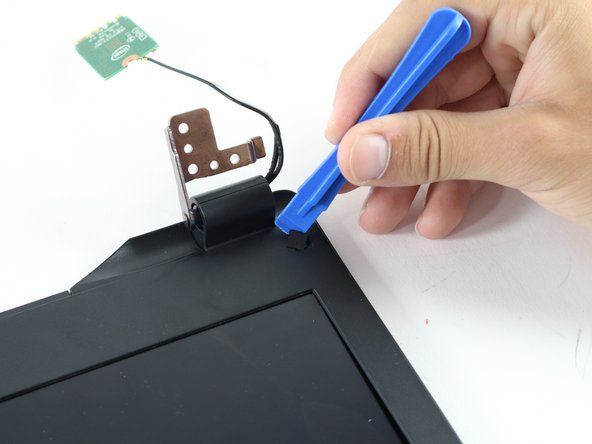
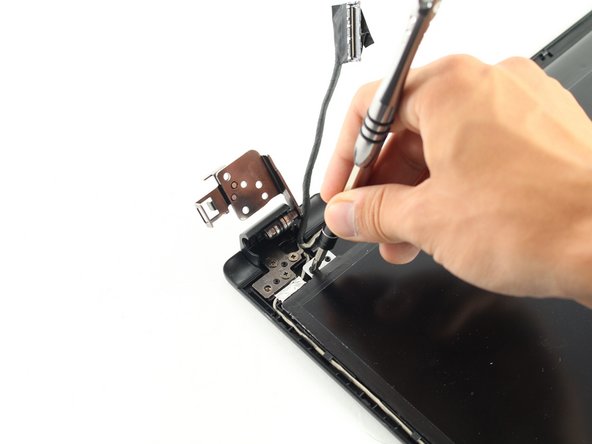
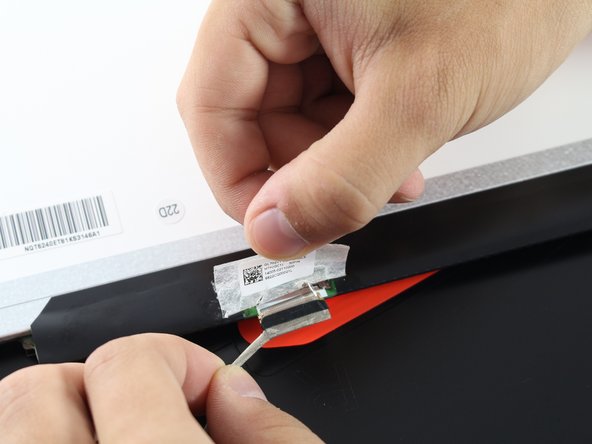
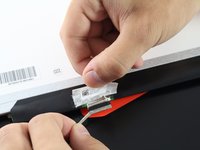
Gently peel off the tape over the wire connection.
-
Disconnect the wire by pulling it directly away from the screen.
-


To reassemble your device, follow these instructions in reverse order.
To reassemble your device, follow these instructions in reverse order.
crwdns2935221:0crwdne2935221:0
crwdns2935229:012crwdne2935229:0
crwdns2915084:0crwdne2915084:0

Cal Poly, Team S13-G2, Forte Spring 2017 crwdns2935289:0Cal Poly, Team S13-G2, Forte Spring 2017crwdne2935289:0
CPSU-FORTE-S17S13G2
crwdns2931471:04crwdne2931471:0
crwdns2935297:04crwdne2935297:0
crwdns2947412:06crwdne2947412:0
Hey there, thank you for the great guide. My computer fell off a desk and has a very minor signature on the screen- specifically, the top left hand corner/left side of screen is *slightly* lighter than the original coloring / rest of the screen. It doesnt impede use of the laptop at all, but frankly I’d prefer to repair the laptop since it was a big investment.
I’m concerned that maybe the fall damaged the corners or snap seals- if they were damaged, could they cause a distortion on the screen? if if I replaced the screen, would that solve the problem? IF anyone had any ideas, id appreciate!!
This excellent guide also works for the Model GL502V. A few very minor differences and my own personal high-tech sticky-tack seal solution. Ifixit FTW!
You don't actually have to take the bottom of the laptop apart and separate the hinge. You have enough access to simply pull and unscrew the bezel as is.
How do i know which pin connector is my laptop? is it 30 or 40pins?
Just look on the sticker which is on the screen cable. It is written there.
Hello
Can I replace rog gl703vm display to rog 702vm it's look like same but gl703 vm 40 pin not 30 pin?