crwdns2915892:0crwdne2915892:0
This guide will show the user how to safely remove and replace the keyboard.
crwdns2942213:0crwdne2942213:0
-
-
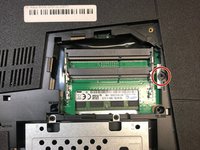
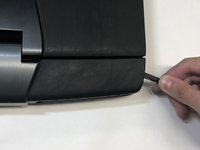
Lift the rubber cover found on the bottom of the laptop.
-
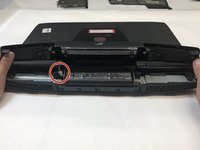
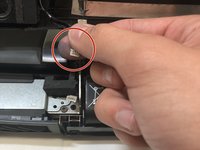
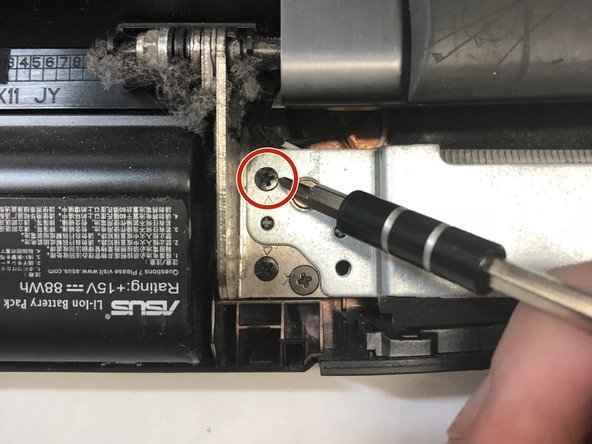
Remove the 5.2 mm screw with a Phillips 1 Screwdriver.
-
-
-
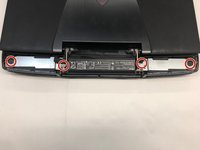
Use the nylon spudger to remove the back center panel.
-
-
-
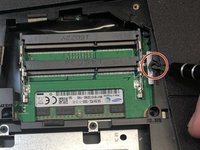
Use a Phillips 1 Screwdriver to remove the 5 mm screw that is located underneath the back panel.
-
-
-
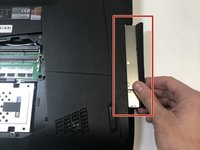
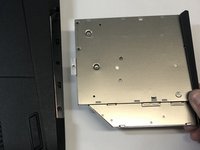
Pull out the optical drive found on the side of the laptop.
-
-
-
crwdns2935267:0crwdne2935267:0Tweezers$4.99
-
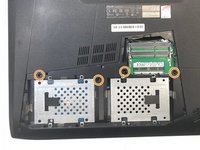
Use a pair of tweezers to remove the top four rubber stoppers found on the bottom of the laptop.
-
-
-
Use a Phillips 1 Screwdriver to remove the top four 8.5 mm screws.
-
-
-
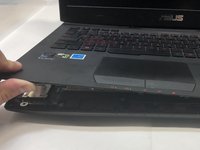
Use a nylon spudger to carefully pry the top back panel off.
-
Disconnect the four-pin connector and remove the top back panel from the computer.
-
-
-
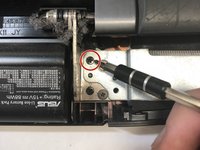
Use a Phillips 1 Screwdriver to remove the four 6.8 mm screws underneath the back panel.
-
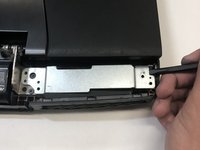
Lift away the metal housings from each side of the laptop.
There are 3 screws to remove on the left side as the rear of the laptop is facing you.
-
-
-
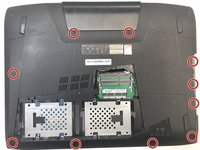
Use a Phillips 1 Screwdriver to remove the ten 5.2 mm screws holding the main panel in place.
-
Use a Phillips 1 Screwdriver to remove the four 5.2 mm screws underneath the center panel.
-
-
-
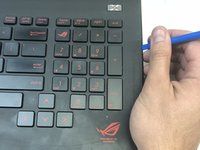
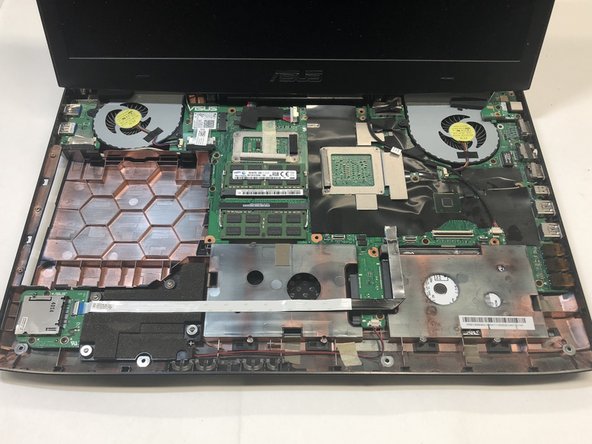
Use a plastic opening tool to pry the keyboard from the base of the laptop.
-
-
crwdns2935267:0crwdne2935267:0Tweezers$4.99
-
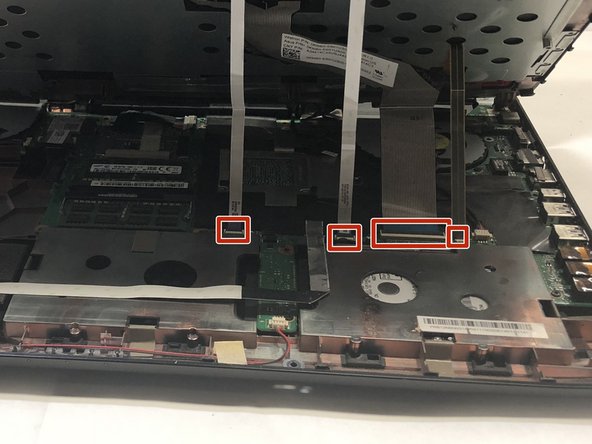
Use a pair of tweezers to undo each of the four ribbon connectors.
-
The keyboard is now completely disconnected from the laptop and you can remove it.
ON STEP 11
Do not just pull the ribbons out! locate the grey bar on the connectors and lift them gently from the ribbon side upward, they will open and the ribbons will come away easily, replace the ribbons by putting them in place and clicking down the grey bars to lock them in.
Crud!! I didn't see your comment in time, Pastor! I am not accustomed to ribbon connectors. I found out too late, after severing one, that they each have “clips” locking them in place. This battery replacement just became complicated.
This is the keyboard panel removal. What about removing the keyboard from the keyboard panel?
-


To reassemble your device, follow these instructions in reverse order.
To reassemble your device, follow these instructions in reverse order.
crwdns2935221:0crwdne2935221:0
crwdns2935229:02crwdne2935229:0
crwdns2915084:0crwdne2915084:0

Cal Poly, Team S16-G1, Banghart Winter 2018 crwdns2935289:0Cal Poly, Team S16-G1, Banghart Winter 2018crwdne2935289:0
CPSU-BANGHART-W18S16G1
crwdns2931471:04crwdne2931471:0
crwdns2935297:022crwdne2935297:0
crwdns2947410:01crwdne2947410:0
Only shows you how to remove keyboard panel from chasis, not how to actually remove the keyborad from the keyboard panel to replace. sad.
The screw doesn't come out completely.
Steve Menard - crwdns2934203:0crwdne2934203:0