crwdns2933423:0crwdne2933423:0

Asus ROG G750JM-BSI7N23 Soundbar/speaker Replacement

crwdns2942213:0crwdne2942213:0

  1. Asus ROG G750JM-BSI7N23 Soundbar/speaker Replacement, Soundbar/speaker: crwdns2935265:01crwdnd2935265:01crwdnd2935265:02crwdne2935265:0 Asus ROG G750JM-BSI7N23 Soundbar/speaker Replacement, Soundbar/speaker: crwdns2935265:01crwdnd2935265:02crwdnd2935265:02crwdne2935265:0
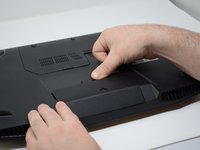
    • Using a plastic opening tool, remove the two rubber tabs circled in red.

  2. Asus ROG G750JM-BSI7N23 Soundbar/speaker Replacement: crwdns2935265:02crwdnd2935265:01crwdnd2935265:02crwdne2935265:0 Asus ROG G750JM-BSI7N23 Soundbar/speaker Replacement: crwdns2935265:02crwdnd2935265:02crwdnd2935265:02crwdne2935265:0
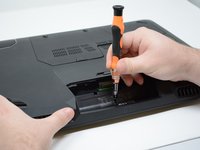
    • Remove both of the 8mm Phillips #2 screws from these slots where the rubber caps were removed.

  3. Asus ROG G750JM-BSI7N23 Soundbar/speaker Replacement: crwdns2935265:03crwdnd2935265:01crwdnd2935265:02crwdne2935265:0 Asus ROG G750JM-BSI7N23 Soundbar/speaker Replacement: crwdns2935265:03crwdnd2935265:02crwdnd2935265:02crwdne2935265:0
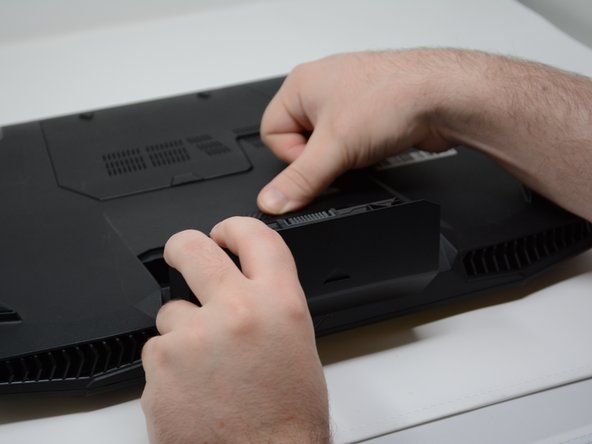
    • Slide the tab to pop the battery out of its holder.

    • Pull the battery out of its slot.

  4. Asus ROG G750JM-BSI7N23 Soundbar/speaker Replacement: crwdns2935265:04crwdnd2935265:01crwdnd2935265:02crwdne2935265:0 Asus ROG G750JM-BSI7N23 Soundbar/speaker Replacement: crwdns2935265:04crwdnd2935265:02crwdnd2935265:02crwdne2935265:0
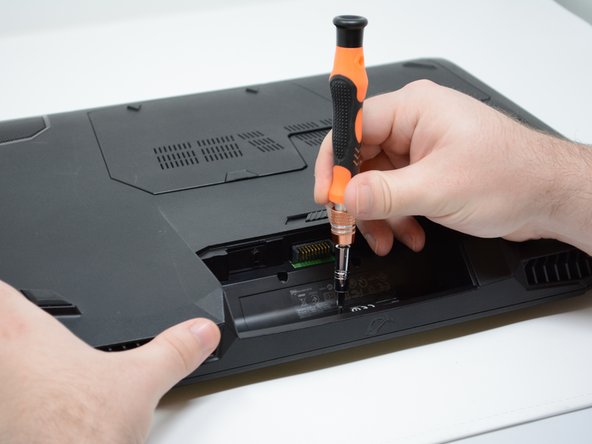
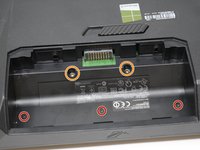
    • Remove the three 4mm Phillips #2 screws from the open battery slot as shown.

    • Remove the two 5mm Phillips #2 screws.

  5. Asus ROG G750JM-BSI7N23 Soundbar/speaker Replacement: crwdns2935265:05crwdnd2935265:01crwdnd2935265:03crwdne2935265:0 Asus ROG G750JM-BSI7N23 Soundbar/speaker Replacement: crwdns2935265:05crwdnd2935265:02crwdnd2935265:03crwdne2935265:0 Asus ROG G750JM-BSI7N23 Soundbar/speaker Replacement: crwdns2935265:05crwdnd2935265:03crwdnd2935265:03crwdne2935265:0
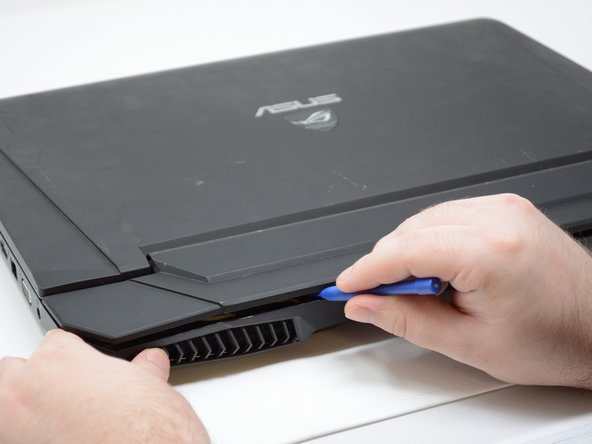
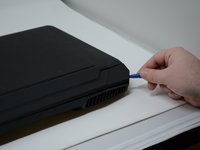
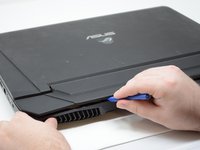
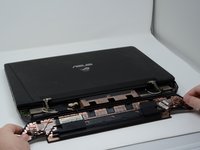
    • Begin prying up on the plate as shown in the pictures.

  6. Asus ROG G750JM-BSI7N23 Soundbar/speaker Replacement: crwdns2935265:06crwdnd2935265:01crwdnd2935265:01crwdne2935265:0
    • Detach the single connector using your plastic opening tool.

    • Remove the speaker bar.

crwdns2915888:0crwdne2915888:0

To reassemble your device, follow these instructions in reverse order.

Tanner

crwdns2935283:009/21/18crwdne2935283:0

919 crwdns2915208:0crwdne2915208:0

crwdns2935297:05crwdne2935297:0

crwdns2915084:0crwdne2915084:0

Central Washington University, Team S1-G6, Pengilly Fall 2018 crwdns2935289:0Central Washington University, Team S1-G6, Pengilly Fall 2018crwdne2935289:0

CWU-PENGILLY-F18S1G6

crwdns2931471:03crwdne2931471:0

crwdns2935297:05crwdne2935297:0

crwdns2944067:00crwdne2944067:0

crwdns2917038:0crwdne2917038:0

crwdns2936625:0crwdne2936625:0:

crwdns2936751:024crwdne2936751:0 1

crwdns2936753:07crwdne2936753:0 6

crwdns2936753:030crwdne2936753:0 13

crwdns2942667:0crwdne2942667:0 397