crwdns2942213:0crwdne2942213:0
-
-
Remove ten Phillips #0 screws that secure the plastic bottom cover to the chassis.
-
Six 9.6 mm screws
-
Four 4.6 mm screws
-
-
-
Use a plastic pry tool to get in-between the bottom cover and the lower case assembly.
-
-
-
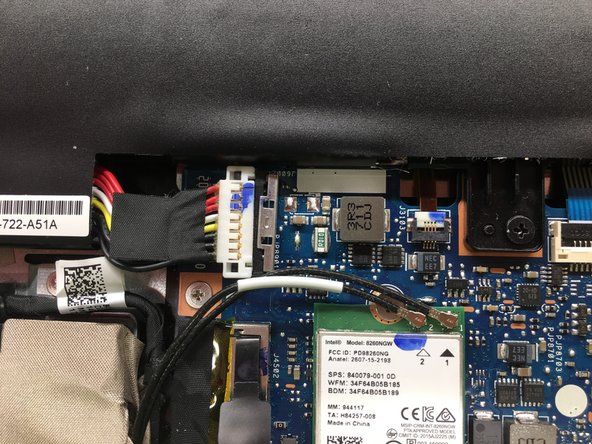
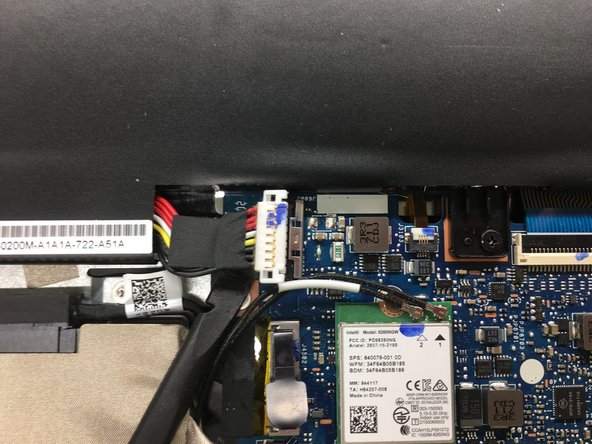
Push metal bracket away from battery connector.
-
Use a spudger to push the battery connection straight up.
-
-
-
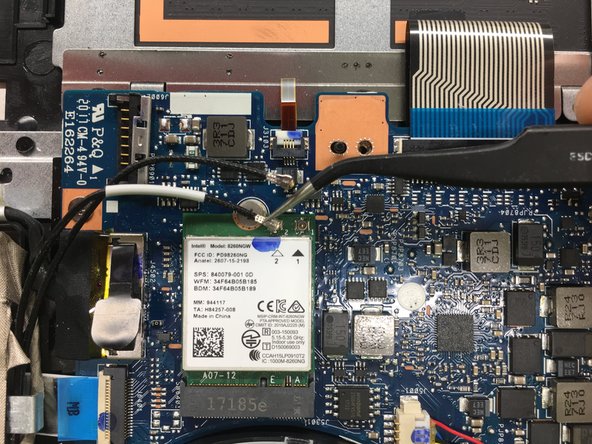
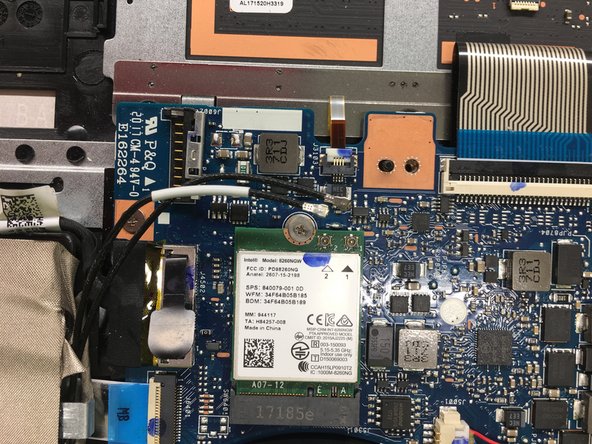
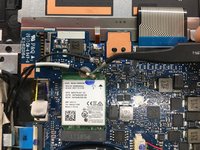
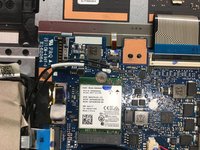
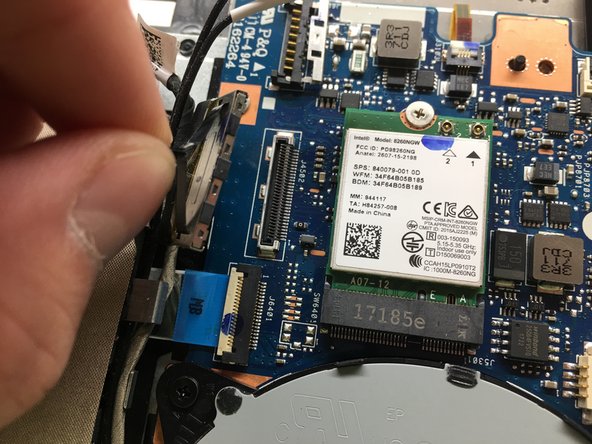
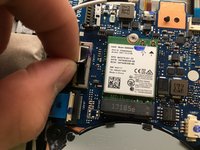
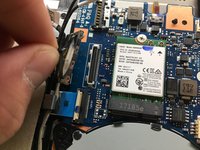
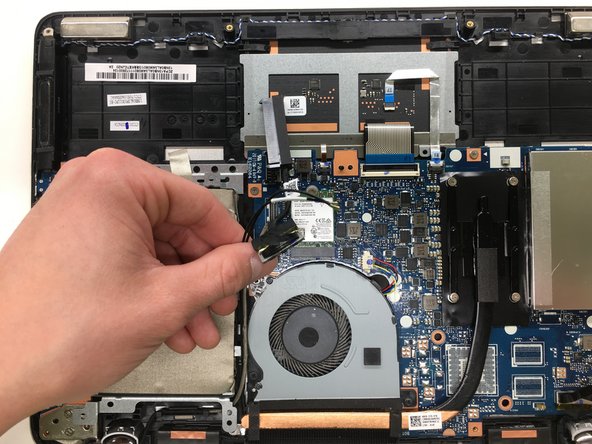
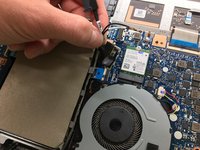
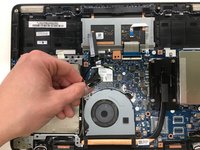
Disconnect the Wifi/Bluetooth RF cables from the wireless card.
-
Pull the RF cables by the metal connector, not by the rubber shielding. This avoids damaging the connector and the cable.
-
-
-
-
Pull straight up to disconnect the SATA combo cable from the motherboard.
-
-
-
Remove three Phillips #0 that secure the hard drive bracket to the chassis, of the following lengths:
-
Two 2.3 mm screws
-
One 5.6 mm screw
-
-
-
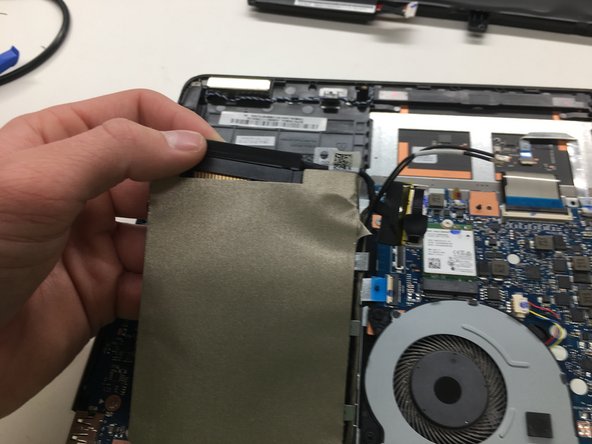
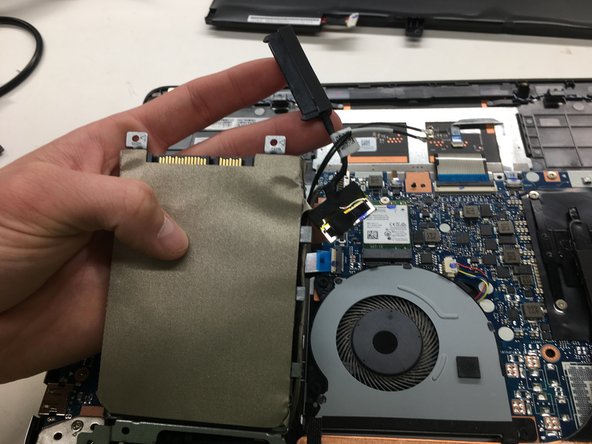
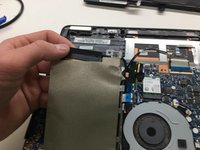
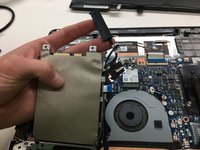
Tilt the drive up slightly by the connector
-
Remove the SATA combo connector
-
-
-
De-route the SATA and RF cables from the side of the drive bay.
-
-
-
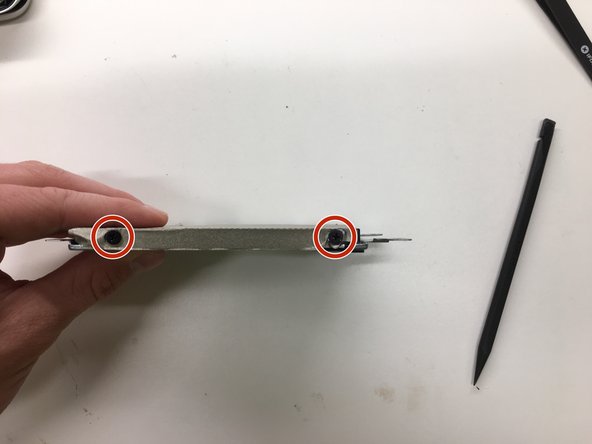
Remove the four Phillips #0 screws that secure the hard drive to the hard drive bracket.
-
Four 3.7 mm screws
-
-
-
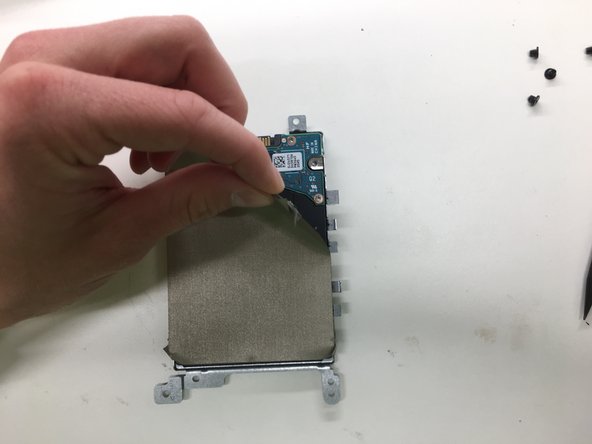
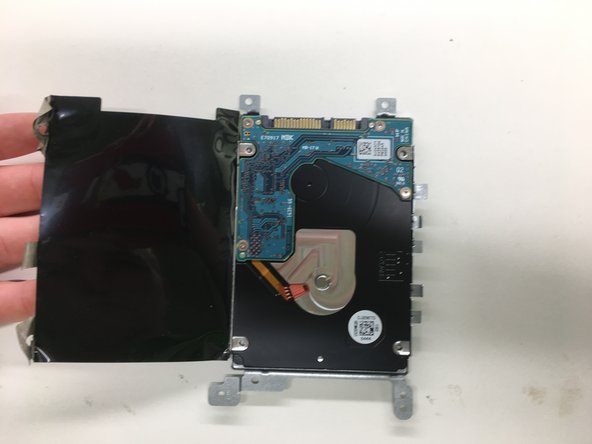
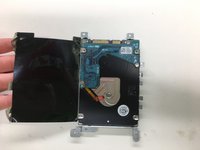
Remove drive from hard drive bracket.
-
To reassemble your device, follow these instructions in reverse order.
To reassemble your device, follow these instructions in reverse order.
crwdns2935221:0crwdne2935221:0
crwdns2935229:03crwdne2935229:0
crwdns2947410:01crwdne2947410:0
This should be rated moderate. Easy is sliding out a drive bay on a old Dell laptop from 15 years ago. :)


