crwdns2915892:0crwdne2915892:0
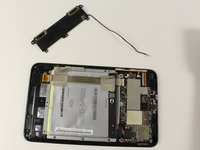
This guide will take you through the necessary steps to disassemble your Asus MeMO Pad 7 ME176C to replace the screen.
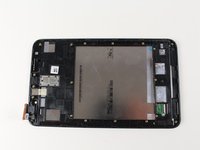
crwdns2942213:0crwdne2942213:0
-
-
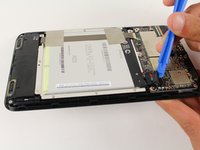
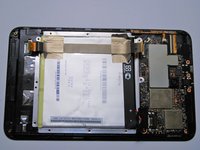
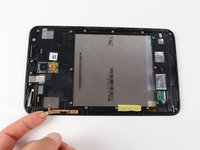
Insert plastic opening tool in between screen and back cover to create initial separation between the two.
-
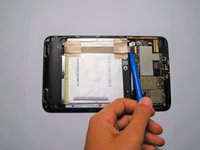
Then run plastic opening tool along end of screen to fully separate back cover from screen.
-
-
-
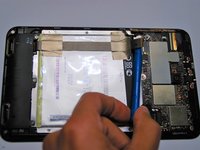
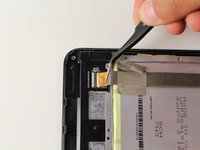
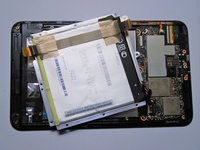
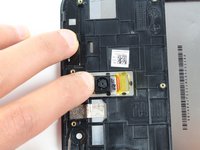
Remove screws (2.6mm) connecting speaker to hard frame with Phillips head screw driver (PH000).
-
-
crwdns2935267:0crwdne2935267:0Tweezers$4.99
-
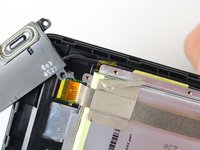
Disconnect speaker wire from motherboard using metal pronged tweezers.
-
-
-
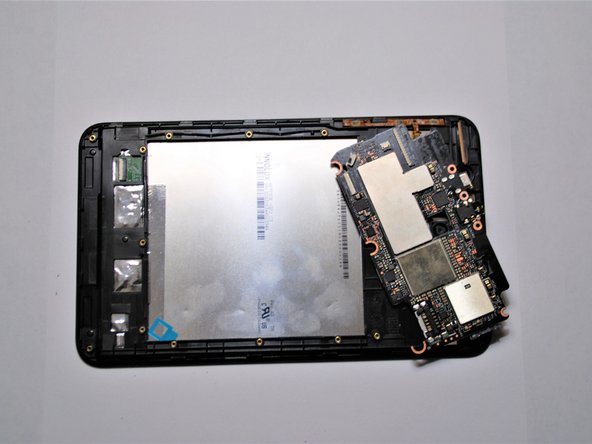
Remove the screws (2.6mm) connecting the motherboard and battery tray to the hard frame with Phillip's head screw driver (PH000).
-
-
-
-
Remove the black bundle battery connector from the motherboard using plastic opening tools.
-
-
-
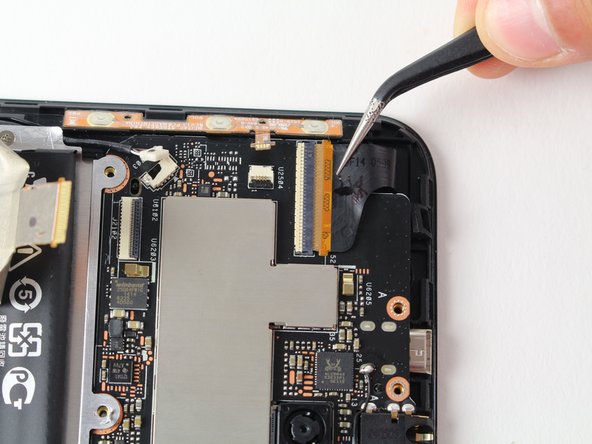
Use plastic opener tool to disconnect ZIF connectors as shown.
-
-
-
Remove speaker housing to expose ZIF connection underneath.
-
Then using metal tweezers disconnect the ZIF connector.
-
-
-
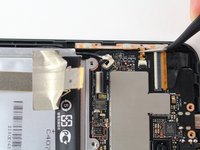
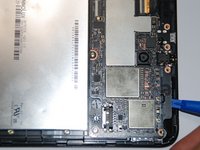
Remove display and button connections from motherboard using metal tweezers.
-
-
-
Remove unscrewed battery tray from main frame.
-
-
-
Remove motherboard from hard frame.
-
When removing the motherboard make sure all screws that attach motherboard to hardframe are removed and to release plastic tab as shown in image.
-
-
-
Peel off button sensors off the side of the hard frame.
-
-
-
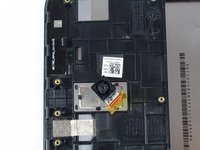
Apply slight pressure on camera to break adhesive to finish screen disassembly processes.
-


To reassemble your device, follow these instructions in reverse order.
To reassemble your device, follow these instructions in reverse order.
crwdns2915084:0crwdne2915084:0

Cal Poly, Team S6-G3, Banghart Fall 2017 crwdns2935289:0Cal Poly, Team S6-G3, Banghart Fall 2017crwdne2935289:0
CPSU-BANGHART-F17S6G3
crwdns2931471:05crwdne2931471:0
crwdns2935297:09crwdne2935297:0