crwdns2915892:0crwdne2915892:0
You can use this guide if you need to replace the motherboard in your laptop.
The process is simple and easy the only equipment you need is a screwdriver and to wear a ESD wrist strap when working with an electronic device. There should not be any issue in removing the motherboard other than being careful when unscrewing the many screws holding it in place.
the reason you might want to replace the motherboard is that it either has been damaged or degraded overtime, which may cause system instability as its one of the most important parts in a laptop. Or you want to replace it with a new motherboard that is more compatible and better in performance than the one you currently have.
crwdns2942213:0crwdne2942213:0
-
-
Remove ten 6 mm screws that secure the lower case using a Phillips #1 screwdriver.
-
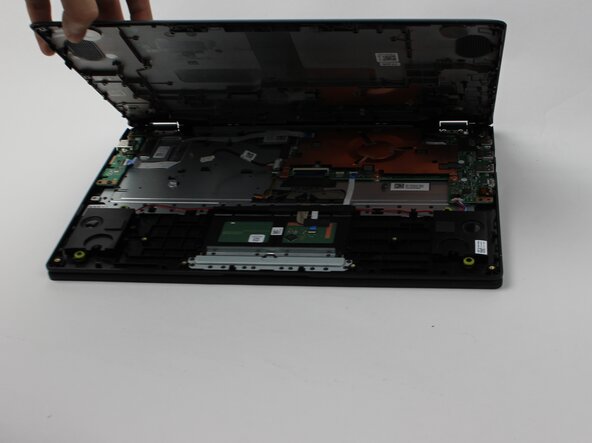
Carefully remove the lower case.
-
-
-
Grip the white battery connector that is found on its side and pull it directly out of its battery port. Do not pull at an angle or roughly tug it out.
-
-
-
Pull the white speaker connector directly out of its port.
-
-
-
-
Disconnect all of the ribbon cables from the motherboard.
-
Remove the one screw holding down the Wi-Fi card.
-
-
-
Remove the 4 mm screws that are securing the heat sink.
-
-
-
Remove the screws that are securing the clamp that holds the motherboard down.
-
Lift the clamp in order to release the motherboard.
-
-
-
Slowly lift the motherboard away from the laptop.
-


To reassemble your device, follow these instructions in reverse order.
To reassemble your device, follow these instructions in reverse order.

crwdns2915084:0crwdne2915084:0

Sam Houston State, Team 7-1, Thornton Spring 2025 crwdns2935289:0Sam Houston State, Team 7-1, Thornton Spring 2025crwdne2935289:0
SHSU-THORNTON-S25S7G1
crwdns2931471:03crwdne2931471:0
crwdns2935297:05crwdne2935297:0