crwdns2915892:0crwdne2915892:0
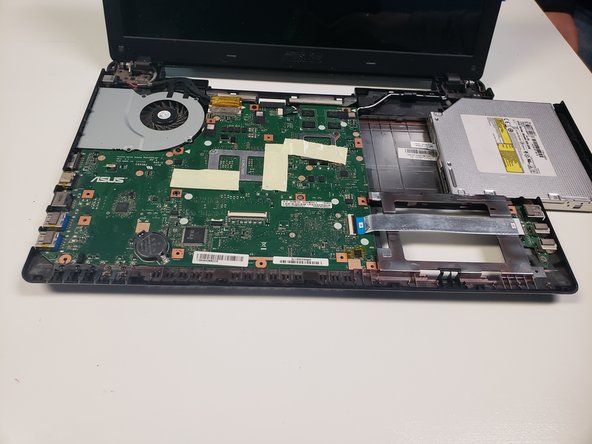
If a computer's fan is faulty, there will likely be overheating error messages occurring. If overheating does occur, the CPU could be damaged.
crwdns2942213:0crwdne2942213:0
-
-
Flip the device over to its back cover.
-
Use the switches to release the battery from its adapter.
-
-
-
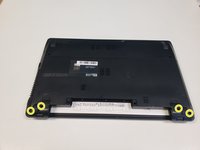
Use a Phillips #0 screwdriver to remove the two 1.5 mm screws in the smaller portion of the bottom cover.
-
After removing the screws, remove the smaller cover.
-
-
-
Use a Phillips #0 screwdriver to remove the 1.5 mm screws that hold down the hard drive.
-
-
-
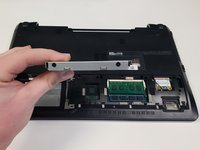
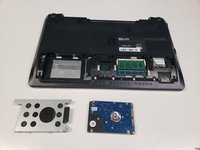
Remove the hard drive from the slot.
-
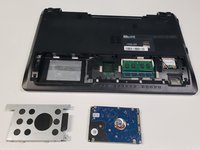
Remove the hard drive from its shell.
-
-
-
-
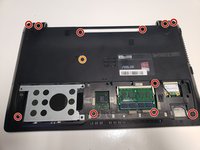
Remove all 12 screws from the bottom cover with a Phillips #0 screwdriver.
-
The single screw in the middle of the bottom cover is shorter than the rest.
-
-
-
After the screws are removed, Orientate the device so that the keyboard is shown.
-
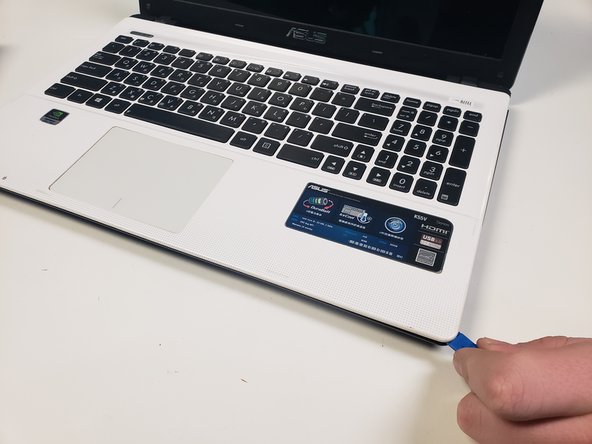
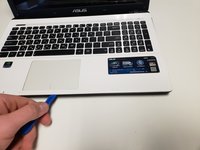
Using the Plastic Pry tool separate the keyboard panel from the rest of the laptop.
-
-
-
Before the keyboard panel can be fully removed, detach the three cords that connect to the keyboard.
-
Lift up on the black tab and the cord will fall out.
-
-
-
Remove the optical dive by sliding it outward.
-
-
-
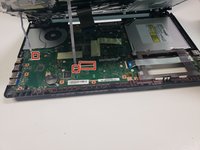
Now remove the two wires shown by pulling away from the motherboard.
-
-
-
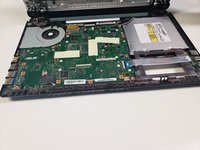
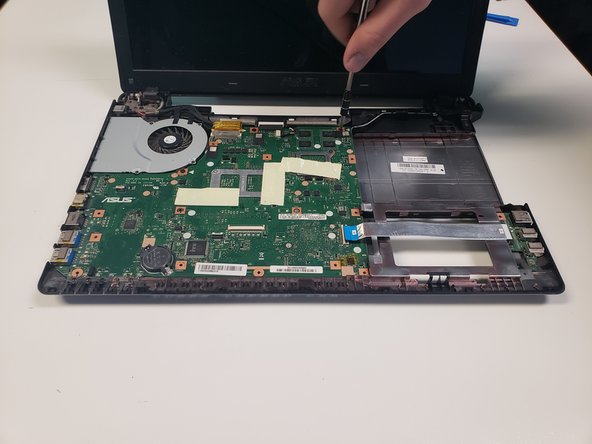
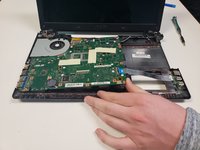
Remove the three screws holding the motherboard and fan in place using the Phillips #0 bit.
-
-
-
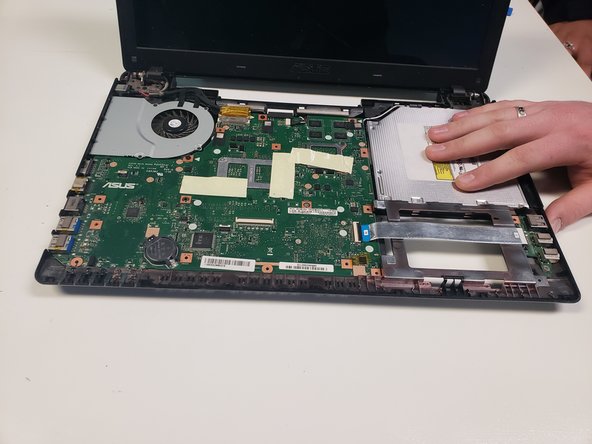
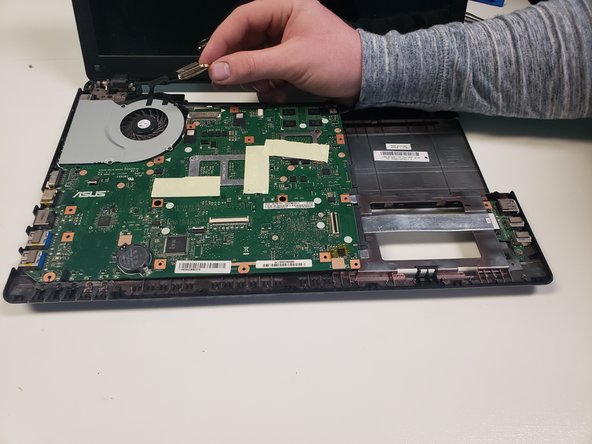
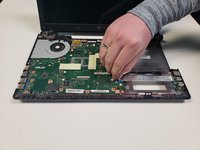
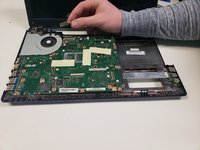
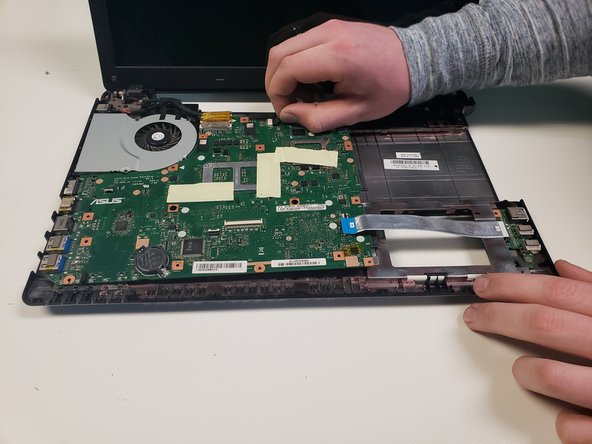
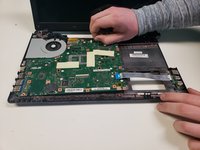
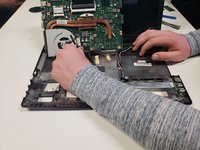
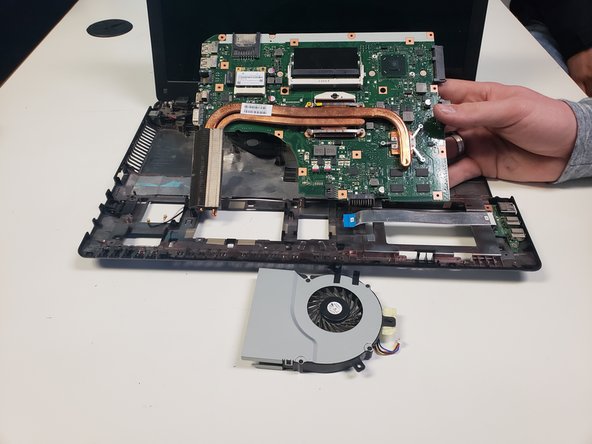
lift up on the entire motherboard and unplug the bottom wires connected to the fan.
-
-
-
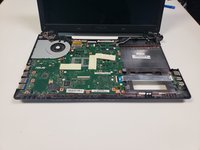
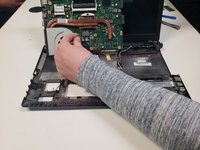
After all cords have been removed, the fan can be removed as well.
-
To reassemble your device, follow these instructions in reverse order.
To reassemble your device, follow these instructions in reverse order.
crwdns2935221:0crwdne2935221:0
crwdns2935229:07crwdne2935229:0
crwdns2947412:02crwdne2947412:0
At step 5, you should also unscrew the bottom silver screw and unplug the wifi antennas.
At step 3, the bottom left screw does not hold down the drive bay. Unsrew that screw in step 5.


