crwdns2915892:0crwdne2915892:0
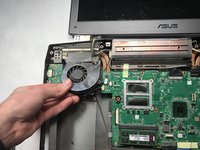
Use this guide will help you access the fans in order to clean or replace them.
Tools needed: size 0 Phillips head screwdriver, opening tool, metal spudger
crwdns2942213:0crwdne2942213:0
-
-
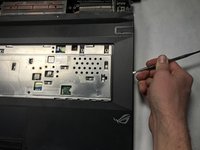
Locate the 5 clips located at the top of the keyboard. Insert a metal spudger into the clip openings on the keyboard to remove the keyboard.
-
-
-
Before fully removing the keyboard, remove the back lighting cable and keyboard data strip.
-
In order to remove these cables, push forward the black retention clips and pull out the cables.
-
-
-
Remove the 4mm screws located under the keyboard with the PH0 screwdriver.
-
-
-
-
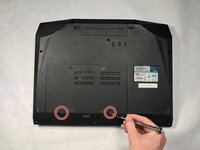
Using a PH0 screwdriver, remove the two, 4mm screws .
-
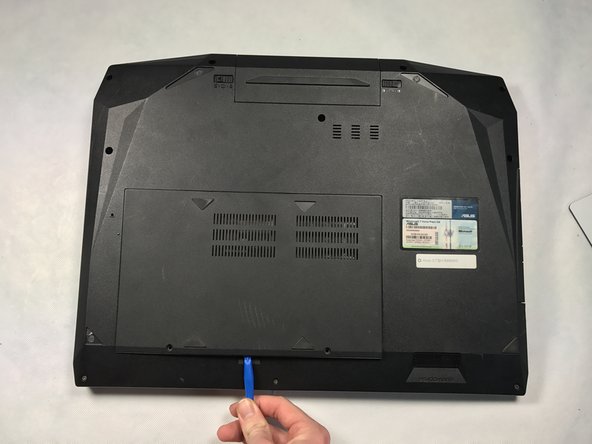
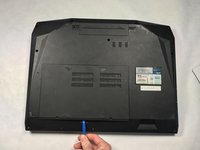
Using either your finger or a plastic opening tool, remove the back panel.
-
-
-
Using the PH0 screwdriver, remove the nine, 4mm screws on the bottom of the laptop.
-
-
-
Using a metal spudger, remove the back cover of the laptop.
-
-
-
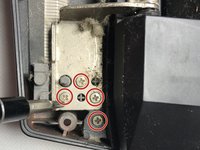
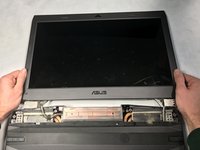
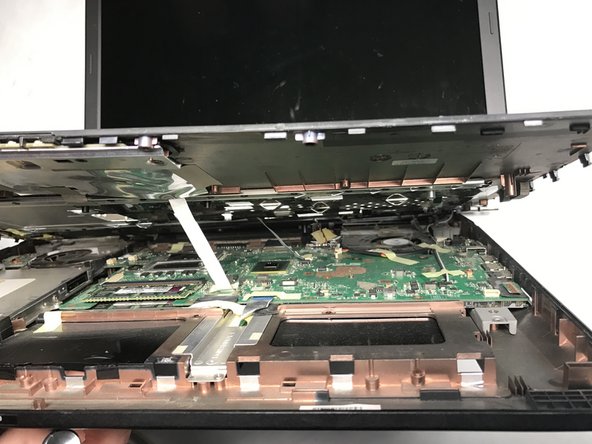
Remove the four, 4mm screws located on both of the hinges using the PH0 screwdriver and flip open the device.
-
-
-
Using a metal pry tool, remove the base cover
-
-
-
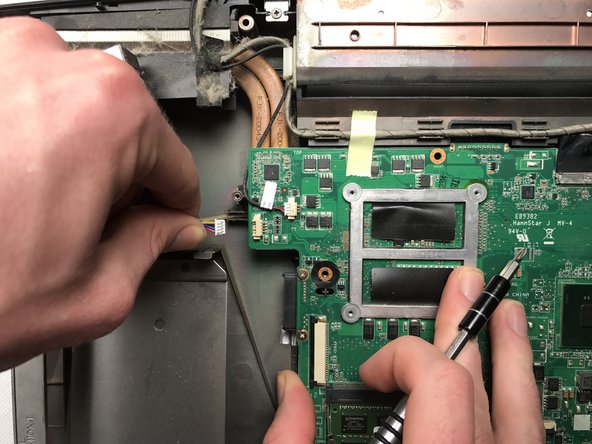
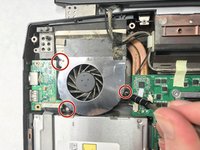
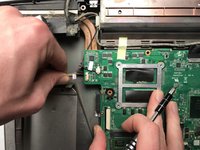
Locate the fan and remove the three 2mm screws with the PH0 screwdriver.
-
To reassemble your device, follow these instructions in reverse order.
crwdns2935221:0crwdne2935221:0
crwdns2935229:03crwdne2935229:0
crwdns2947410:01crwdne2947410:0
Some steps missing, regarding screws to remove: 1 screw that holds optical drive; once that is removed, 2 screws in the drive compartment; 2 screws in the battery compartment; 3 screws from the bottom of the motherboard.


