crwdns2915892:0crwdne2915892:0
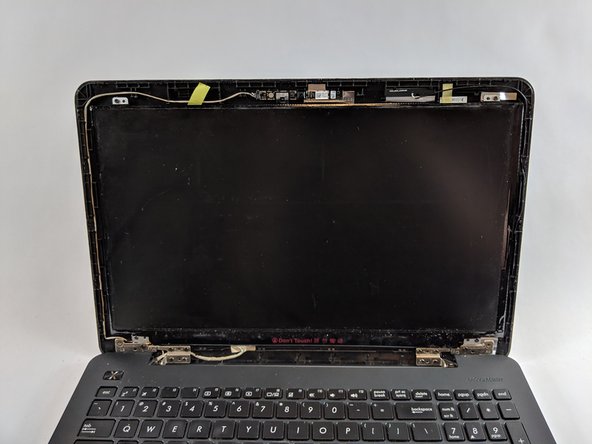
You may need to replace your notebook's screen if it is scratched or cracked, but have an otherwise intact notebook. A simple fix, you will need a plastic opening tool and Phillips #0 screwdriver.
crwdns2942213:0crwdne2942213:0
-
-
Remove the two plastic screw coverings from the bottom of the screen panel.
-
-
-
Remove the two 4.6mm screws using the Phillips #0 screwdriver.
-
-
-
-
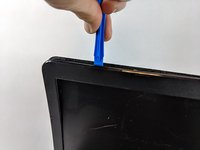
Using the plastic opening tool, gently pry the notebook's plastic screen covering away from the screen.
-
-
-
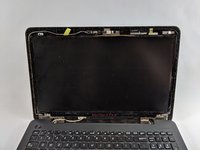
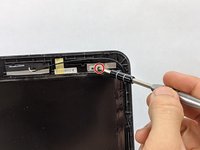
Remove the two 4.6mm screws holding screen in place.
-
-
-
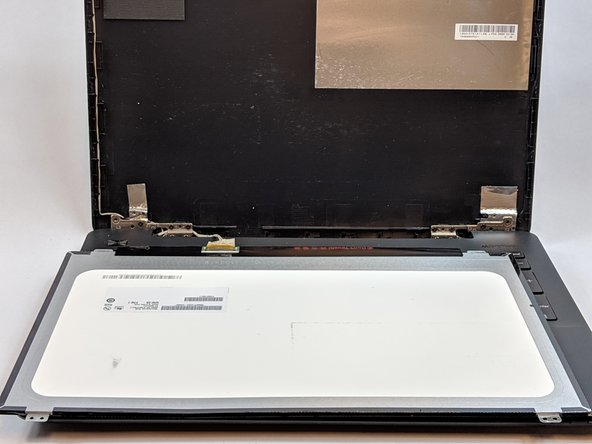
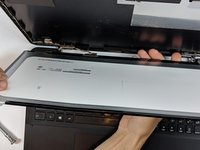
Carefully, lay screen down on the keyboard.
-
-
-
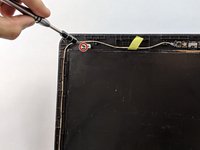
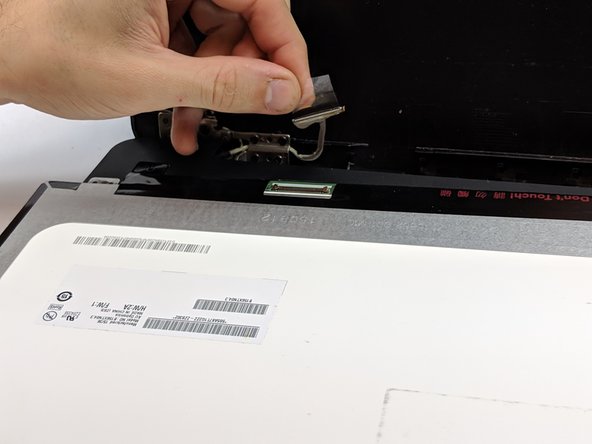
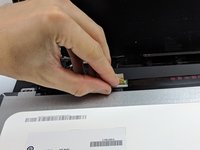
Remove tape that covers the visual pin connectors.
-
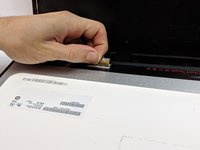
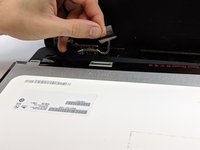
Gently disconnect the screen from the pin connectors and replace.
-


To reassemble your device, follow these instructions in reverse order.
To reassemble your device, follow these instructions in reverse order.
crwdns2915084:0crwdne2915084:0

USF Tampa, Team S1-G2, Leahy Fall 2018 crwdns2935289:0USF Tampa, Team S1-G2, Leahy Fall 2018crwdne2935289:0
USFT-LEAHY-F18S1G2
crwdns2931471:04crwdne2931471:0
crwdns2935297:06crwdne2935297:0