crwdns2933423:0crwdne2933423:0
crwdns2947577:0crwdnd2947577:0crwdne2947577:0

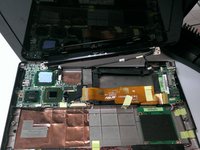
Asus Eee PC 1008ha Screen Replacement

crwdns2942213:0crwdne2942213:0

    1. Asus Eee PC 1008ha Screen Replacement, Battery: crwdns2935265:01crwdnd2935265:01crwdnd2935265:01crwdne2935265:0
      • Using the plastic opening tool, carefully pry the top panel from the base.

      crwdns2952109:0crwdne2952109:0

      crwdns2917038:0crwdne2917038:0

    2. Asus Eee PC 1008ha Screen Replacement: crwdns2935265:02crwdnd2935265:01crwdnd2935265:03crwdne2935265:0 Asus Eee PC 1008ha Screen Replacement: crwdns2935265:02crwdnd2935265:02crwdnd2935265:03crwdne2935265:0 Asus Eee PC 1008ha Screen Replacement: crwdns2935265:02crwdnd2935265:03crwdnd2935265:03crwdne2935265:0
      • Lift the side of the keyboard.

      • Disconnect the attached ribbon located underneath the keyboard.

      • Place your index finger in the hole on the right side of the keyboard tray and lift the tray.

      crwdns2952109:0crwdne2952109:0

      crwdns2917038:0crwdne2917038:0

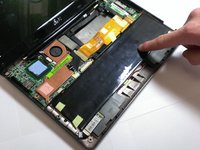
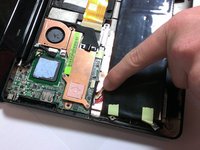
    3. Asus Eee PC 1008ha Screen Replacement: crwdns2935265:03crwdnd2935265:01crwdnd2935265:02crwdne2935265:0 Asus Eee PC 1008ha Screen Replacement: crwdns2935265:03crwdnd2935265:02crwdnd2935265:02crwdne2935265:0
      • Use your fingers to lift the battery and gently disconnect the wires from the base.

      crwdns2952109:0crwdne2952109:0

      crwdns2917038:0crwdne2917038:0

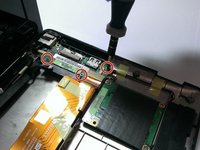
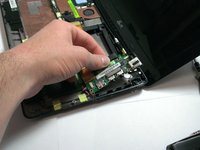
    1. Asus Eee PC 1008ha Screen Replacement, LCD Screen: crwdns2935265:04crwdnd2935265:01crwdnd2935265:02crwdne2935265:0 Asus Eee PC 1008ha Screen Replacement, LCD Screen: crwdns2935265:04crwdnd2935265:02crwdnd2935265:02crwdne2935265:0
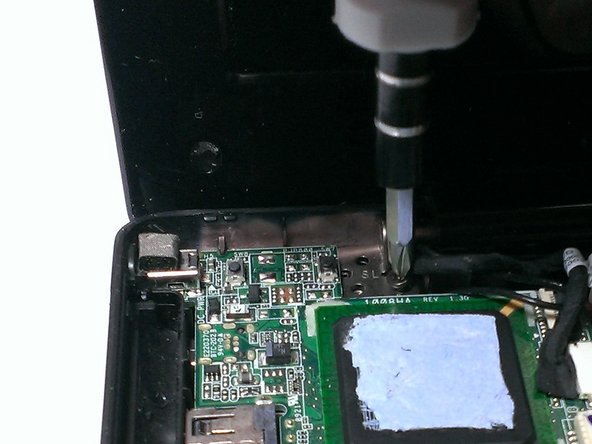
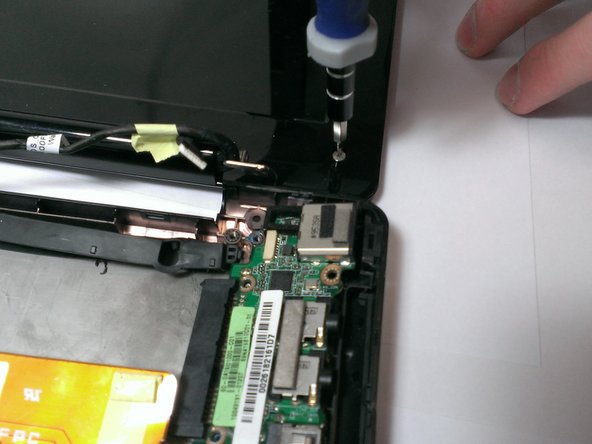
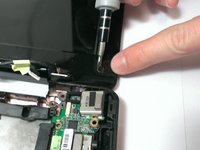
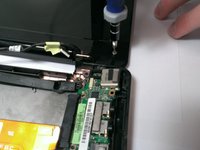
      • Using the Phillips #00 screwdriver, unscrew the 4mm screws from the rightmost circuit board.

      • Carefully pull the circuit board away from side of device base.

      crwdns2952109:0crwdne2952109:0

      crwdns2917038:0crwdne2917038:0

    2. Asus Eee PC 1008ha Screen Replacement: crwdns2935265:05crwdnd2935265:01crwdnd2935265:03crwdne2935265:0 Asus Eee PC 1008ha Screen Replacement: crwdns2935265:05crwdnd2935265:02crwdnd2935265:03crwdne2935265:0 Asus Eee PC 1008ha Screen Replacement: crwdns2935265:05crwdnd2935265:03crwdnd2935265:03crwdne2935265:0
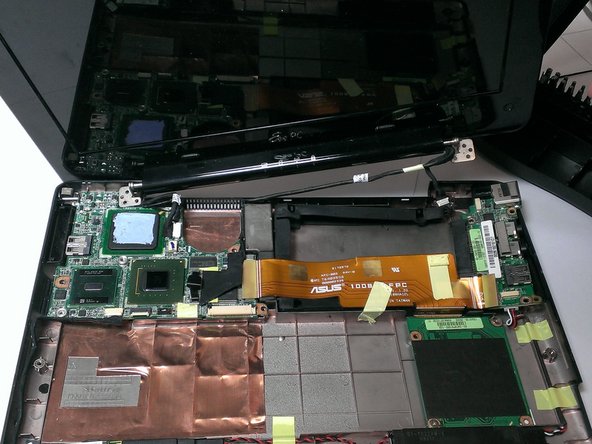
      • Using the Phillips #00 screwdriver, unscrew the 4mm screws attaching screen to base from both sides.

      • Gently lift the screen portion from the base.

      crwdns2952109:0crwdne2952109:0

      crwdns2917038:0crwdne2917038:0

    3. Asus Eee PC 1008ha Screen Replacement: crwdns2935265:06crwdnd2935265:01crwdnd2935265:02crwdne2935265:0 Asus Eee PC 1008ha Screen Replacement: crwdns2935265:06crwdnd2935265:02crwdnd2935265:02crwdne2935265:0
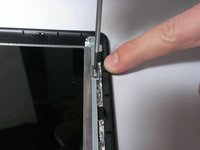
      • Using the Plastic Opening Tool, pry the six small chits from the face of the screen portion.

      • Using the Phillips #00 screwdriver, unscrew the two 2mm and four 4mm screws from underneath the chits.

      crwdns2952109:0crwdne2952109:0

      crwdns2917038:0crwdne2917038:0

    4. Asus Eee PC 1008ha Screen Replacement: crwdns2935265:07crwdnd2935265:01crwdnd2935265:02crwdne2935265:0 Asus Eee PC 1008ha Screen Replacement: crwdns2935265:07crwdnd2935265:02crwdnd2935265:02crwdne2935265:0
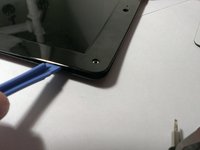
      • Slide the Plastic Opening Tool under the edge of the screen bezel to release the front panel of the screen.

      crwdns2952109:0crwdne2952109:0

      crwdns2917038:0crwdne2917038:0

    5. Asus Eee PC 1008ha Screen Replacement: crwdns2935265:08crwdnd2935265:01crwdnd2935265:02crwdne2935265:0 Asus Eee PC 1008ha Screen Replacement: crwdns2935265:08crwdnd2935265:02crwdnd2935265:02crwdne2935265:0
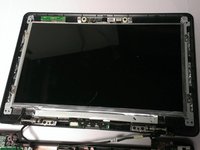
      • Using the Phillips #00 screwdriver, unscrew the 2mm screws from the perimeter of the screen.

      • Use your fingers to hold the screen and carefully lift it from the base.

      crwdns2952109:0crwdne2952109:0

      crwdns2917038:0crwdne2917038:0

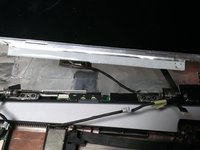
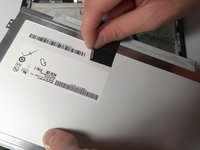
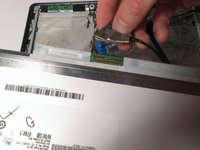
    6. Asus Eee PC 1008ha Screen Replacement: crwdns2935265:09crwdnd2935265:01crwdnd2935265:02crwdne2935265:0 Asus Eee PC 1008ha Screen Replacement: crwdns2935265:09crwdnd2935265:02crwdnd2935265:02crwdne2935265:0
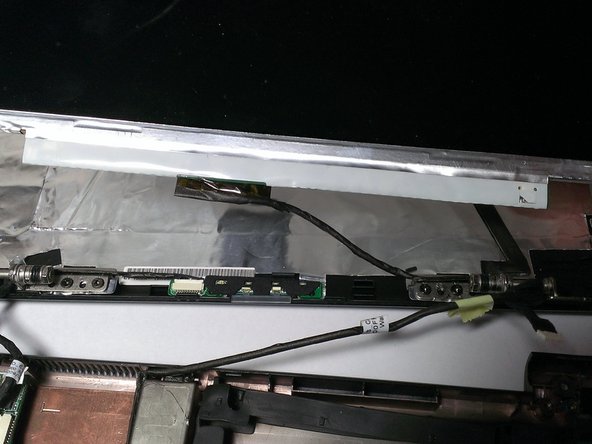
      • Use your fingers to peel back the adhesive tape located on the back of the screen.

      • Disconnect the wire from the screen.

      crwdns2952109:0crwdne2952109:0

      crwdns2917038:0crwdne2917038:0

crwdns2915888:0crwdne2915888:0

To reassemble your device, follow these instructions in reverse order.

crwdns2935221:0crwdne2935221:0

crwdns2935227:0crwdne2935227:0

Michael Dooley

crwdns2935283:004/18/13crwdne2935283:0

138 crwdns2915208:0crwdne2915208:0

crwdns2935297:03crwdne2935297:0

crwdns2935287:0crwdne2935287:0

Cal Poly, Team 21-52, Johann Spring 2013 crwdns2935289:0Cal Poly, Team 21-52, Johann Spring 2013crwdne2935289:0

CPSU-JOHANN-S13S21G52

crwdns2931471:04crwdne2931471:0

crwdns2935297:072crwdne2935297:0

crwdns2947412:00crwdne2947412:0

crwdns2917038:0crwdne2917038:0

crwdns2936625:0crwdne2936625:0:

crwdns2936751:024crwdne2936751:0 5

crwdns2936753:07crwdne2936753:0 29

crwdns2936753:030crwdne2936753:0 48

crwdns2942667:0crwdne2942667:0 3,591