crwdns2915892:0crwdne2915892:0
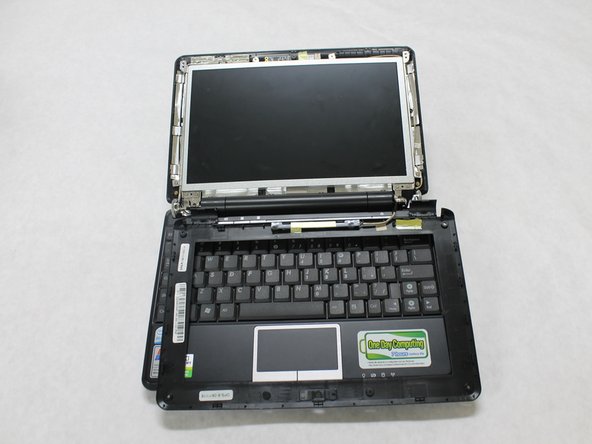
In this guide we will provide you with the necessary information to replace the screen on an Asus Eee PC 1000HA.
crwdns2942213:0crwdne2942213:0
-
crwdns2935267:0crwdne2935267:0Tweezers$4.99
-
-
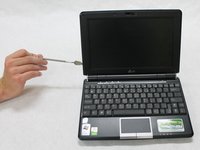
Use a #00 Phillips Head screw driver to remove the 4.8mm screws.
-
There will be 6 screws total.
-
-
-
-
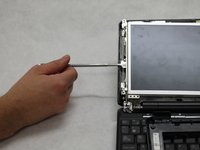
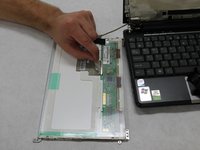
Use the metal spudger to pry off the outside frame of the screen.
-
-
-
Use the #00 Phillips Head screw driver to remove the 5.44mm screws.
-
There are 6 screws total.
-
-
-
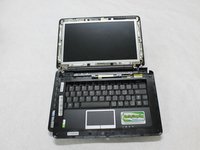
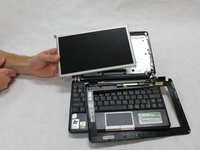
Use the metal spudger to gently remove the screen from the laptop.
-
-
-
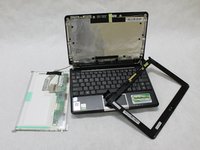
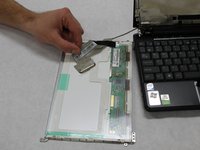
Gently pull the tab that is connecting the laptop to the screen, to fully disconnect the screen from the laptop.
-


To reassemble your device, follow these instructions in reverse order.
To reassemble your device, follow these instructions in reverse order.
crwdns2935221:0crwdne2935221:0
crwdns2935227:0crwdne2935227:0
crwdns2915084:0crwdne2915084:0

Sam Houston State, Team 1-1, Blackburne Fall 2015 crwdns2935289:0Sam Houston State, Team 1-1, Blackburne Fall 2015crwdne2935289:0
SHSU-BLACKBURNE-F15S1G1
crwdns2931471:03crwdne2931471:0
crwdns2935297:010crwdne2935297:0
crwdns2947410:01crwdne2947410:0
Merci beaucoup ! Great tutorial.