crwdns2933423:0crwdne2933423:0

Asus Chromebook C300MA DB01 Battery Replacement

crwdns2942213:0crwdne2942213:0

  1. Asus Chromebook C300MA DB01 Battery Replacement, Removing the Back Cover: crwdns2935265:01crwdnd2935265:01crwdnd2935265:01crwdne2935265:0
    • Remove the eight 9.0 mm Phillips screws along the perimeter of the case.

    • Remove the three 6.0 mm Phillips screws from the center of the case.

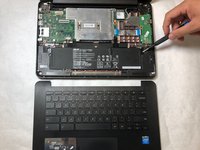
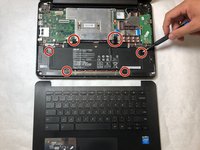
  2. Asus Chromebook C300MA DB01 Battery Replacement, Taking off the Keyboard: crwdns2935265:02crwdnd2935265:01crwdnd2935265:02crwdne2935265:0 Asus Chromebook C300MA DB01 Battery Replacement, Taking off the Keyboard: crwdns2935265:02crwdnd2935265:02crwdnd2935265:02crwdne2935265:0
    • Slide the Jimmy in between the keyboard and underside of the laptop to remove the keyboard.

    • Leave the keyboard face down on the screen.

    • Do not pull the keyboard away from the laptop. The keyboard will still be attached with wires.

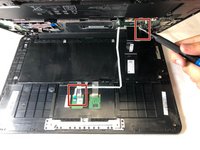
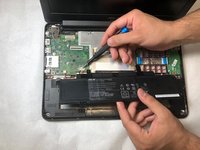
  3. Asus Chromebook C300MA DB01 Battery Replacement, Detaching keyboard: crwdns2935265:03crwdnd2935265:01crwdnd2935265:02crwdne2935265:0 Asus Chromebook C300MA DB01 Battery Replacement, Detaching keyboard: crwdns2935265:03crwdnd2935265:02crwdnd2935265:02crwdne2935265:0
    • Use a nylon spudger to lift the latch on each wire jack and detach the keyboard wires.

    • After the tabs have been lifted, the wire can be gently pulled out by hand.

    • Set the keyboard aside.

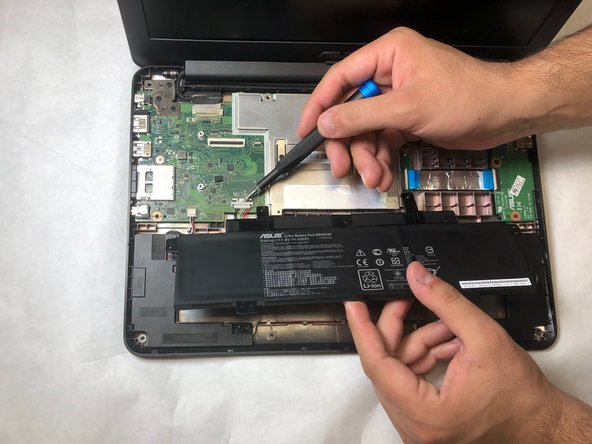
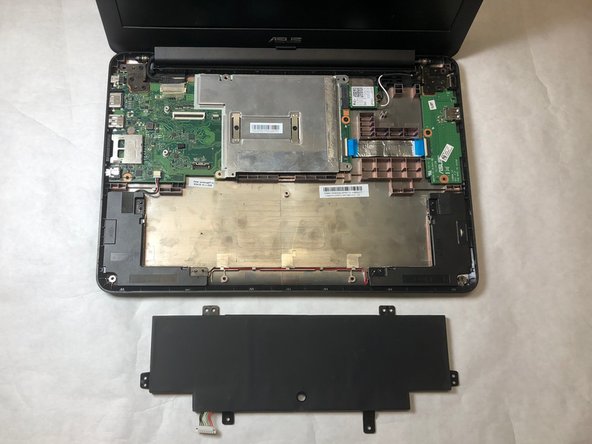
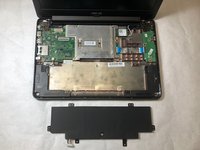
  4. Asus Chromebook C300MA DB01 Battery Replacement, Removing the battery: crwdns2935265:04crwdnd2935265:01crwdnd2935265:03crwdne2935265:0 Asus Chromebook C300MA DB01 Battery Replacement, Removing the battery: crwdns2935265:04crwdnd2935265:02crwdnd2935265:03crwdne2935265:0 Asus Chromebook C300MA DB01 Battery Replacement, Removing the battery: crwdns2935265:04crwdnd2935265:03crwdnd2935265:03crwdne2935265:0
    • Remove the six 6.0mm Phillips screws on the battery.

    • Remove the wire jack from the battery. Use a nylon spudger to lift the latch.

    • Remove the battery from the device.

crwdns2915888:0crwdne2915888:0

To reassemble your device, follow these instructions in reverse order.

Earl Gill IV

crwdns2935283:004/01/19crwdne2935283:0

193 crwdns2915208:0crwdne2915208:0

crwdns2935297:02crwdne2935297:0

crwdns2915084:0crwdne2915084:0

IUPUI, Team S10-G10, Wilson Spring 2019 crwdns2935289:0IUPUI, Team S10-G10, Wilson Spring 2019crwdne2935289:0

IUPUI-WILSON-S19S10G10

crwdns2931471:03crwdne2931471:0

crwdns2935297:03crwdne2935297:0

crwdns2944067:00crwdne2944067:0

crwdns2917038:0crwdne2917038:0

crwdns2936625:0crwdne2936625:0:

crwdns2936751:024crwdne2936751:0 2

crwdns2936753:07crwdne2936753:0 3

crwdns2936753:030crwdne2936753:0 11

crwdns2942667:0crwdne2942667:0 199