crwdns2915892:0crwdne2915892:0
This repair guide will give step-by-step instructions on how to remove the back of the Chromebook to remove and replace the USB Port.
crwdns2942213:0crwdne2942213:0
-
-
Flip the chromebook on its front.
-
Remove the screws on the back using the Phillips #1 screwdriver.
-
Remove the six 8mm screws.
-
Remove the five 5mm screws.
-
-
-
Separate the plastic case from the keyboard at the seam using a plastic opening tool.
-
-
-
-
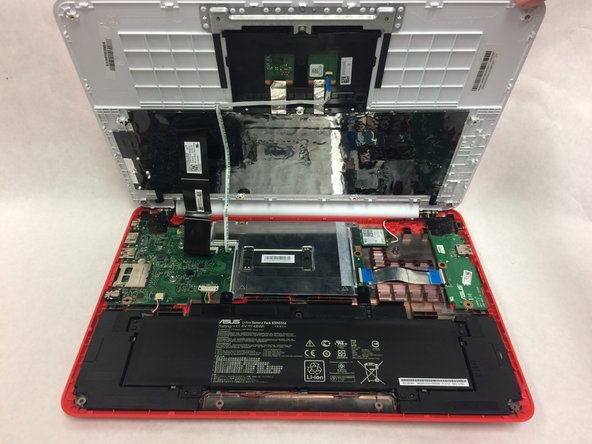
Fully separate the plastic case from the keyboard by lifting it upward.
-
-
-
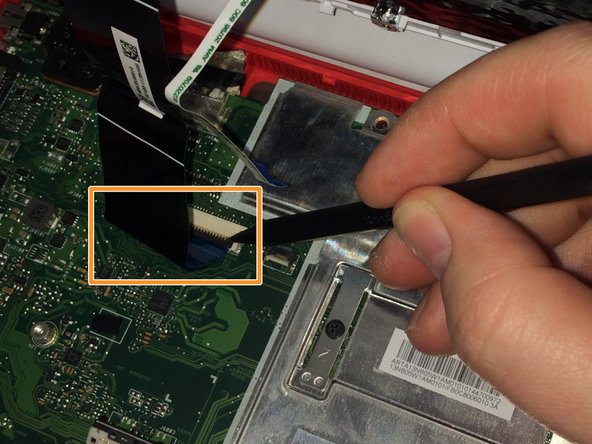
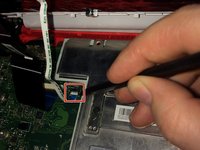
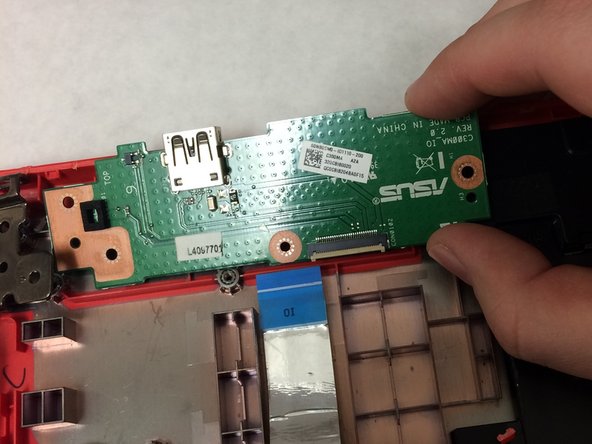
Disconnect the small ribbon cable by lifting the flap and sliding it out of the motherboard input toward the battery using a spudger.
-
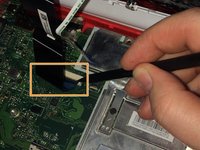
Disconnect the wide ribbon cable by lifting the flap and sliding it out of the motherboard input toward the battery using a spudger.
-
-
-
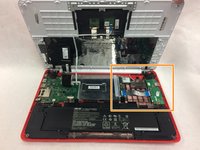
Disconnect the USB port in the top right corner from the motherboard.
-
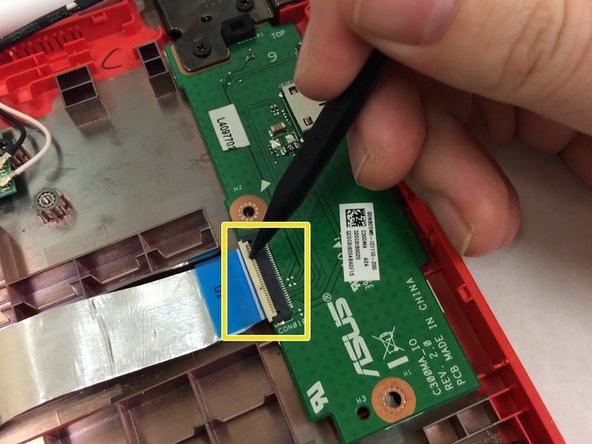
Unplug the the wide ribbon cable using spudger.
-
-
-
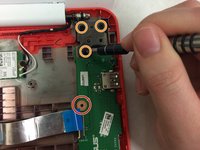
Remove the single 3mm screw on the left and bottom side of the USB Port using the Phillips #1 screwdriver.
-
Remove the three 5mm screws on the upper part of the USB port with the same screwdriver.
-
Lift the edge of the white casing. Remove the USB Port by pulling it toward the bottom of the laptop.
-


To reassemble your device, follow these instructions in reverse order.
To reassemble your device, follow these instructions in reverse order.
crwdns2935221:0crwdne2935221:0
crwdns2935229:02crwdne2935229:0
crwdns2915084:0crwdne2915084:0

IUPUI, Team S3-G2, Harley Spring 2019 crwdns2935289:0IUPUI, Team S3-G2, Harley Spring 2019crwdne2935289:0
IUPUI-HARLEY-S19S3G2
crwdns2931471:03crwdne2931471:0
crwdns2935297:04crwdne2935297:0