crwdns2933423:0crwdne2933423:0

Asus A52F Screen Replacement

crwdns2942213:0crwdne2942213:0

  1. Asus A52F Screen Replacement, Screen: crwdns2935265:01crwdnd2935265:01crwdnd2935265:02crwdne2935265:0 Asus A52F Screen Replacement, Screen: crwdns2935265:01crwdnd2935265:02crwdnd2935265:02crwdne2935265:0
    • Remove the six rubber pads around the border of the screen using a spudger.

  2. Asus A52F Screen Replacement: crwdns2935265:02crwdnd2935265:01crwdnd2935265:01crwdne2935265:0
    • Remove the six screws using a Phillips #0 screwdriver.

  3. Asus A52F Screen Replacement: crwdns2935265:03crwdnd2935265:01crwdnd2935265:02crwdne2935265:0 Asus A52F Screen Replacement: crwdns2935265:03crwdnd2935265:02crwdnd2935265:02crwdne2935265:0
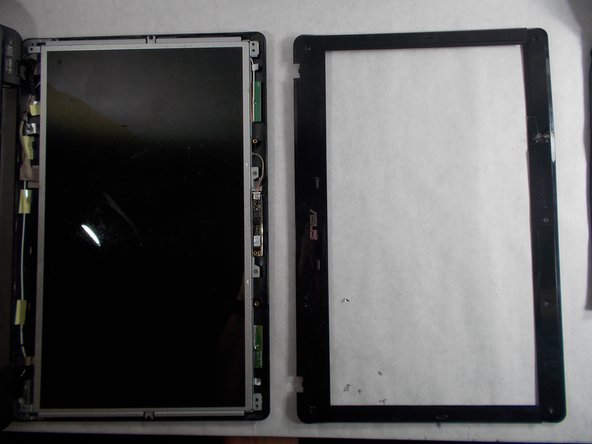
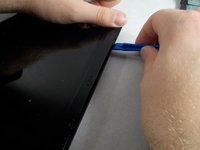
    • Separate the plastic bezel from the rest of the screen using an opening tool.

  4. Asus A52F Screen Replacement: crwdns2935265:04crwdnd2935265:01crwdnd2935265:02crwdne2935265:0 Asus A52F Screen Replacement: crwdns2935265:04crwdnd2935265:02crwdnd2935265:02crwdne2935265:0
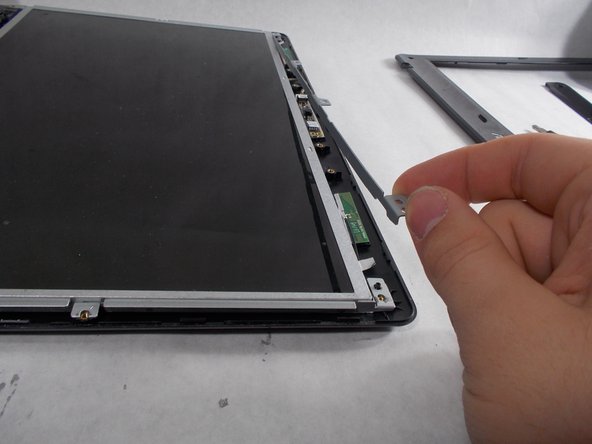
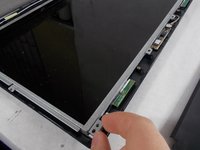
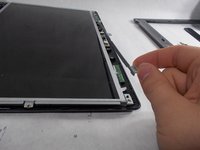
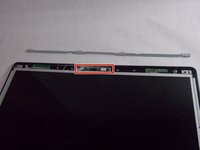
    • Lift the metal bar on the top of the screen away from the device.

  5. Asus A52F Screen Replacement: crwdns2935265:05crwdnd2935265:01crwdnd2935265:03crwdne2935265:0 Asus A52F Screen Replacement: crwdns2935265:05crwdnd2935265:02crwdnd2935265:03crwdne2935265:0 Asus A52F Screen Replacement: crwdns2935265:05crwdnd2935265:03crwdnd2935265:03crwdne2935265:0
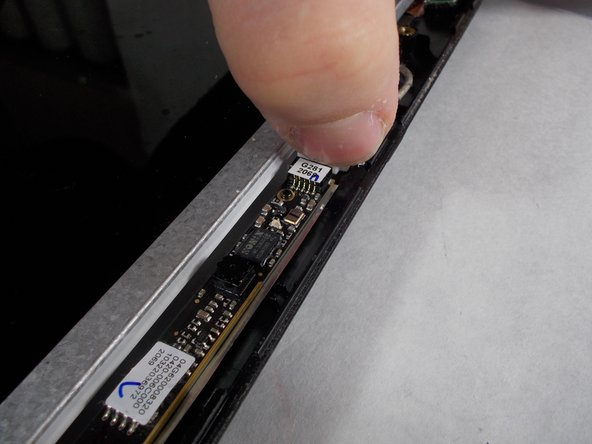
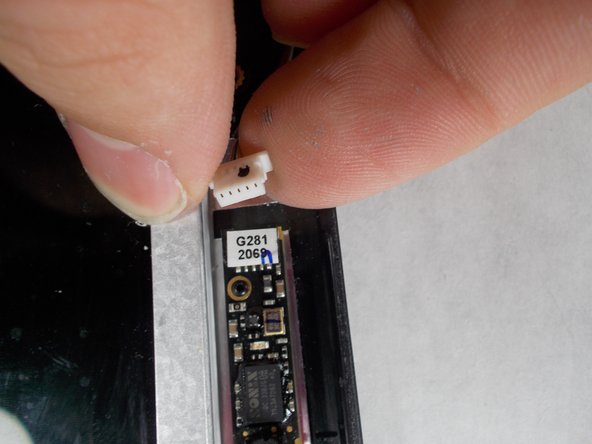
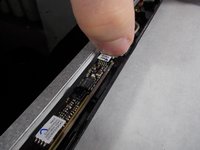
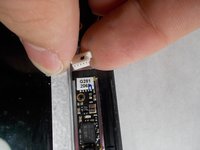
    • Gently detach the wire to the left of the webcam.

  6. Asus A52F Screen Replacement: crwdns2935265:06crwdnd2935265:01crwdnd2935265:02crwdne2935265:0 Asus A52F Screen Replacement: crwdns2935265:06crwdnd2935265:02crwdnd2935265:02crwdne2935265:0
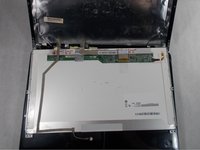
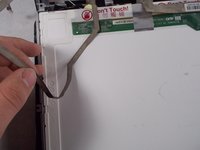
    • Carefully pull the screen toward you and lay it on the keyboard.

    • Peel the webcam wire off the back of the screen.

  7. Asus A52F Screen Replacement: crwdns2935265:07crwdnd2935265:01crwdnd2935265:03crwdne2935265:0 Asus A52F Screen Replacement: crwdns2935265:07crwdnd2935265:02crwdnd2935265:03crwdne2935265:0 Asus A52F Screen Replacement: crwdns2935265:07crwdnd2935265:03crwdnd2935265:03crwdne2935265:0
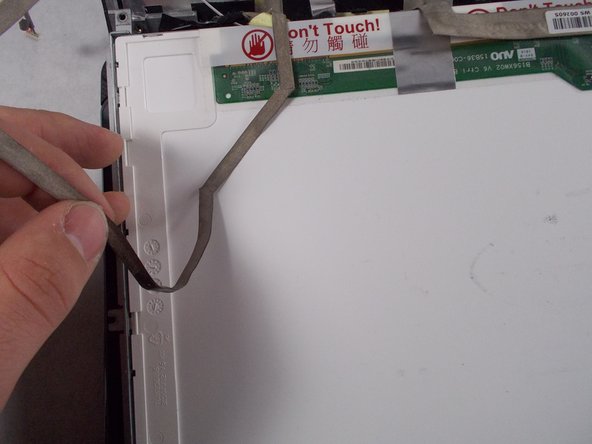
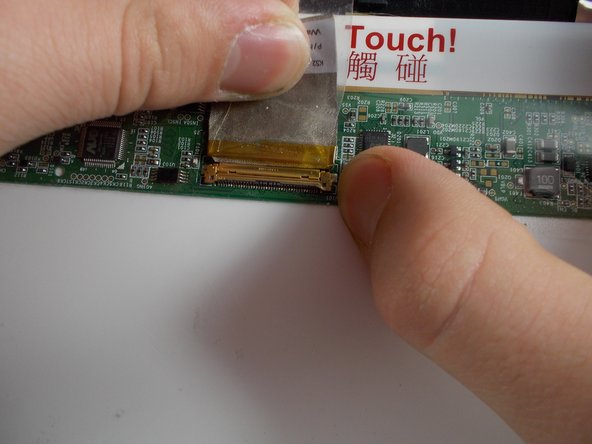
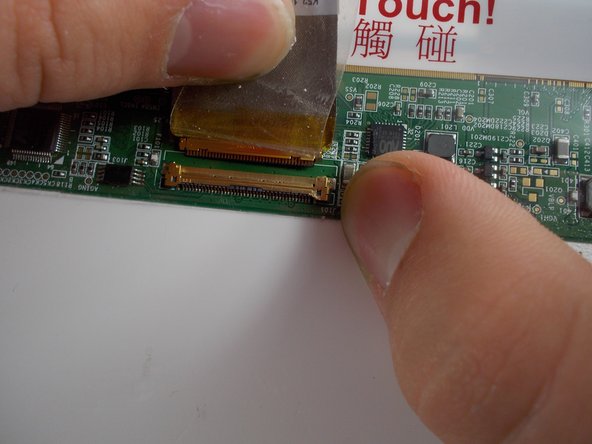
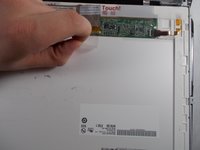
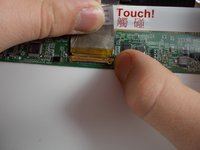
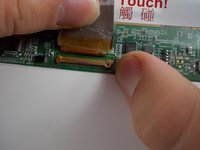
    • Peel back the tape holding the screen cable in its socket.

    • Gently pull the tape and cable away from you to remove the cable from the socket.

    • The screen is now disconnected and can be removed.

crwdns2915888:0crwdne2915888:0

To reassemble your device, follow these instructions in reverse order.

crwdns2935227:0crwdne2935227:0
Morgan Hays

crwdns2935283:003/08/17crwdne2935283:0

330 crwdns2915208:0crwdne2915208:0

crwdns2935297:02crwdne2935297:0

crwdns2915084:0crwdne2915084:0

UMass Dartmouth, Team S5-G1, Botvin Spring 2017 crwdns2935289:0UMass Dartmouth, Team S5-G1, Botvin Spring 2017crwdne2935289:0

UMASSD-BOTVIN-S17S5G1

crwdns2931471:04crwdne2931471:0

crwdns2935297:07crwdne2935297:0

crwdns2944067:00crwdne2944067:0

crwdns2917038:0crwdne2917038:0

crwdns2936625:0crwdne2936625:0:

crwdns2936751:024crwdne2936751:0 0

crwdns2936753:07crwdne2936753:0 6

crwdns2936753:030crwdne2936753:0 18

crwdns2942667:0crwdne2942667:0 1,075