crwdns2915892:0crwdne2915892:0
Replacing a hard drive may be necessary if you are experiencing frequent crashes, data loss or file corruption. You also can upgrade the hard drive to store more data. Either way, just follow this simple guide!
crwdns2942213:0crwdne2942213:0
-
-
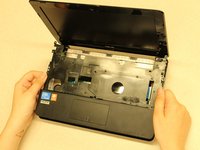
Hold the laptop using both hands with the battery facing upwards.
-
-
-
Push the two tabs located below the battery in towards each other using your thumbs.
Drücken Sie die beiden Laschen, die sich unterhalb der Batterie befinden, mit den Daumen aufeinander zu.
-
-
-
Push the battery upwards and out of the laptop as shown.
Schieben Sie den Akku wie abgebildet nach oben und aus dem Laptop heraus.
-
-
-
Continue to push the battery upwards until it is completely separated from the laptop as shown.
Schieben Sie den Akku weiter nach oben, bis er wie abgebildet vollständig vom Laptop getrennt ist.
-
-
-
Once the battery is removed, unscrew the highlighted 3mm screws (4) using a #0 Phillps head screwdriver.
-
-
-
-
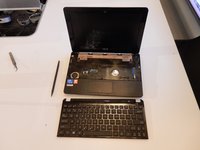
After all four screws are removed, flip the laptop over with the keyboard facing up.
-
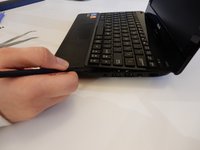
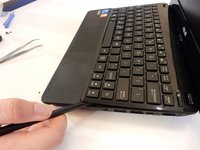
Use a spudger to pry up where the keyboard is attached to the laptop on all sides until it is detached from the laptop.
I started with the 2 sides of the keyboard. Then the rear edge has 5 tabs in the battery compartment, which seem to be critical to getting the keyboard off. The front edge of the keyboard does not need to be pried off. It has metal tabs that slide into slots.
-
-
-
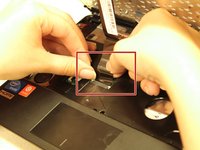
After the keyboard is detached, the ribbon cable which connects the keyboard to the laptop's motherboard is exposed.
-
-
-
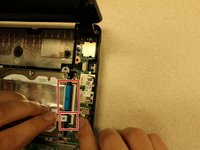
Using the spudger push the white clips upwards that are holding the cable.
-
-
-
Gently pull the strip out of the square slot.
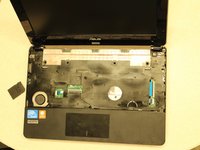
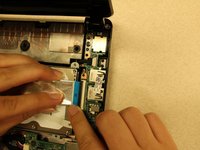
How do you remove the black metal cover on top of the motherboard? See your second photo.
If anyone still needs this answered, in the 1015PX I've opened up again recently, there are another 6 screws (I think) attaching the black cover to the motherboard/bottom case, then you need to prise the wrist/touchpad section up with a spudger because it's all one moulding.
-
-
-
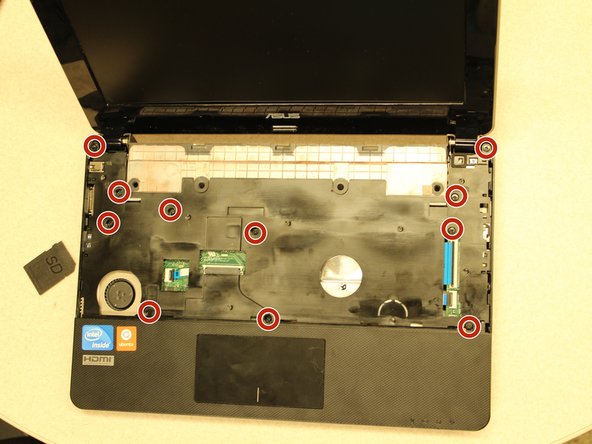
Once the keyboard is removed, the base plate will be exposed
-
Remove the 3mm screws (11) using a #0 Phillips head screwdriver
-
-
-
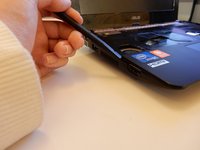
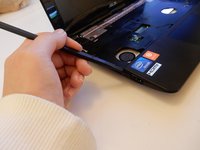
Use the spudger to 'pop' open the track-pad base, starting from the corner shown
-
Once the corner is popped it may be easier to use your fingers to pop off the entire track-pad base
-
-
-
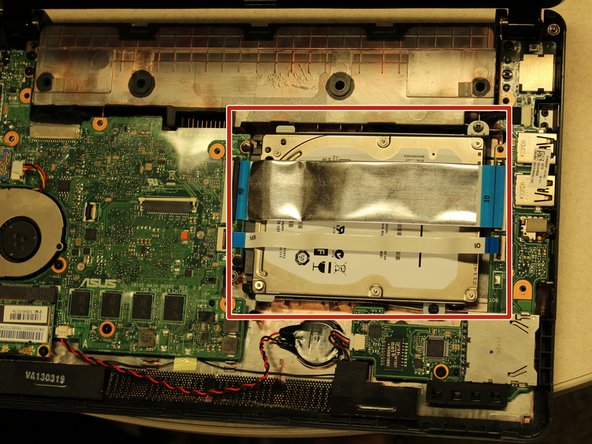
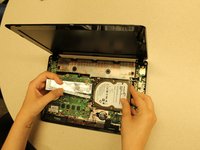
You can now lift both sections of the base, exposing the hard drive.
-
-
-
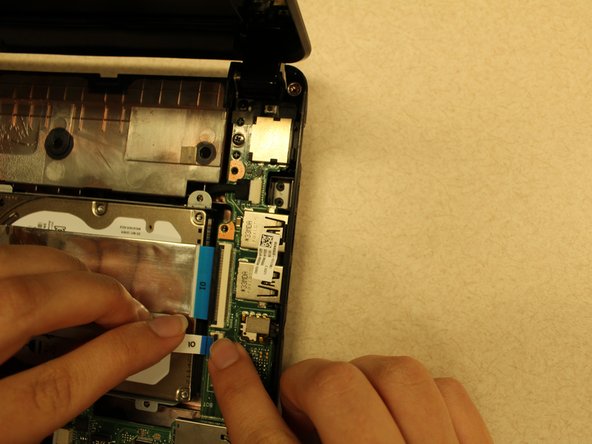
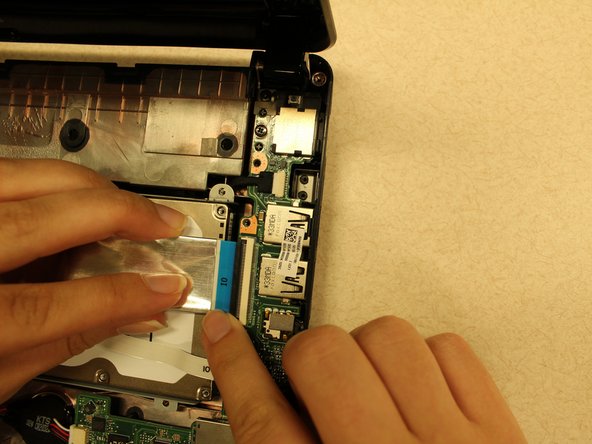
Release the two ZIF connectors that are labeled "IO"
-
The white bar flips away from the ribbon cable, then the ribbon cable can be gently pulled and removed from the connector
-
-
-
Gently remove the hard drive from the laptop by pulling it towards the right.
-


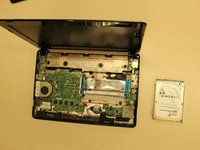
To reassemble your device, follow these instructions in reverse order.
To reassemble your device, follow these instructions in reverse order.
crwdns2935221:0crwdne2935221:0
crwdns2935229:04crwdne2935229:0
crwdns2915084:0crwdne2915084:0

Clemson, Team 7-4, Benson Spring 2016 crwdns2935289:0Clemson, Team 7-4, Benson Spring 2016crwdne2935289:0
CLEM-BENSON-S16S7G4
crwdns2931471:05crwdne2931471:0
crwdns2935297:07crwdne2935297:0
crwdns2947410:01crwdne2947410:0
I pulled out the hard drive from a working 1015PE. I have all the parts and most of the screws.
I am not going to put it back together.
Can anyone use the what is left?
B&R Computer Services.
Contact info at noappleis2old4us.com
January 26, 2023
Halten Sie den Laptop mit beiden Händen so, dass der Akku nach oben zeigt.
markus fri - crwdns2934203:0crwdne2934203:0