crwdns2915892:0crwdne2915892:0
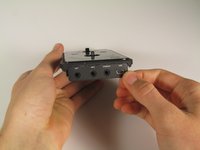
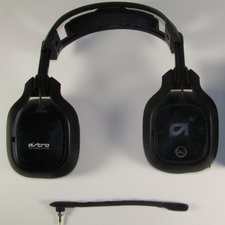
In this guide, we will be reaching and removing the buttons on the mixamp. This guide is helpful if you are looking to replace or fix a stuck button on your own.
crwdns2942213:0crwdne2942213:0
-
-
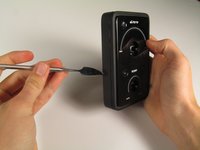
Remove the dials using either a metal spudger or your hands. Be careful as the dials may be difficult to remove.
-
-
crwdns2935267:0crwdne2935267:0Tweezers$4.99
-
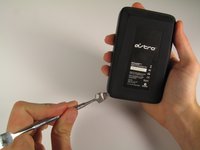
Locate the two 11/32 inch nuts underneath the dials.
-
Use an 11/32 inch socket wrench or tweezers to unscrew and remove the nuts and washers.
-
-
-
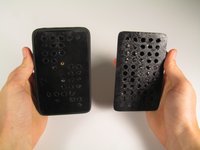
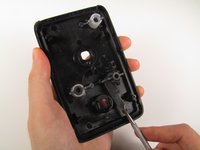
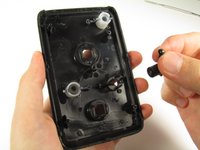
Using a larger metal spudger, remove the rubber back of the mixamp.
-
-
-
-
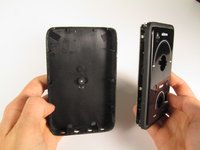
Remove the one 4.5 mm Phillips #0 screw on the back panel of the mixamp.
-
-
-
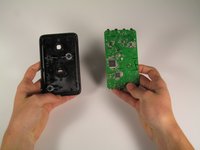
Using a large metal spudger, detach all plastic clips holding the bottom and top casings together.
-
Remove the input casing using your fingers.
-
-
-
Remove the four 5.8 mm Phillips #0 screws on the motherboard.
-
-
-
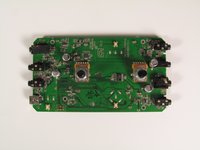
Remove the motherboard from the casing.
-
-
-
Use a metal spudger to pry off the buttons and remove them.
-


To reassemble your device, follow these instructions in reverse order.
crwdns2935221:0crwdne2935221:0
crwdns2935229:03crwdne2935229:0
crwdns2935287:0crwdne2935287:0
Cal Poly, Team 20-18, Maness Winter 2015 crwdns2935289:0Cal Poly, Team 20-18, Maness Winter 2015crwdne2935289:0
CPSU-MANESS-W15S20G18
crwdns2931471:04crwdne2931471:0
crwdns2935297:010crwdne2935297:0