crwdns2915892:0crwdne2915892:0
A guide on how to replace the T180’s memory card reader. Due to the high failure rate of these card readers, replacing it with an identical unit is not recommended.
crwdns2942213:0crwdne2942213:0
-
-
Locate the 2 screws on the right side of the case’s rear panel, and remove them.
-
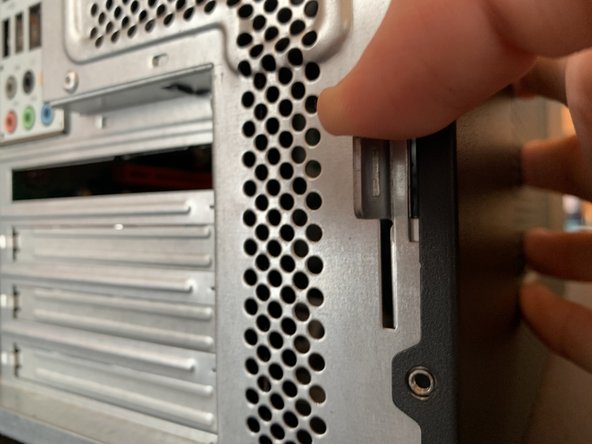
Locate the large metal tab just above the bottom screw, and push down on the tab while pulling the side panel towards the rear. The panel should slide off.
-
-
crwdns2935267:0crwdne2935267:0Tweezers$4.99
-
Unless you have a long and thin pair of tweezers, the hard drive will need to be removed in order to unplug the card reader.
-
Start by pulling both cables off of the hard drive, and unplugging any cables on the motherboard that are in front of the drive.
-
Slide the green plastic tab to the left, and carefully pull out the hard drive. Gently set it down.
-
-
-
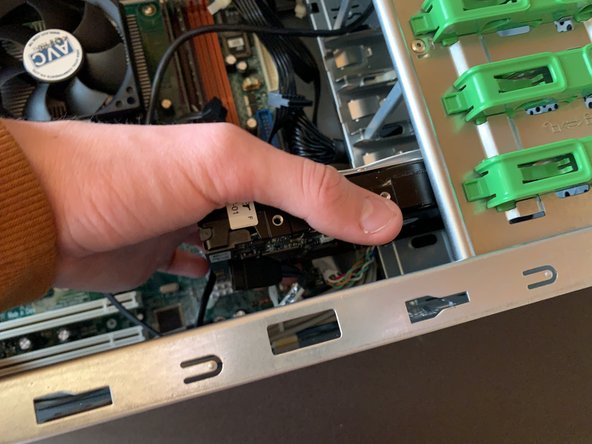
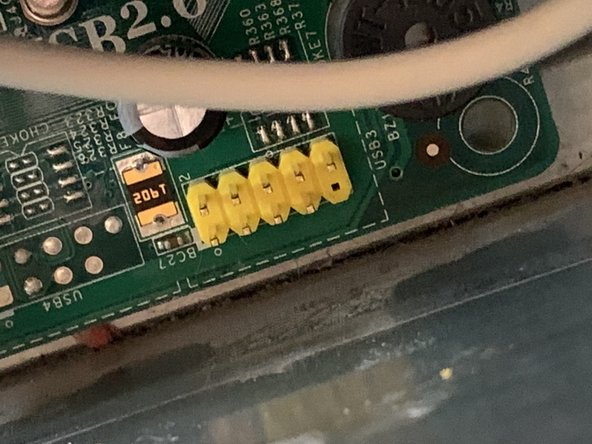
Locate the black connector on the bottom right corner of the motherboard.
-
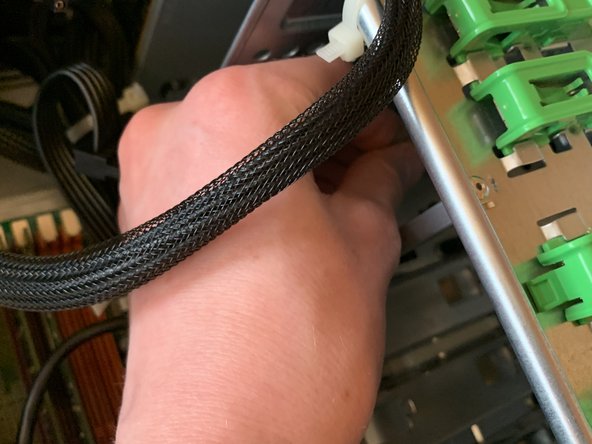
Undo the cable tie holding the grey cables in front of it, and pull them out of the way.
-
Pull out the black connector. DO NOT PULL BY THE CABLE IF YOU PLAN TO REUSE THE CARD READER!
-
-
-
-
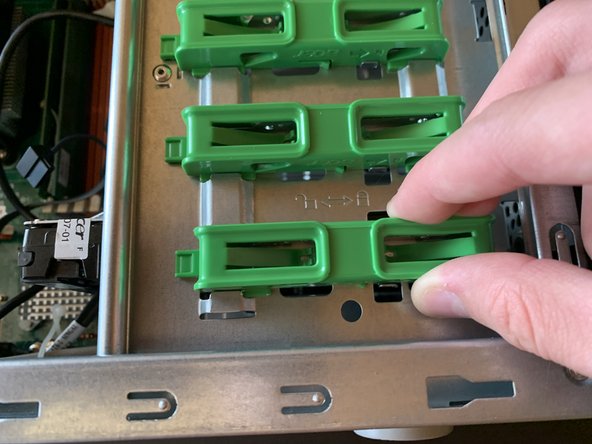
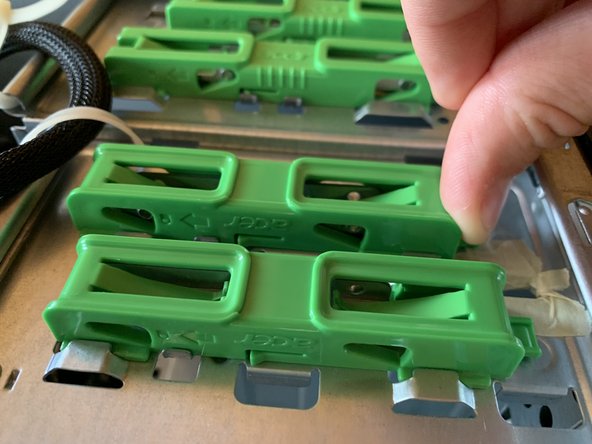
Slide the highest green tab on the 3.5” bays to the right.
-
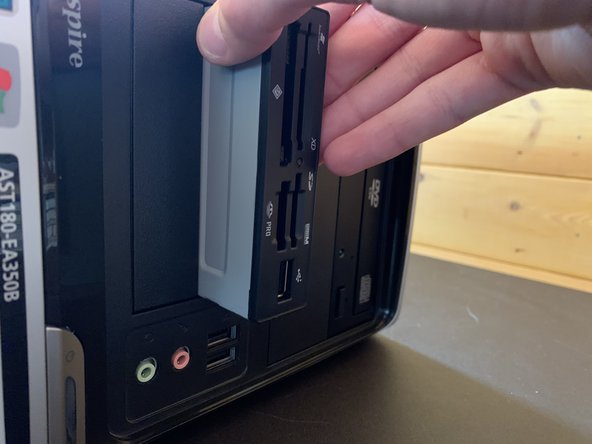
Push the card reader out halfway, and pull it out from the front.
-
-
-
Slide the new card reader in and push until it’s flush with the rest of the front panel.
-
Slide the green tab back to lock it in place.
-
-
-
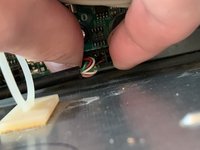
Locate the missing hole on the connector and line it up with the missing pin on the motherboard.
-
Plug it in. Do not push too hard or the motherboard may be damaged.
-
-
-
Reinsert the hard drive and reconnect it. Remember to lock it in place by sliding the green tab.
-
Group all the cables together again, and secure them again with the cable tie.
-


To finish reassembly, slide the side panel back on and reinsert both screws.
To finish reassembly, slide the side panel back on and reinsert both screws.
crwdns2935221:0crwdne2935221:0
crwdns2935229:03crwdne2935229:0