crwdns2933423:0crwdne2933423:0

Arnova 7K G3 Camera Replacement

crwdns2942213:0crwdne2942213:0

  1. Arnova 7K G3 Camera Replacement, Rear Cover: crwdns2935265:01crwdnd2935265:01crwdnd2935265:03crwdne2935265:0 Arnova 7K G3 Camera Replacement, Rear Cover: crwdns2935265:01crwdnd2935265:02crwdnd2935265:03crwdne2935265:0 Arnova 7K G3 Camera Replacement, Rear Cover: crwdns2935265:01crwdnd2935265:03crwdnd2935265:03crwdne2935265:0
    • Remove four 5 mm Phillips #00 screws from each corner of the tablet.

  2. Arnova 7K G3 Camera Replacement: crwdns2935265:02crwdnd2935265:01crwdnd2935265:02crwdne2935265:0 Arnova 7K G3 Camera Replacement: crwdns2935265:02crwdnd2935265:02crwdnd2935265:02crwdne2935265:0
    • Place the iFixit opening tool in the notches between the cases and pull the covers apart.

  3. Arnova 7K G3 Camera Replacement: crwdns2935265:03crwdnd2935265:01crwdnd2935265:01crwdne2935265:0
    • Repeat step two until 3/4 of the rear cover is unlatched.

    • Proceed to remove the rear cover by gently pulling it apart by hand.

  4. Arnova 7K G3 Camera Replacement, Disassembling Arnova 7K G3 Logic Board Ribbon Connectors: crwdns2935265:04crwdnd2935265:01crwdnd2935265:02crwdne2935265:0 Arnova 7K G3 Camera Replacement, Disassembling Arnova 7K G3 Logic Board Ribbon Connectors: crwdns2935265:04crwdnd2935265:02crwdnd2935265:02crwdne2935265:0
    crwdns2935267:0crwdne2935267:0
    Tweezers
    $4.99
    crwdns2942207:0crwdne2942207:0
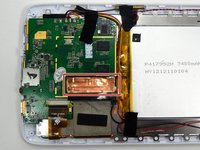
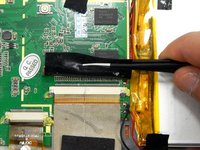
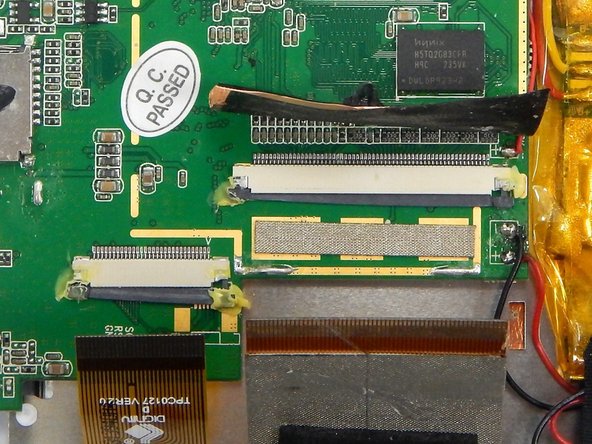
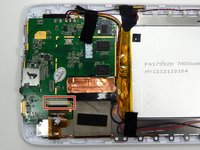
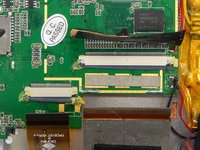
    • Peel the copper tape covering the ribbon connector with a set of tweezers.

  5. Arnova 7K G3 Camera Replacement: crwdns2935265:05crwdnd2935265:01crwdnd2935265:03crwdne2935265:0 Arnova 7K G3 Camera Replacement: crwdns2935265:05crwdnd2935265:02crwdnd2935265:03crwdne2935265:0 Arnova 7K G3 Camera Replacement: crwdns2935265:05crwdnd2935265:03crwdnd2935265:03crwdne2935265:0
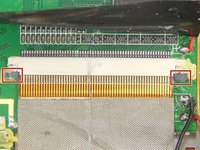
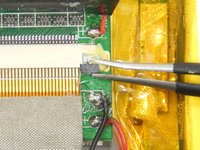
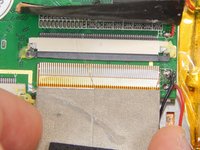
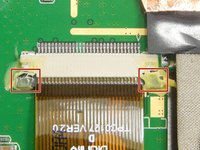
    • Locate the two gray pins on the ribbon connector.

    • Grab the first pin with tweezers and gently pull it towards the ribbon. Repeat the step.

    • Gently pull the ribbon cable out of the connection port.

  6. Arnova 7K G3 Camera Replacement: crwdns2935265:06crwdnd2935265:01crwdnd2935265:03crwdne2935265:0 Arnova 7K G3 Camera Replacement: crwdns2935265:06crwdnd2935265:02crwdnd2935265:03crwdne2935265:0 Arnova 7K G3 Camera Replacement: crwdns2935265:06crwdnd2935265:03crwdnd2935265:03crwdne2935265:0
    • Locate the ribbon connector two.

    • Locate the pins of ribbon connector two. Repeat step two for unlocking the pins.

    • Gently pull the ribbon out of the connection port.

  7. Arnova 7K G3 Camera Replacement, Disassembling Arnova 7K G3 Motherboard: crwdns2935265:07crwdnd2935265:01crwdnd2935265:01crwdne2935265:0
    • Remove the two Phillips #00 screws from the motherboard.

  8. Arnova 7K G3 Camera Replacement: crwdns2935265:08crwdnd2935265:01crwdnd2935265:01crwdne2935265:0
    • Gently lift up the motherboard and reorient it in a more efficient manner in order to locate the desired components.

  9. Arnova 7K G3 Camera Replacement, Camera: crwdns2935265:09crwdnd2935265:01crwdnd2935265:02crwdne2935265:0 Arnova 7K G3 Camera Replacement, Camera: crwdns2935265:09crwdnd2935265:02crwdnd2935265:02crwdne2935265:0
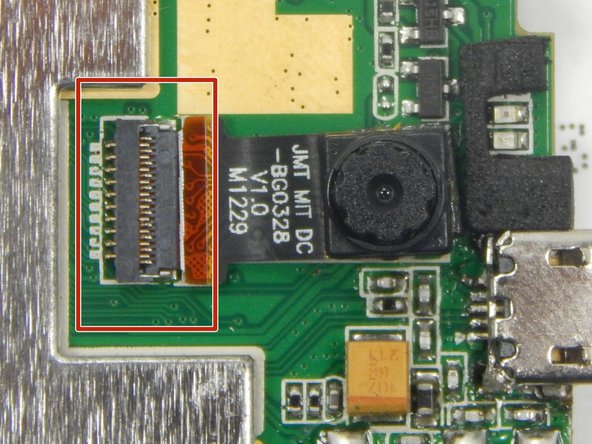
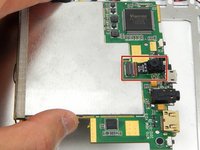
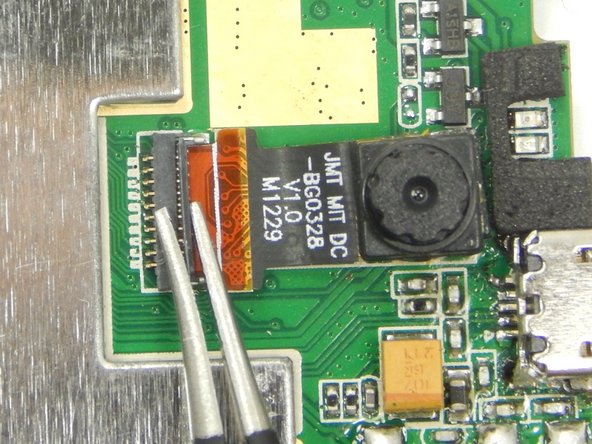
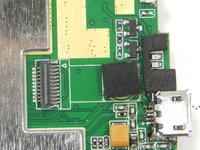
    • Locate the camera and camera ribbon connection on the backside of the motherboard.

  10. Arnova 7K G3 Camera Replacement: crwdns2935265:010crwdnd2935265:01crwdnd2935265:02crwdne2935265:0 Arnova 7K G3 Camera Replacement: crwdns2935265:010crwdnd2935265:02crwdnd2935265:02crwdne2935265:0
    crwdns2935267:0crwdne2935267:0
    Tweezers
    $4.99
    crwdns2942207:0crwdne2942207:0
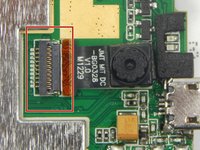
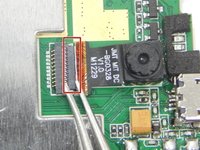
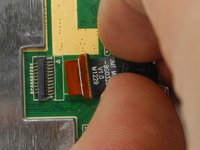
    • Unlock the camera ribbon connector clip using a pair of tweezers.

  11. Arnova 7K G3 Camera Replacement: crwdns2935265:011crwdnd2935265:01crwdnd2935265:03crwdne2935265:0 Arnova 7K G3 Camera Replacement: crwdns2935265:011crwdnd2935265:02crwdnd2935265:03crwdne2935265:0 Arnova 7K G3 Camera Replacement: crwdns2935265:011crwdnd2935265:03crwdnd2935265:03crwdne2935265:0
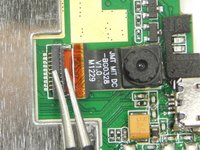
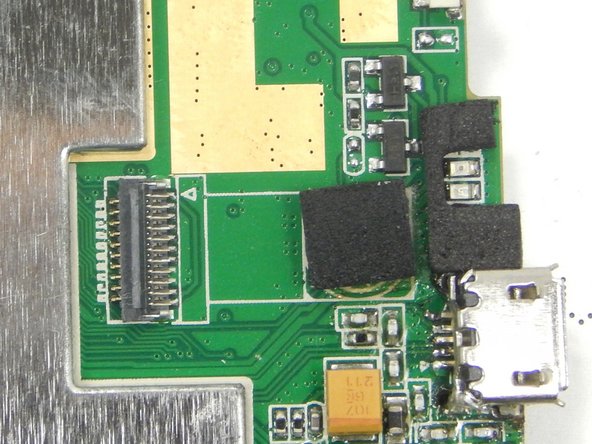
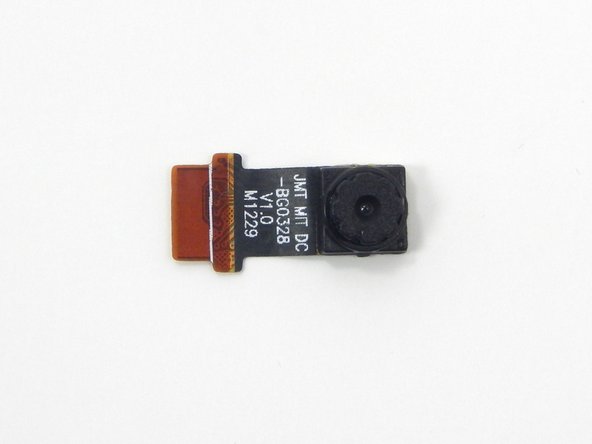
    • Gently by hand, remove the camera and its ribbon by pulling the camera away from the motherboard.

    • There is adhesive foam on the backside of the camera that may cause some difficulty when removing the camera.

crwdns2915888:0crwdne2915888:0

To reassemble your device, follow these instructions in reverse order.

Kue

crwdns2935283:003/18/15crwdne2935283:0

301 crwdns2915208:0crwdne2915208:0

crwdns2935297:03crwdne2935297:0

crwdns2915084:0crwdne2915084:0

Michigan Tech, Team 1-2, Lauer Spring 2015 crwdns2935289:0Michigan Tech, Team 1-2, Lauer Spring 2015crwdne2935289:0

MTU-LAUER-S15S1G2

crwdns2931471:02crwdne2931471:0

crwdns2935297:010crwdne2935297:0

crwdns2944067:00crwdne2944067:0

crwdns2917038:0crwdne2917038:0

crwdns2936625:0crwdne2936625:0:

crwdns2936751:024crwdne2936751:0 0

crwdns2936753:07crwdne2936753:0 0

crwdns2936753:030crwdne2936753:0 8

crwdns2942667:0crwdne2942667:0 231